
 Save
Save
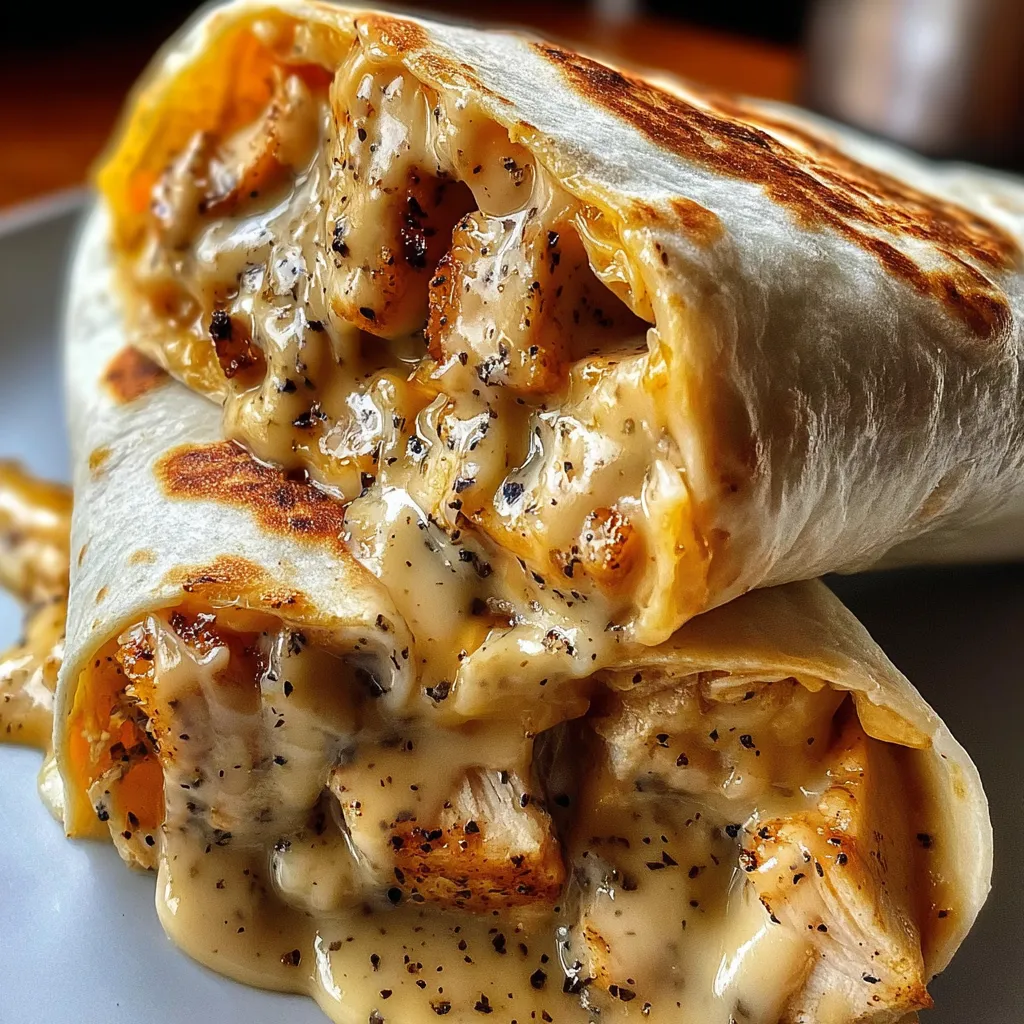
These irresistible cheesy garlic chicken wraps combine tender shredded chicken with creamy garlic-infused cheese filling, all wrapped in golden-brown tortillas that deliver the perfect balance of crispy exterior and gooey, melty interior. Each bite offers comfort food satisfaction with layers of buttery garlic flavor, stretchy melted cheese, and juicy chicken that creates an incredibly satisfying handheld meal. The beauty of this recipe lies in its simplicity and speed, transforming basic pantry ingredients into something that tastes like a labor of love but comes together in just twenty minutes from start to finish.
I stumbled upon this winning combination during a particularly hectic weeknight when I needed something satisfying but had limited time and ingredients to work with. After experimenting with different cheese and seasoning combinations, I discovered that the mixture of cream cheese and garlic creates an incredibly rich, restaurant-quality flavor that transforms ordinary rotisserie chicken into something truly special that my family now requests regularly.
Essential Ingredient Guide
- Cooked shredded chicken: Rotisserie chicken works perfectly and saves time, though leftover grilled or baked chicken creates equally delicious results
- Shredded mozzarella or cheddar: Choose freshly shredded cheese for better melting properties and superior taste compared to pre-shredded varieties
- Cream cheese: Use full-fat cream cheese at room temperature for the smoothest, richest texture and easiest incorporation
- Fresh garlic cloves: Freshly minced garlic provides the most aromatic, flavorful base compared to garlic powder alone
- Real butter: Unsalted butter allows better control of seasoning while providing rich flavor and proper browning
- Large flour tortillas: Choose soft, pliable tortillas that won't crack when rolled, avoiding stiff or dried-out varieties
- Garlic powder: Enhances the fresh garlic flavor without adding excess moisture to the filling mixture
- Quality seasonings: Fresh ground black pepper and sea salt enhance all the other flavors without overpowering
Step-by-Step Preparation
- Aromatic Foundation
- Melt the butter in a medium skillet over medium heat until it begins to foam, then add the minced fresh garlic and sauté for approximately one minute until fragrant but not browned, stirring constantly to prevent burning which could create bitter flavors. The combination of butter and fresh garlic creates an incredibly aromatic base that infuses the entire filling with rich, savory depth that makes these wraps truly special.
- Creamy Base Development
- Reduce the heat slightly and add the room-temperature cream cheese to the skillet, stirring continuously until it melts completely and combines smoothly with the garlic butter mixture. Season with garlic powder, salt, and freshly ground black pepper, whisking until the mixture becomes silky and uniform without any lumps that could affect the final texture.
- Protein and Cheese Integration
- Add the shredded chicken and half of the shredded cheese to the creamy garlic mixture, stirring gently but thoroughly until the chicken is completely coated and heated through while the cheese begins to melt and create stretchy, gooey texture. This step ensures every piece of chicken is infused with the rich, garlicky cream cheese base that makes each bite incredibly flavorful.
- Assembly Technique
- Place approximately one-quarter of the chicken mixture in the center of each flour tortilla, leaving adequate space around the edges for proper rolling without overstuffing. Sprinkle the remaining shredded cheese over the chicken mixture, then fold in the sides of the tortilla before rolling tightly from bottom to top, creating secure packages that won't unroll during cooking.
- Golden Toasting Process
- Place each assembled wrap seam-side down in a dry skillet or panini press over medium heat, cooking for two to three minutes per side until the tortillas achieve beautiful golden-brown color and crispy texture while the interior filling becomes hot and the cheese melts completely. The key is maintaining moderate heat to ensure thorough warming without burning the delicate tortilla exterior.
- Perfect Finishing
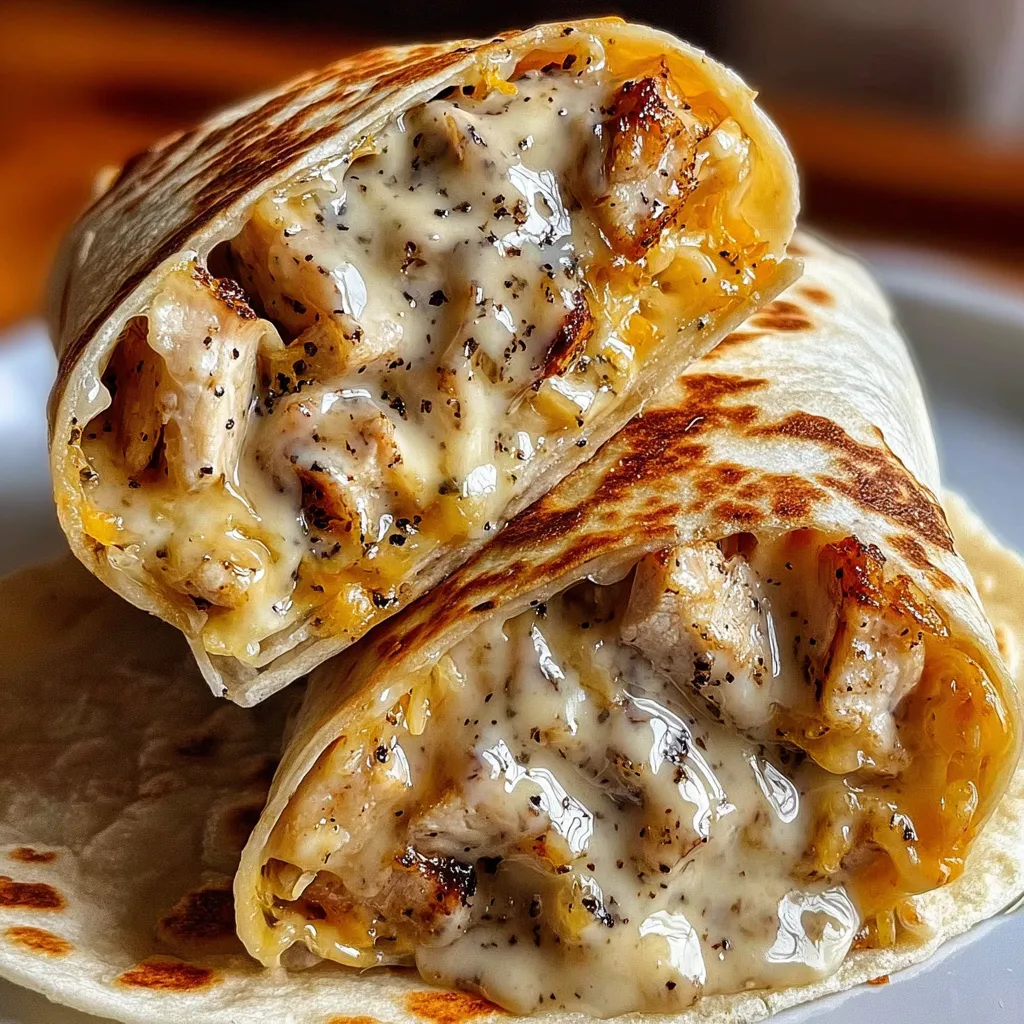
- Remove the wraps from heat and allow them to cool for one to two minutes before slicing diagonally with a sharp knife, which helps maintain the structural integrity while showcasing the beautiful melted cheese interior that makes these wraps so visually appealing.
 Save
Save
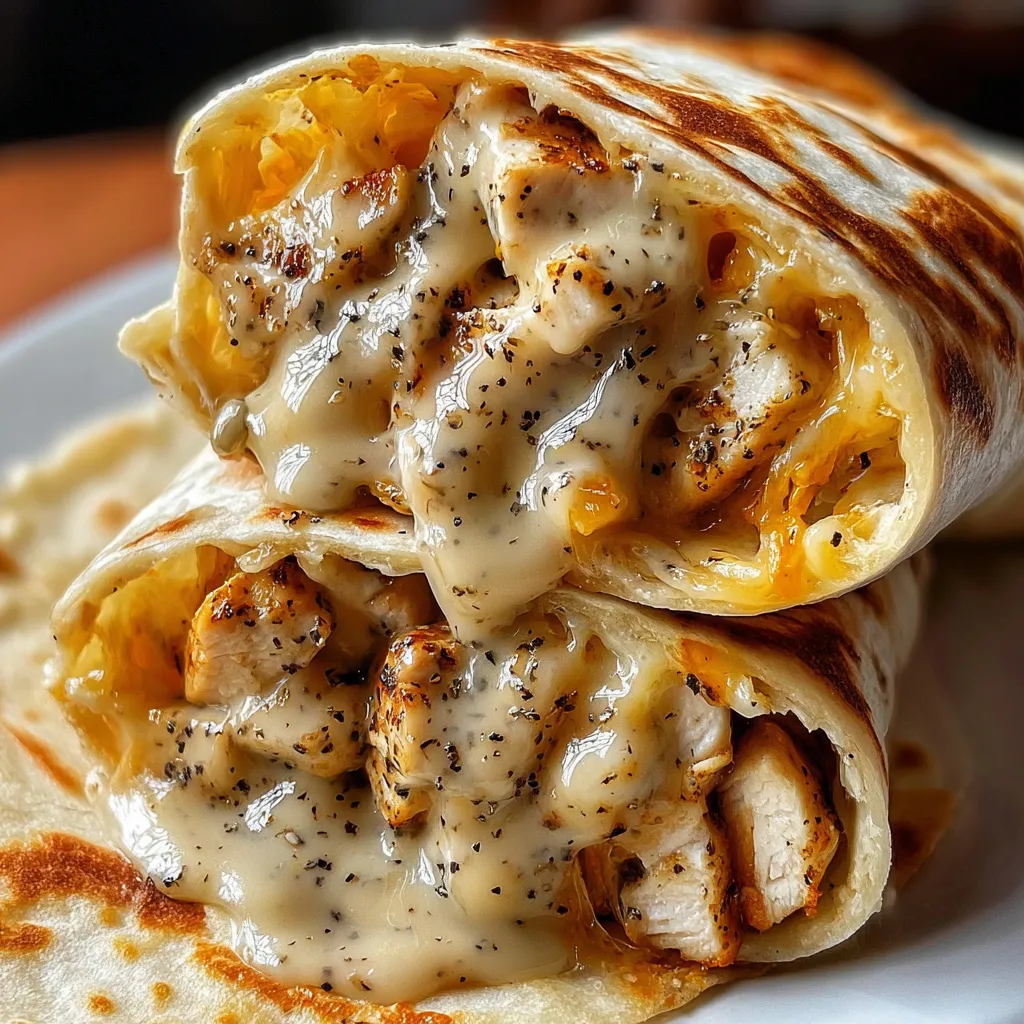
The magic happens when you take that first bite and experience the incredible contrast between the crispy, golden tortilla exterior and the warm, creamy, cheese-filled interior that stretches beautifully and delivers intense garlic flavor in every mouthful. The combination of textures and the way the melted cheese binds with the seasoned chicken creates pure comfort food satisfaction that never fails to impress.
Creative Serving Ideas
Present these golden wraps on individual plates sliced diagonally to showcase the melted cheese interior, accompanied by small bowls of ranch dressing, marinara sauce, or garlic aioli for dipping options that complement the existing flavors. For a complete meal, serve alongside a crisp garden salad with lemon vinaigrette, roasted vegetables like broccoli or Brussels sprouts, or classic sides like sweet potato fries that provide textural contrast. These wraps also work beautifully as party appetizers when cut into smaller pinwheel sections and arranged on platters for easy sharing.
Exciting Flavor Variations
Transform this versatile base by adding fresh baby spinach or chopped sun-dried tomatoes for extra nutrients and Mediterranean flair, or incorporate diced jalapeños and pepper jack cheese for those who enjoy spicy heat. For breakfast variations, add scrambled eggs and crispy bacon bits, while Mexican-inspired versions might include black beans, corn, and cilantro with pepper jack cheese. Buffalo chicken lovers can mix hot sauce into the cream cheese base and serve with blue cheese dipping sauce for a completely different but equally delicious experience.
Smart Storage Solutions
Store assembled but uncooked wraps in the refrigerator for up to two days wrapped individually in plastic wrap, making them perfect for grab-and-go meals that can be toasted fresh when needed. Cooked wraps can be stored in airtight containers for up to three days and reheated in a skillet over medium heat to restore crispiness, though they're definitely best enjoyed fresh. For longer storage, wrap individual cooked wraps in foil and freeze for up to one month, thawing overnight in the refrigerator before reheating in a 375°F oven for eight to ten minutes.
 Save
Save
These cheesy garlic chicken wraps represent the perfect marriage of convenience and indulgence, proving that quick weeknight meals don't have to sacrifice flavor or satisfaction. Whether you're feeding hungry teenagers, preparing lunch for the office, or creating a cozy dinner for two, this reliable recipe delivers consistent results that will have everyone asking for seconds and requesting the recipe for their own kitchen repertoire.
Recipe FAQs
- → Can I use leftover chicken for this recipe?
- Absolutely! Any cooked chicken works great - leftover roasted chicken, grilled chicken, or rotisserie chicken from the store.
- → How do I keep the wraps from falling apart?
- Make sure to roll them tightly and place them seam-side down when toasting. Don't overfill them or they might burst open.
- → Can I make these ahead of time?
- You can make the filling ahead and store it in the fridge, then just assemble and toast when ready to eat for the best texture.
- → What other cheeses work well in these wraps?
- Cheddar, Monterey Jack, pepper jack, or even Swiss would all be delicious. Use whatever melting cheese you have on hand!
- → How do I reheat leftover wraps?
- Toast them in a skillet over medium heat or bake at 375°F for 8-10 minutes. Avoid the microwave if you want to keep them crispy.