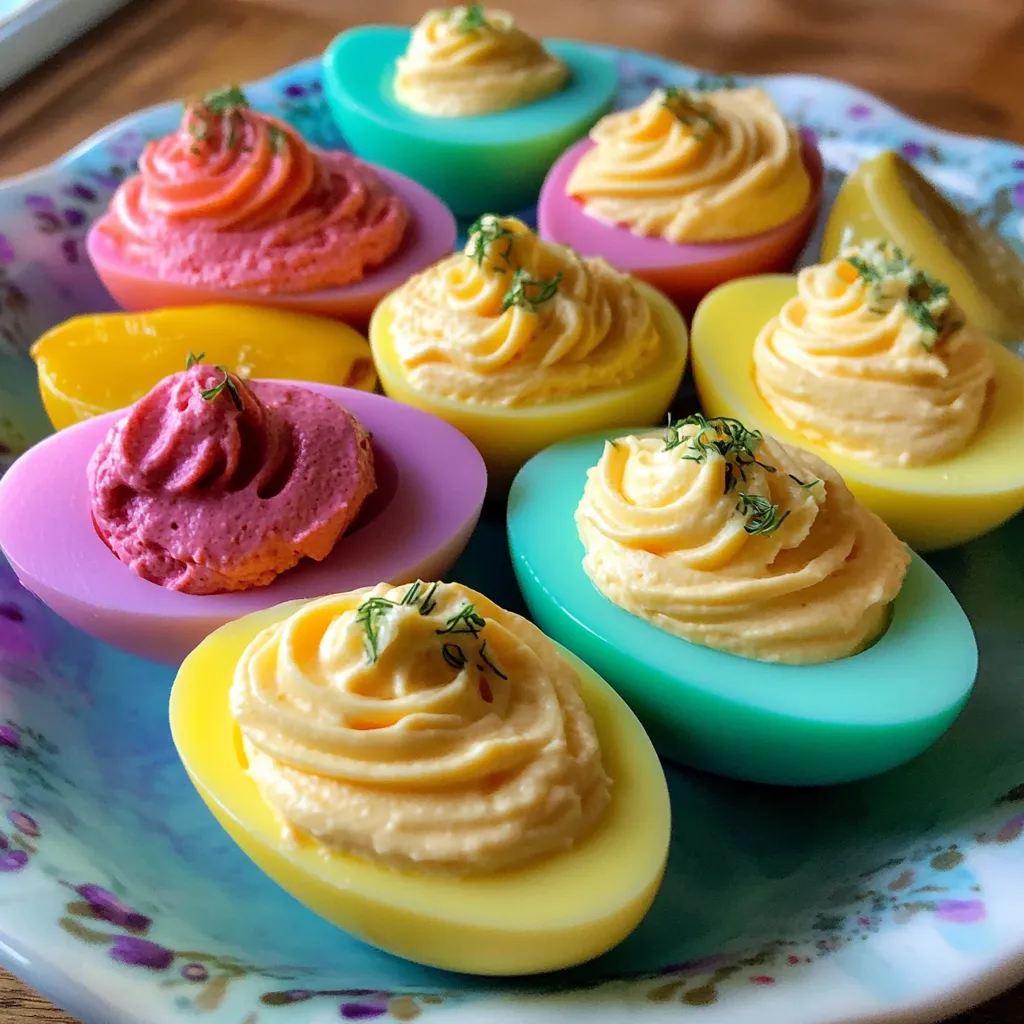
Boil eggs, shell them, split in half, take out yolks, color whites with vinegar and food dye, mix yolks with seasoning, and fill colored whites with the mixture.
Who knew that basic deviled eggs could get an upgrade? I stumbled on this coloring trick before Easter a few years back when I was tired of bringing the same old snacks. The vibrant whites grab so much attention that guests snap photos before they even taste one! And between us? It barely takes extra time compared to regular deviled eggs, but everyone thinks you've spent forever making them.
Benefits Worth Noting
The surprise factor is amazing - people don't expect colorful eggs and their reactions are worth it
You can fit any event perfectly - from welcoming babies to celebrating team colors to holiday parties
Even picky children will try them (my egg-hating nephew gobbled down four)
They need just a tiny bit more work than standard deviled eggs
Last summer when I took these to my sister-in-law Lisa's backyard gathering, she wouldn't believe I made them myself. She kept saying I must have ordered them from some fancy food shop. After I showed her how simple they were, she whipped up a batch for her reading group and sent me multiple pictures of everyone going crazy for them.
Smart Ingredient Choices
Older eggs (about a week old) peel much better than new ones - standard supermarket eggs work great
Don't skimp with low-fat mayo in the filling - I tried it once and totally regretted it
A splash of liquid from your pickle jar gives that special tang that makes people wonder what you did
Skip the fancy mustard - plain yellow actually works better in these
Small pieces of dill add flavor bursts that smooth mixtures just can't match
I've gotten pretty particular about my eggs for this dish. If possible, keep them in your fridge at least a week before cooking. The air pocket inside grows, which helps the shell come off cleanly instead of taking chunks of white with it. This makes a huge difference when you want even coloring across all your eggs.
SaveColored Deviled Eggs Recipe | lilicooks.com
Foolproof Preparation Guide
Start Cool
Put your eggs in cold water every time. Using hot water makes them crack too soon. I fill my pot with enough water to cover them by an inch. Don't pack too many in - they need space to cook right.
Mind The Bubbles
The moment you see full boiling is when you should start paying attention. Stay in the kitchen! I use my phone timer because I've messed up too many batches by watching TV. Keep heat at medium-high - too hot and they'll bump around and break.
Patience Pays
Cut the heat completely and cover with the lid. Those next 12 minutes are crucial - the leftover heat cooks them just right without creating that ugly green circle around the yolks. I've found 10 minutes leaves them too soft, while 15 makes them overcooked.
Quick Cool
Empty all hot water and run cold tap water over them first. Then add some ice cubes with more cold water. This temperature change helps pull the membrane away from the shell. My grandma showed me this trick and it never fails.
Crack All Around
Don't pick at the shell - gently roll each egg on your counter to create cracks everywhere. Begin peeling from the wider end where there's air. Sometimes I do this with water running over them to help wash away tiny shell bits.
Smooth Slicing
Use a really sharp knife and clean it between eggs. I cut them down the middle but hold them softly - pressing too hard pushes the yolk through the white. Nothing looks worse than rough edges or torn whites.
Gentle Removal
Push the yolks into a bowl using your thumb or a teaspoon. Try not to damage the whites since they need to stay whole for coloring. I've accidentally poked through some whites before - they taste fine but don't hold dye well.
Thorough Mixing
Break up all yolks with a fork before adding anything wet. Crush all lumps before mixing in mayo, pickle juice, and mustard. Keep working until completely smooth or you'll have trouble with your piping bag later - I found that out the hard way!
Final Flavors
Add your finely chopped pickles at the end. I've tested many pickle types but dill just blends best with everything else. Cut them super small or you'll struggle with piping later. Add salt carefully - you can always put more in but can't take it out.
Easy Filling
Put everything in a ziplock, push filling to one corner, and press air out before closing. Cut a tiny corner - smaller than you think. You can make the opening bigger later if needed, but can't fix it if it's too large.
Vibrant Coloring Tricks
Adding vinegar makes the color stick to eggs - I skipped it once and the dye just washed off
Everyday food coloring from the grocery store works perfectly fine - no special products needed
Color strength varies between brands - I find McCormick gives richer colors from my tests
I once tried making "healthy" colored eggs with beet juice and turmeric for my wellness-focused friend Jen. Total failure. The beet ones barely showed any red and the turmeric stained my kitchen surfaces. Sometimes artificial options just work better. For my mom's 60th birthday party, I mixed red and blue drops to match her kitchen wall color - she couldn't stop laughing when she saw them.
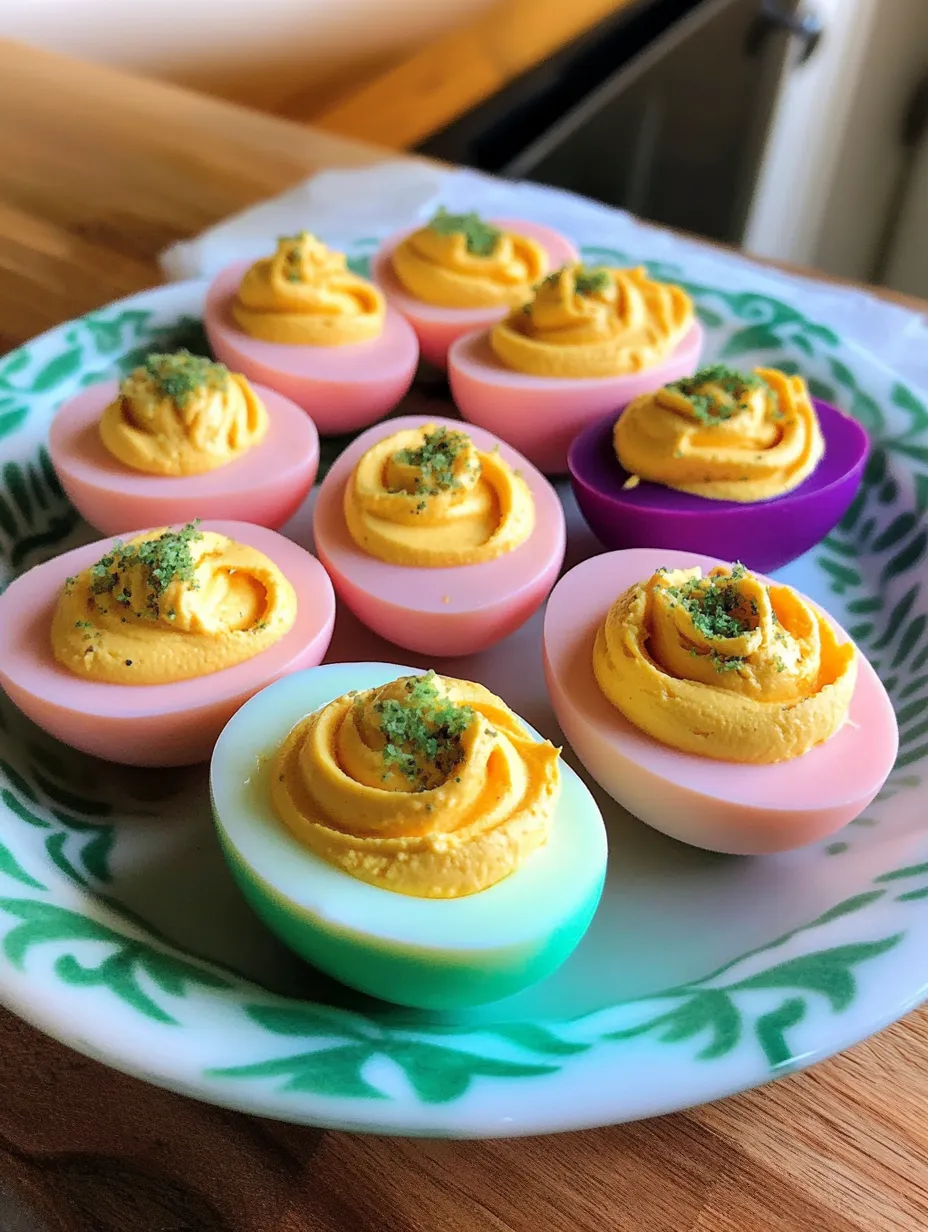
Attractive Presentation Ideas
These pop against any white dish - the colors really stand out. At my cousin's Kentucky Derby get-together, I arranged green eggs in a circle like a wreath with tiny mint leaves tucked between them. For laid-back barbecues, I just set them on a wooden board with some scattered herbs. They look fancy either way but take much less work than anyone realizes.
Creative Variations
If you like olives more than pickles, try using olive juice instead. My buddy Tony adds a little Worcestershire sauce that gives a nice savory touch. For upscale brunches, I've topped them with tiny shrimp or caviar for grown-up appeal. My brother mixes bacon bits into his filling and they vanish even quicker than my standard ones.
Storage Smarts
I've found it's best to keep dyed whites separate from filling until about an hour before serving. Filled eggs get slightly watery after several hours at room temperature. When taking them somewhere, I use those cheap plastic egg carriers from dollar stores - not fancy but stops them sliding around. Don't ever cover with plastic wrap - it sticks to the filling and ruins your careful piping work.
SaveColored Deviled Eggs Homemade | lilicooks.com
Smart Cooking Shortcuts
Let eggs warm up to room temperature before coloring them - they take dye better when not cold
Create marble patterns by adding a few oil drops to your dye water and gently stirring
Make a small dent in your filled eggs with the back of a teaspoon before adding toppings
I must have made countless batches of these colored deviled eggs through the years. My family doesn't even ask what I'm bringing to gatherings anymore - they just assume it'll be "the eggs." My dad still claims he doesn't care for deviled eggs but somehow always eats at least three of mine. It's amazing how simple food coloring can turn something ordinary into something people actually look forward to. Every minute of peeling is totally worth it!
Recipe FAQs
→ Will the eggs taste like vinegar after coloring?
Not at all! The vinegar helps the dye stick to the whites but doesn’t leave any flavor behind.
→ How long in advance can I prepare these eggs?
You can make them 24 hours early. Keep refrigerated in a covered dish. If prepping more than a day ahead, store the colored whites and yolk mixture separately and assemble right before serving.
→ What type of food coloring is best for dyeing the whites?
Liquid and gel dyes both work great. Liquid ones are easy and quick to use, while gel colors give more intense shades. Add little by little until satisfied.
→ Are there natural dye options I can use?
Definitely! Want pink or red? Use beet juice. For yellow, go with turmeric. Spinach juice provides green, and blueberry juice gives purple or blue. Natural dyes tend to be softer in hue and need more time to absorb.
→ Why is peeling the eggs so hard sometimes?
Use eggs that aren’t super fresh—those a week old or more peel easier. Also, dunking them into ice water after cooking helps the shell slip off easily.
→ Can I switch up the filling for variety?
Of course! The dyed whites work with any filling. Give avocado, hummus, or different spices and herbs a try to match your event vibe.
Colored Deviled Eggs
Deviled eggs, but make them artistic! The whites are dyed in cheery shades, turning this classic snack into a playful treat for celebrations.
096 ounces water in each cup (for separate colors)
Steps
Step 01
Put the eggs in a big pot and pour cold water in till they’re covered. Heat on medium-high till the water boils. Turn off the heat, cover with the lid, and let them sit for 12 minutes.
Step 02
Pour the water out and run cold water over the eggs. Gently take the shells off once they’re cooler.
Step 03
Mix food color with water in separate cups for each color. Stir in 1 teaspoon of vinegar per cup. (Don’t worry—the vinegar flavor won’t stick around!)
Step 04
Slice the eggs lengthwise and take out the yolks, placing them in a bowl. Put the empty egg halves into the colorful water and soak them for 10 minutes or more, depending on how bold you want the colors.
Step 05
Use a fork to smash the yolks, then add mayo, mustard, and pickle juice. Mix until smooth. Stir in the chopped pickles, and season with salt and pepper to taste.
Step 06
Scoop the whites out of the colorful cups with a spoon, then place them on paper towels to let excess dye drip off. Pat them dry with another towel if needed.
Step 07
Spoon the filling into a plastic bag and snip off a corner. Squeeze the yolk mix into the dyed egg halves as neatly as you can.
Step 08
Pop them on a platter and keep them in the fridge until you’re ready to enjoy.
Tips
Want deeper colors? Let the whites soak longer in the dye.
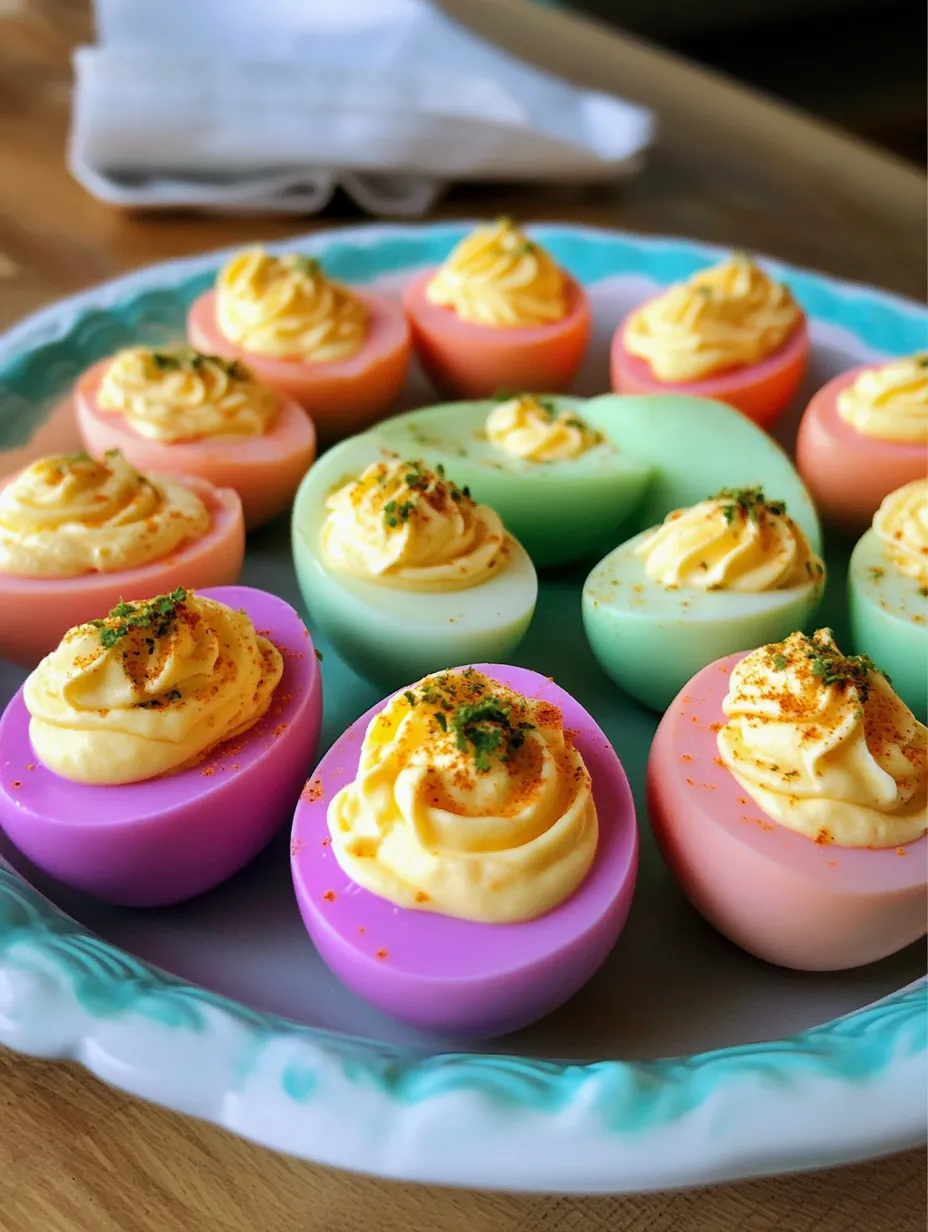
Soft pastel hues work great with only a few drops of food coloring—perfect for springtime!
Serve these dyed eggs in pink or blue for baby showers, or match colors to your party theme.
You can make these up to 24 hours early. Just keep them chilled in the fridge.
Required Tools
Big cooking pot
Knife for slicing
Bowl for mixing
Spoon to stir
A zippered baggie
Scissors to cut bag
Small cups for the dye
Spoons to handle eggs
A few paper towels
Plate to serve on
Allergy Information
Always check each ingredient for allergens, and consult a medical professional if unsure.
Egg-based dish
Made with mustard
Could contain soy (if your mayo has soy in it)
Nutritional Information (per serving)
These details are shared for general guidance and don’t replace professional advice.

 Save
Save
 Save
Save
 Save
Save