
 Pin it
I discovered these chicken tenders in my country kitchen where cooking smells filled every corner on Sundays. After tons of experimenting and lucky kitchen moments, I found this version that's now our family's favorite comfort meal. One fall night, watching oil bubble in my grandma's skillet, I got it just right - a buttermilk dip that makes the chicken super tender, with a coating that stays crunchy long after cooking.
Essential Tasty Ingredients
Get chicken tenders that feel tight and bouncy - stay away from the soft, mushy ones at the store.
You absolutely need genuine full-fat buttermilk - I learned this the hard way when I tried that milk-vinegar trick at my first dinner gathering.
Choose unbleached flour - it creates a stronger crust that won't fall apart when dipped.
Don't use old garlic powder - the fresher stuff makes a big difference.
My journey with this dish took a surprise turn when I ran into Martha at our weekly market. Her homemade buttermilk changed these tenders in ways I couldn't imagine. Now I plan my cooking days around when she sells at the market.
 Pin it
Foolproof Cooking Instructions
- Creating Your Flavor Soak:
- Empty the buttermilk into a deep glass container - I use my mother's ancient Pyrex bowl.
- Add your spices and mix thoroughly until it looks like a creamy, spotted lake.
- Place each tender in separately, making sure they all get completely covered.
- Put them in the fridge overnight - this step is crucial, don't rush it.
- Making That Crunchy Outer Layer:
- Put your flour in a wide, shallow dish - I finally found a use for those pasta plates from my wedding gifts.
- Add tiny amounts of buttermilk to create small lumps in the flour - these turn into extra crispy spots.
- Work with small groups of tenders, letting extra marinade drip away before coating them in flour.
- Push the coating firmly onto each tender - they need a strong squeeze in the mixture.
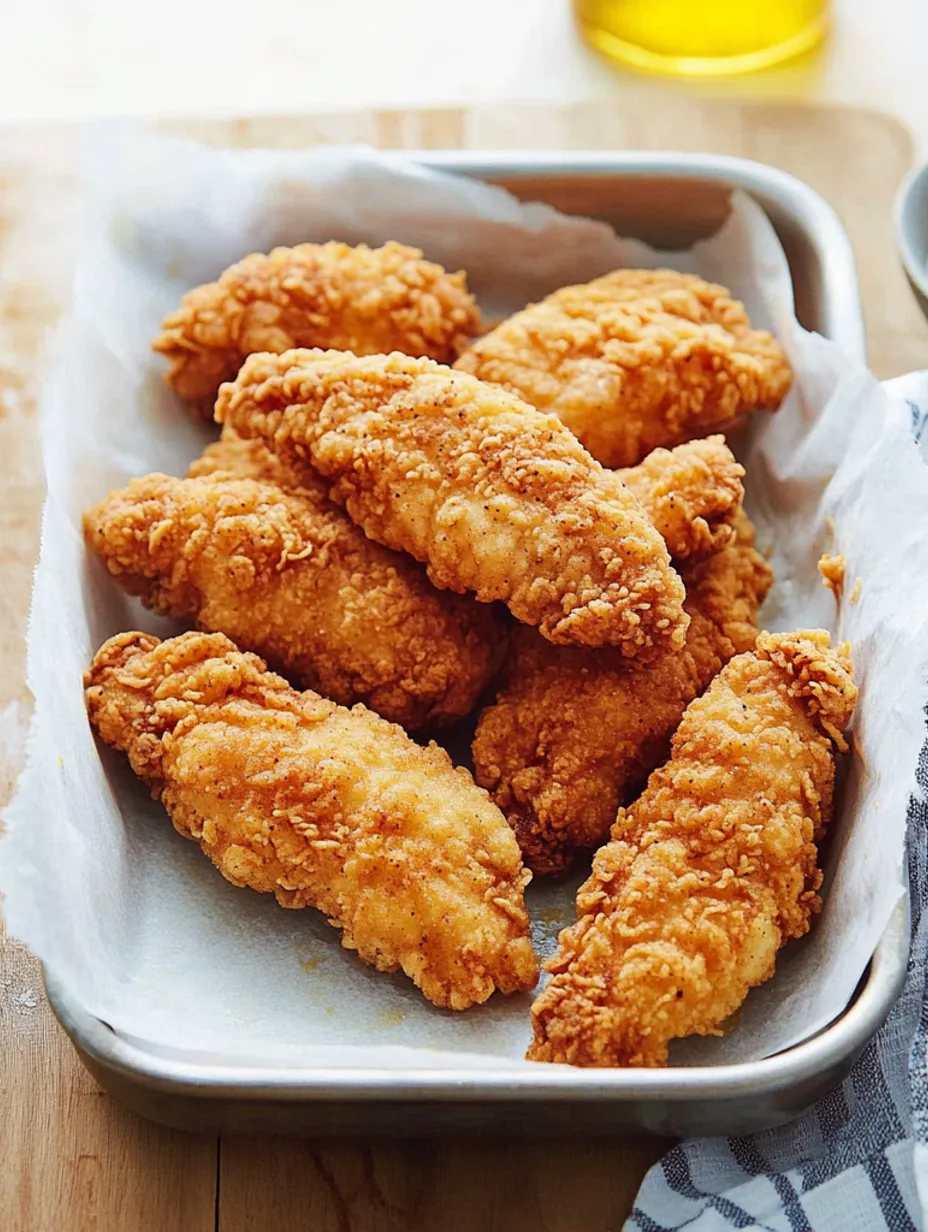
- The Cooking Process:
- Heat your oil until it's rippling in a heavy pot - my grandma's Dutch oven works perfectly every time.
- Lower tenders in carefully - if you drop them, the hot oil will bubble up dangerously.
- Wait for that wonderful sizzling sound - not too loud, not too soft, just right.
- Let them turn golden before turning - taking your time makes all the difference.
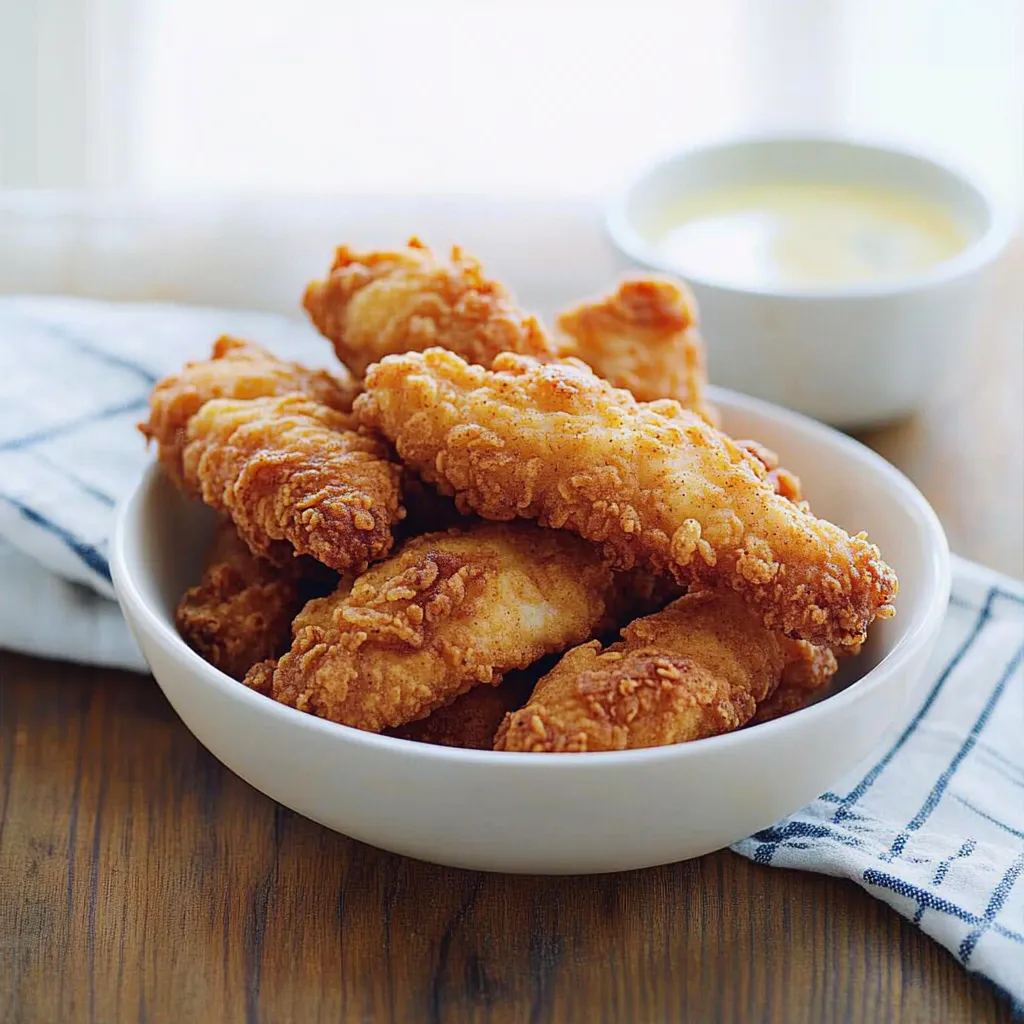
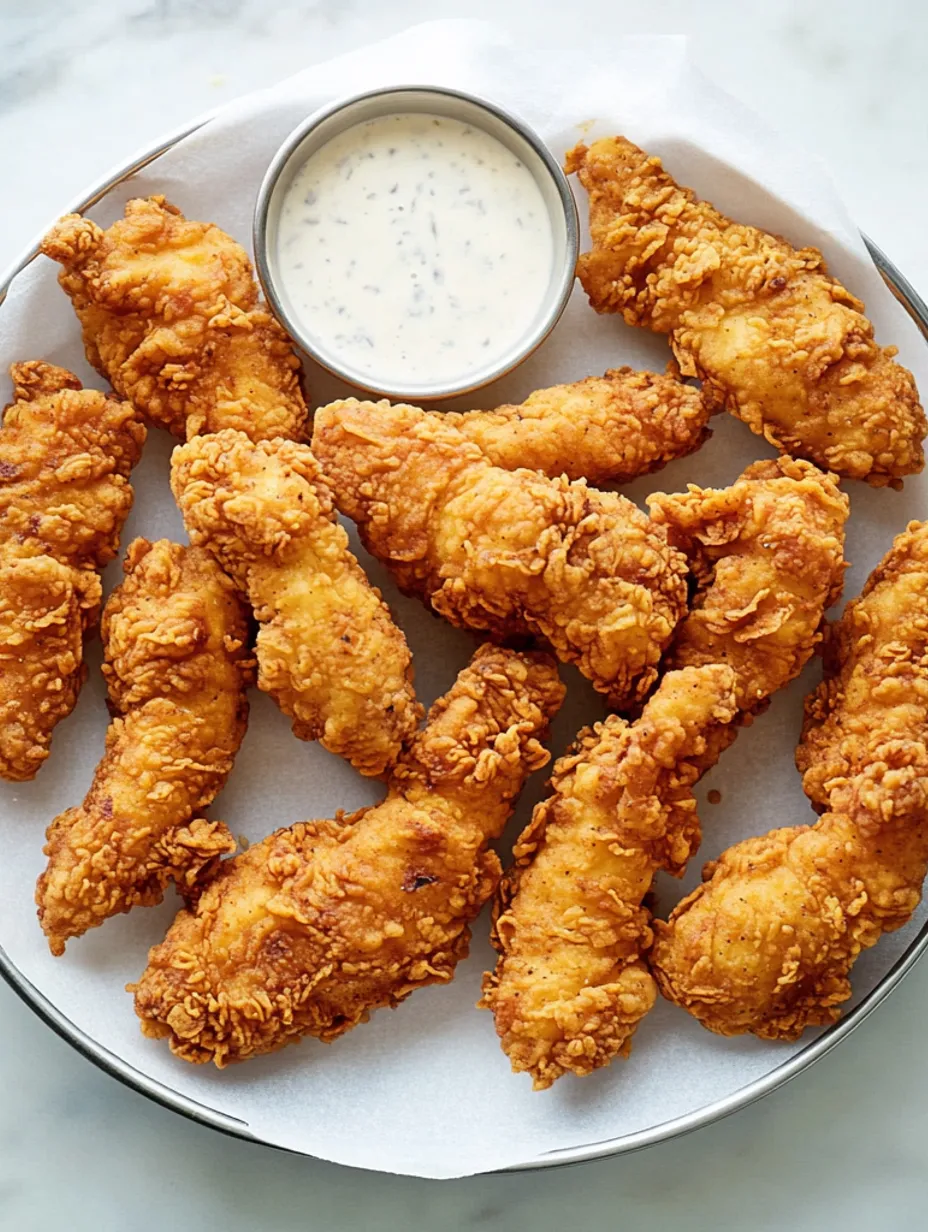
Delightful Serving Ideas
Whenever I put these tenders on our family dining table, I think about all our Sunday meals together. They work with so many meals - fancy them up with some spicy honey and fresh herbs for dinner guests, or keep it simple with ranch dressing for movie nights. In warmer months, I serve them with my sister's awesome potato salad and corn on the cob. When it's cold outside, nothing beats pairing them with creamy mashed potatoes and oven-roasted brussels sprouts that get all crispy and sweet.
Personal Flavor Twists
This recipe has changed so many times over the years. My neighbor Rosa got me to try adding grated Parmesan and dried basil to the flour mix - it was amazing! During my hot food phase (which almost killed my husband's taste buds), I found that adding some hot sauce to the buttermilk creates this wonderful heat that grows with each bite. When my daughter went through her "everything needs ranch" stage, we started adding ranch mix to the coating - now we make that version regularly.
Keeping Them Crispy Later
About leftovers - though we rarely have any in my house. If you manage to save some, let them cool fully on a wire rack. Put them in the fridge with parchment paper between layers, or they'll stick together like best friends hugging. Don't use the microwave unless you want soggy chicken. Instead, warm them in a 350-degree oven for about 10 minutes - they'll get crispy again like they're freshly made.
 Pin it
Smart Meal Prep Tricks
When my kids started taking these tenders for school lunch, I learned some helpful tricks. Pack them while they're still a bit warm, and they'll stay perfect until lunchtime. For cooking lots at once, I freeze them on a baking sheet first, then put them in a freezer bag - this stops them from turning into one big clump. They'll last three months frozen, though we always eat them way before then.
Pro Cooking Secrets
Get your oil just hot enough - when a tiny bit of flour bubbles in the oil, you're ready to cook.
Add more seasoning to your flour than you think you should - the flavors get milder during cooking.
Cool your tenders on a wire rack instead of paper towels - it keeps them crispy on the bottom.
I've cooked these tenders for countless birthday parties, shared meals, and quiet family dinners. Each batch has its own story - from when I dropped my spoon in the hot oil (what a mess!) to watching my youngest learn to coat chicken without covering my kitchen in flour. There's something special about a recipe that brings people together, makes memories, and still tastes amazing even after making it hundreds of times. Now I need to go soak another batch - tomorrow's dinner won't make itself!
Frequently Asked Questions
- → What’s the marinating time?
- At least 4 hours, or up to a day for big flavor.
- → Can you freeze them?
- Sure! Freeze for 3 months and bake later at 350°F for about 25 mins.
- → How can I tell when they’re done?
- Once both sides are golden, even if the oil lightens them up.
- → Why does buttermilk help?
- It makes the coating chunky and super crunchy!
- → What frying oil works best?
- Stick with vegetable oil heated to 350°F for best results.