
 Save
Save
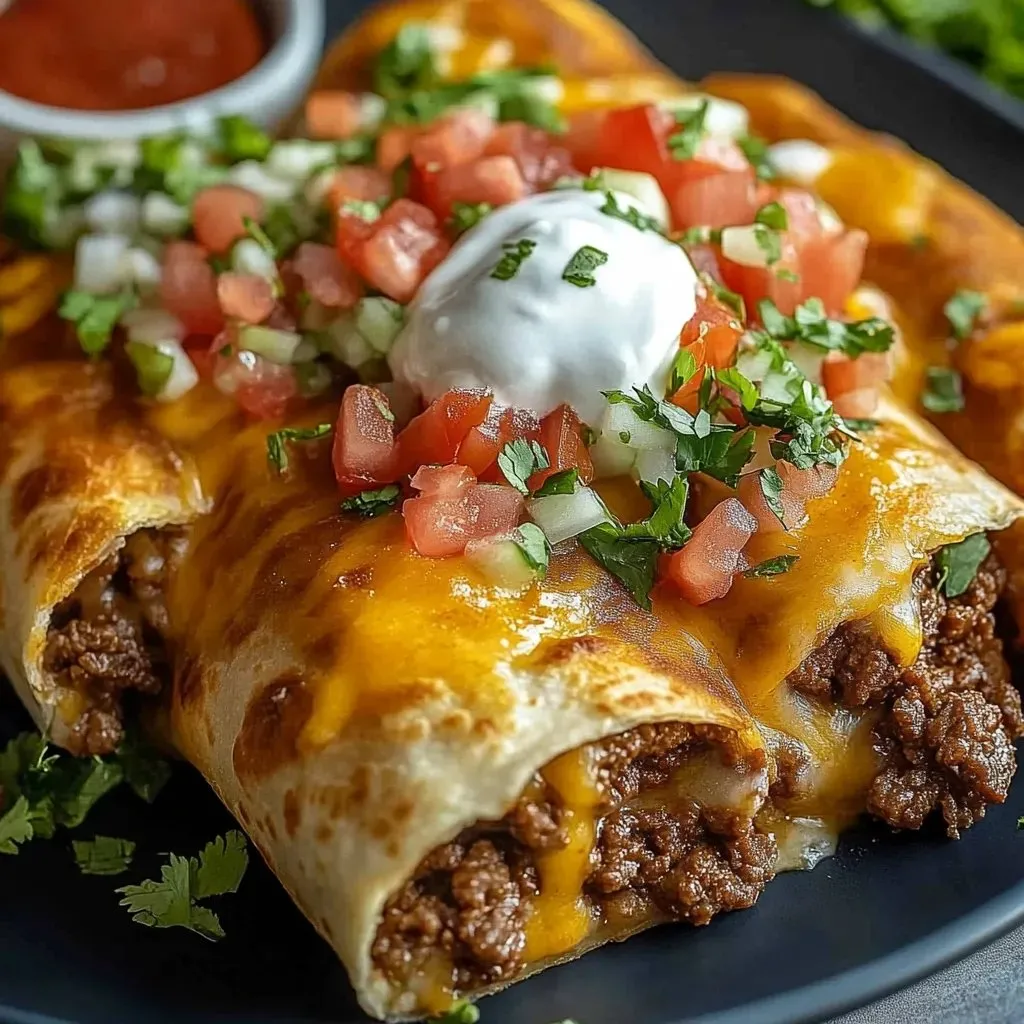
These beef and cheese wraps feature a crunchy, golden shell stuffed with flavorful ground beef and a mix of cheddar and Monterey Jack cheeses. The beef gets its kick from sautéed onions, fresh garlic, and zesty taco spices that create layers of authentic Mexican flavor. After folding everything together and popping them in the oven, you'll get that amazing crunch outside and warm, gooey filling inside that rivals any restaurant version. They're super simple to make with basic ingredients you probably already have in your pantry right now.
I whipped up these chimichangas when I wanted something healthier than what restaurants serve but still craved that satisfying crunch and melty cheese combination. The baking method worked so well that we've made it our end-of-week tradition, where everyone gathers around the kitchen to load up their favorite toppings and share stories from the week.
Essential Mexican Ingredients
- Ground beef: Forms the meaty foundation that carries all those delicious spices. Choose 80/20 blend for better flavor and juiciness without excess grease
- Yellow onion and fresh garlic: Build the savory aromatic base that makes the beef filling pop with authentic flavor depth
- Taco seasoning packet: Saves precious time while delivering consistent spice blend that doesn't skimp on authentic taste
- Water: Helps distribute spices evenly throughout the meat while keeping everything properly moist during cooking
- Sharp cheddar cheese: Brings bold tangy flavor that stands up to the seasoned beef beautifully
- Monterey Jack cheese: Adds that coveted stretchy cheese pull that makes every bite Instagram-worthy
- Large flour tortillas: Must be fresh and pliable so they won't crack when folded around the generous filling
- Butter or vegetable oil: Creates that golden crunchy exterior finish that mimics deep-frying results perfectly
- Sour cream, fresh salsa, and cilantro: Add cool, tangy freshness that balances the warm, rich filling beautifully
Complete Cooking Process
- Preparing Your Oven Setup
- Set your oven to 400°F and line your baking sheet with parchment paper or brush with a thin coat of oil to prevent sticking. This temperature creates the perfect balance that crisps the outside beautifully without burning the tortillas before the inside heats through completely. Position the rack in the center of your oven for even heat distribution that ensures consistent browning on all sides.
- Creating The Flavorful Meat Base
- Cook ground beef with diced onions and minced garlic in a large skillet over medium heat until the beef is completely browned and cooked through, about seven to eight minutes total. Break the meat into small, uniform pieces using a wooden spoon for better texture distribution in the final chimichangas. Drain off all excess fat completely by tilting the pan and spooning out grease, ensuring your finished chimichangas won't become soggy during baking.
- Building Deep Spice Flavor
- Stir in the taco seasoning packet and water, mixing thoroughly to distribute spices evenly throughout the meat mixture. Allow the mixture to simmer and bubble gently until it thickens slightly and the liquid reduces, about three to four minutes of active stirring. The consistency should be moist but not watery, with all the spices well incorporated. Let this flavorful base cool for five minutes before adding cheese to prevent complete melting.
- Incorporating Perfect Cheese Blend
- Add both cheddar and Monterey Jack cheeses to the slightly cooled meat mixture, stirring gently to distribute throughout. The residual heat will begin melting the cheese just enough to create pockets of gooey goodness without turning everything into a completely liquid mess. This technique ensures you get those satisfying cheese stretches when biting into the finished chimichangas.
- Preparing Flexible Tortillas
- Warm tortillas in the microwave for fifteen seconds or heat them individually in a dry skillet to make them pliable and easy to fold without cracking. Place about half a cup of the beef and cheese mixture in the center of each tortilla, leaving enough border space for proper folding. Don't overfill as this makes rolling difficult and can cause bursting during baking.
- Mastering The Rolling Technique
- Fold the left and right sides of each tortilla toward the center, then roll tightly from the bottom edge toward the top, keeping the filling contained within. Place each completed chimichanga seam-side down on your prepared baking sheet to prevent them from unrolling during the cooking process. Space them at least an inch apart for proper air circulation and even browning.
- Creating Golden Crunchy Exterior
- Brush melted butter or oil generously over the entire surface of each chimichanga, paying special attention to any exposed tortilla areas. This crucial step creates that restaurant-style golden crunch without the need for deep frying, while also helping achieve even browning throughout the baking process.
- Achieving Perfect Baked Results
- Bake for twenty to twenty-five minutes, carefully turning each chimichanga over halfway through the cooking time for even browning on all sides. Look for a deep golden brown color all around with edges just beginning to get slightly darker. The exterior should sound hollow when tapped gently, indicating proper crispness has been achieved.
- Serving At Peak Temperature
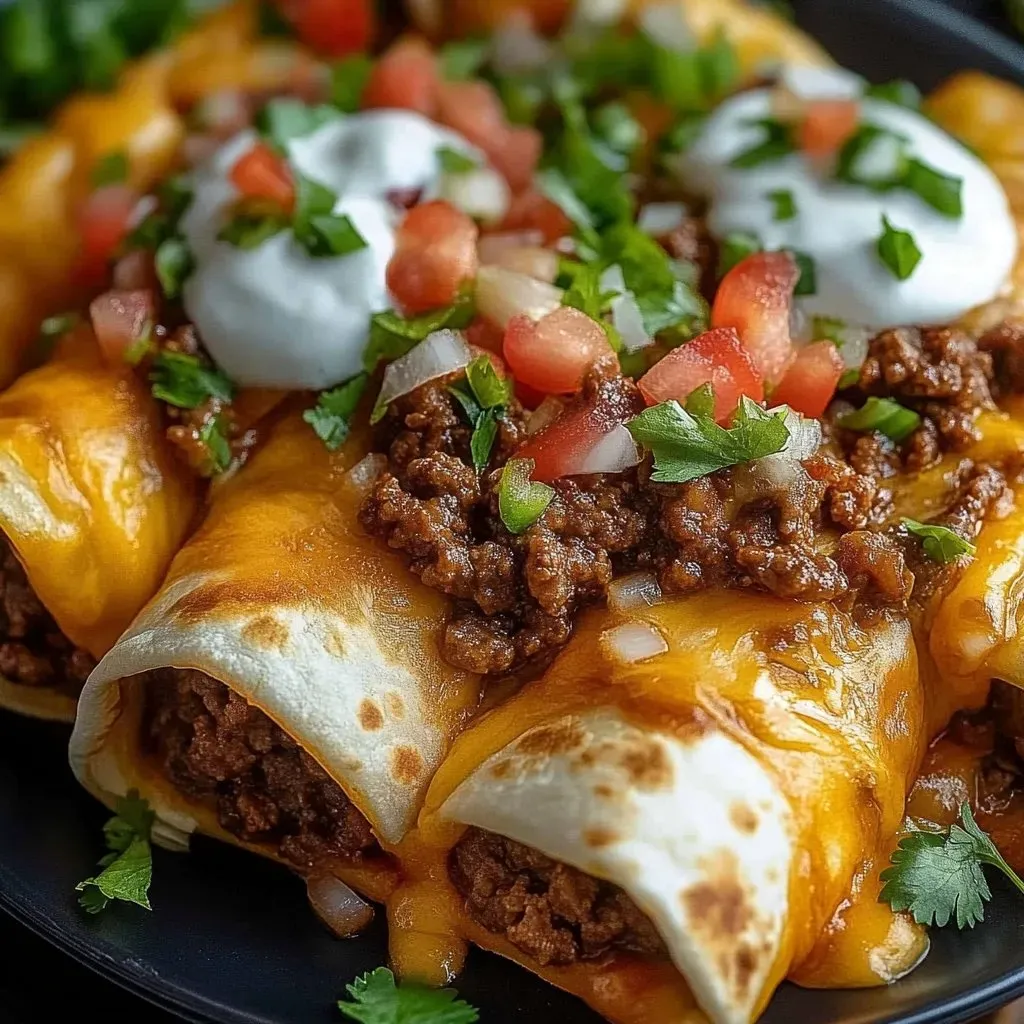
- Remove from oven and serve immediately while the exterior is at maximum crispiness and the interior cheese is perfectly melted and stretchy. Top with cool sour cream, fresh salsa, and chopped cilantro to create that delightful temperature contrast that makes every bite exciting and satisfying.
 Save
Save
What I love most about this dish is how the crunchy golden exterior meets the melty, seasoned cheese and beef inside, creating texture contrasts that keep every bite interesting. My daughter once asked for these instead of restaurant food for her birthday dinner, and we've kept that special family tradition going for three years now, with each family member claiming their own favorite topping combination.
Smart Advance Preparation
These chimichangas work beautifully for meal planning and busy schedule management. You can prepare the seasoned beef filling up to two days early and store it covered in the refrigerator until ready to use. You can even assemble the complete chimichangas and store them uncooked for up to twenty-four hours before baking. Just brush with butter or oil right before they go in the oven and increase cooking time by about five minutes if they're going in cold from the refrigerator. This flexibility makes them perfect for entertaining or weekly meal prep sessions.
Creative Flavor Variations
The classic beef and cheese combination is wonderful, but this technique opens doors to countless delicious possibilities. Try seasoned shredded chicken mixed with cream cheese and diced green chiles for something creamy and mild. Create vegetarian versions using seasoned black beans, roasted sweet potatoes, and corn kernels for hearty plant-based satisfaction. Breakfast versions work beautifully with scrambled eggs, breakfast sausage, and pepper jack cheese. No matter what filling you choose, the rolling and baking techniques remain exactly the same for consistent crispy results.
Perfect Serving Ideas
Create an impressive Mexican feast by serving these chimichangas alongside cilantro-lime rice, seasoned refried beans, and a simple avocado salad dressed with lime juice. Set up an interactive toppings station featuring fresh guacamole, homemade pico de gallo, various hot sauces, pickled jalapeños, and lime wedges for squeezing. This hands-on approach makes dinner more engaging and fun, especially when entertaining friends or celebrating family gatherings where everyone can customize their perfect bite.
 Save
Save
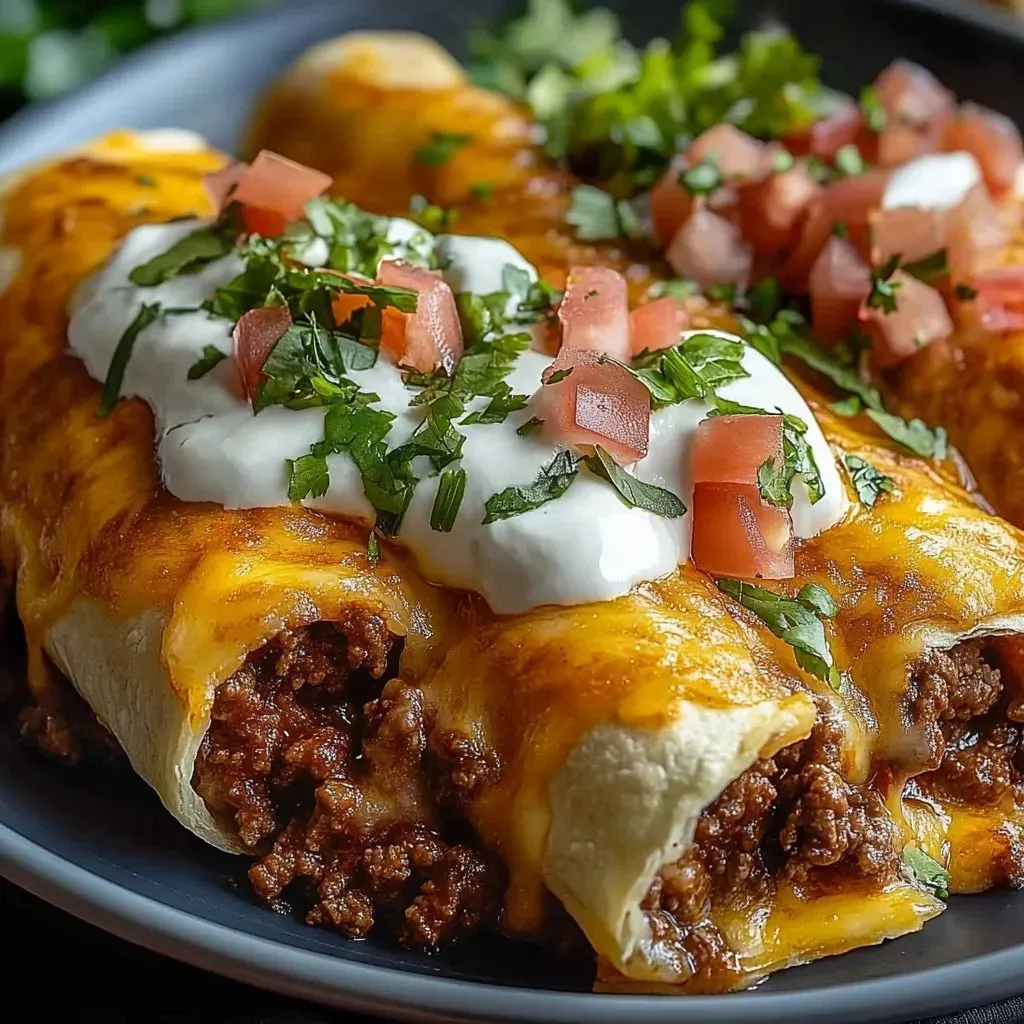
These crispy baked chimichangas represent the perfect balance between indulgent comfort food and practical home cooking that busy families need. The technique delivers all the satisfying crunch and melty cheese goodness of traditional deep-fried versions while being significantly easier to manage and healthier overall. What makes me happiest is watching family members bite into these golden packages and experience that moment of pure satisfaction when the crispy exterior gives way to the warm, flavorful filling inside.
Recipe FAQs
- → Can I use different types of cheese?
- Absolutely! Pepper jack adds heat, Mexican cheese blend works great, or try adding some cream cheese to the filling for extra creaminess.
- → How do I prevent the wraps from getting soggy?
- Make sure to drain the beef well and let the filling cool slightly before adding cheese. The butter coating also helps create a barrier.
- → Can I make these ahead of time?
- Yes! Assemble the wraps and refrigerate for up to 4 hours before baking. You might need to add 3-5 extra minutes to the baking time.
- → What's the best way to reheat leftovers?
- Reheat in a 350°F oven for 5-8 minutes to restore the crispiness, or use a toaster oven. Microwaving will make them soft instead of crunchy.
- → Can I freeze these wraps?
- Yes! Wrap individually in foil and freeze for up to 3 months. Bake directly from frozen, adding 5-10 extra minutes to the cooking time.
- → What other fillings can I use?
- Try ground turkey, chicken, or even refried beans with cheese for a vegetarian version. Leftover pulled pork or shredded chicken work great too!