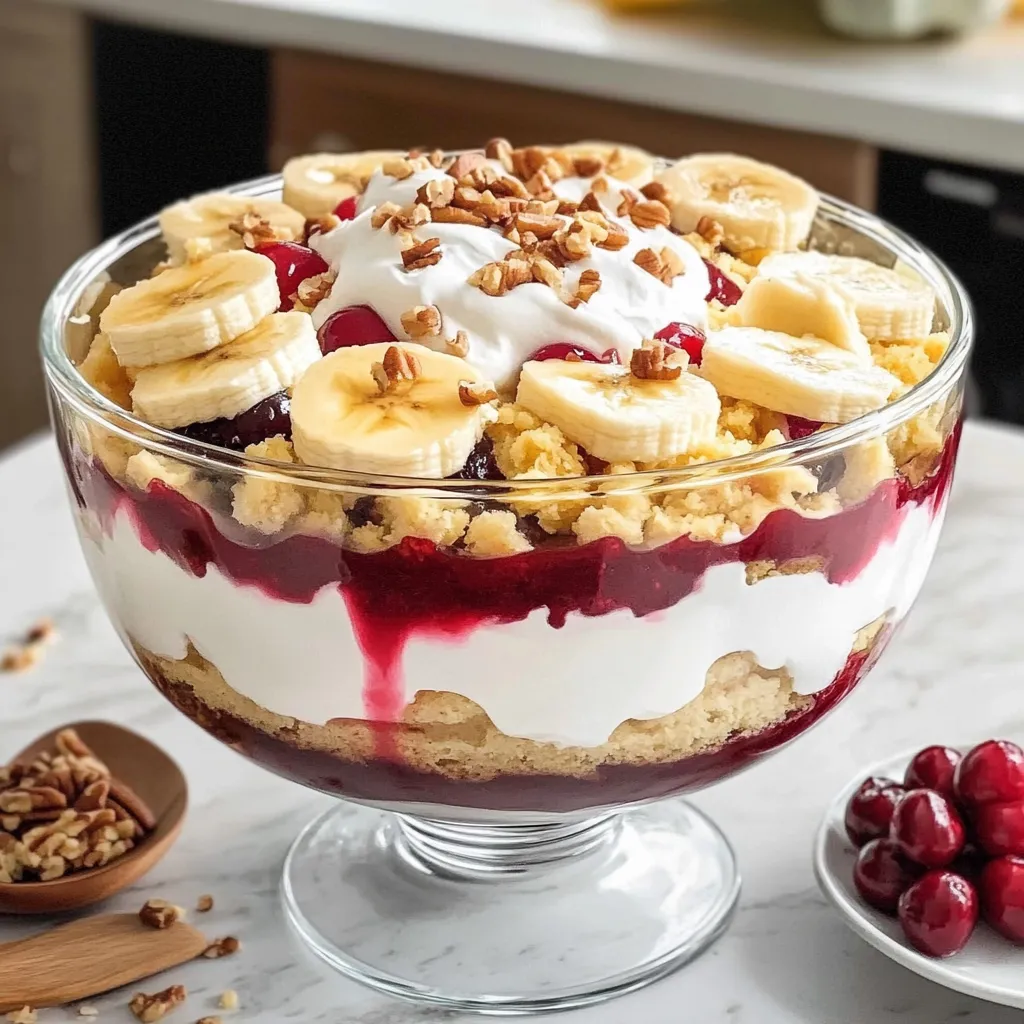
Bake a cake, mix up pudding, then layer bite-sized cake pieces, pudding, fruit, cherry filling, and whipped topping in a bowl. Go for two layers, top with pecans, and chill before serving.
I found this dessert by accident when searching for something fancy yet simple for a big family get-together. With its stunning tiers of cake, pudding, fruits and whipped topping, everyone thinks I spent forever making it. The truth? It's mostly just stacking stuff! Each bite gives you so many different tastes and textures that work so well together. Now it's what I make whenever I need to feed lots of folks and want them begging for my secret.
Crowd-Pleasing Masterpiece
Wows everyone when served in a glass dish without needing any fancy decorating tricks
Gets done way before your event so you won't rush around last-minute
Serves loads of guests making it ideal for big gatherings and shared meals
Tastes even better after sitting awhile, so making it yesterday actually helps
My sister's husband Dave, who normally passes on sweets, gobbled up three helpings at our recent barbecue. When his wife poked fun at him about it, he just grinned and said "Hey, it's got fruit inside!" These days whenever they throw a party, I get messages asking if I'm bringing "that cool layered stuff with the red cherries."
Essential Elements
Store-bought yellow cake mix cuts your work down without losing any flavor. I tried baking it from scratch once and nobody spotted any difference.
Boxed instant pudding forms that smooth layer that meshes everything nicely. Vanilla works best to show off the colorful fruit sections.
Well-drained crushed pineapple adds juicy tropical notes. Make sure you drain it properly or you'll end up with mushy cake like I did the first time!
Sliced bananas give that soft sweetness that works magic with the cherries. Get them a few days early so they're sweet but not mushy.
Cherry pie filling creates that eye-catching pop of red. Its slight tang balances out all the sweet stuff perfectly.
One time I ran out of pudding and tried using vanilla yogurt instead. What a mess! It was too liquid and soaked right into the cake rather than staying as a separate layer. Take my advice - don't skip the pudding for this one.
SavePunch Bowl Cake Recipe | lilicooks.com
Simple Assembly Guide
Cake Creation
Heat oven to 350°F and coat your pan well with spray. Stir cake stuff together just until mixed - don't overdo it. Pour it in and bake around 25 minutes until testing clean with a toothpick. Let it cool all the way or you'll mess up your layers later.
Pudding Prep
Mix your instant pudding with cold milk until it's thick but easy to pour. Too runny and it won't stay put; too firm and you can't spread it. I always make this right when I need it for the perfect texture.
Bottom Base
Cut half your cake into chunks and drop them into your clear glass bowl. Don't push them down - those little gaps help the pudding soak in nicely. A trifle bowl looks fancy but any big glass bowl does the job.
Pudding Layer
Pour half your pudding over the cake bits, making sure it reaches all the edges so it shows through the glass. This coating stops the cake from getting too wet from the fruit coming next.
Pineapple Layer
Add half your super-drained pineapple on top. I drain mine in a strainer then press it with paper towels to get it really dry. I learned this after making a soggy disaster my first try!
Banana Layer
Add half your banana slices next. I cut them just as I'm using them so they stay nice and bright. Try putting some right against the glass so people can see them. They should be ripe but not squishy.
Cherry Layer
Pour one can of cherry pie filling over everything. This creates that gorgeous red layer that makes everyone say wow. Spread it carefully so you don't mix it with the bananas underneath.
Whipped Layer
Gently spread one tub of whipped topping over the cherries. Go easy and use a flat spatula if you've got one. This finishes your first set of layers.
Second Round
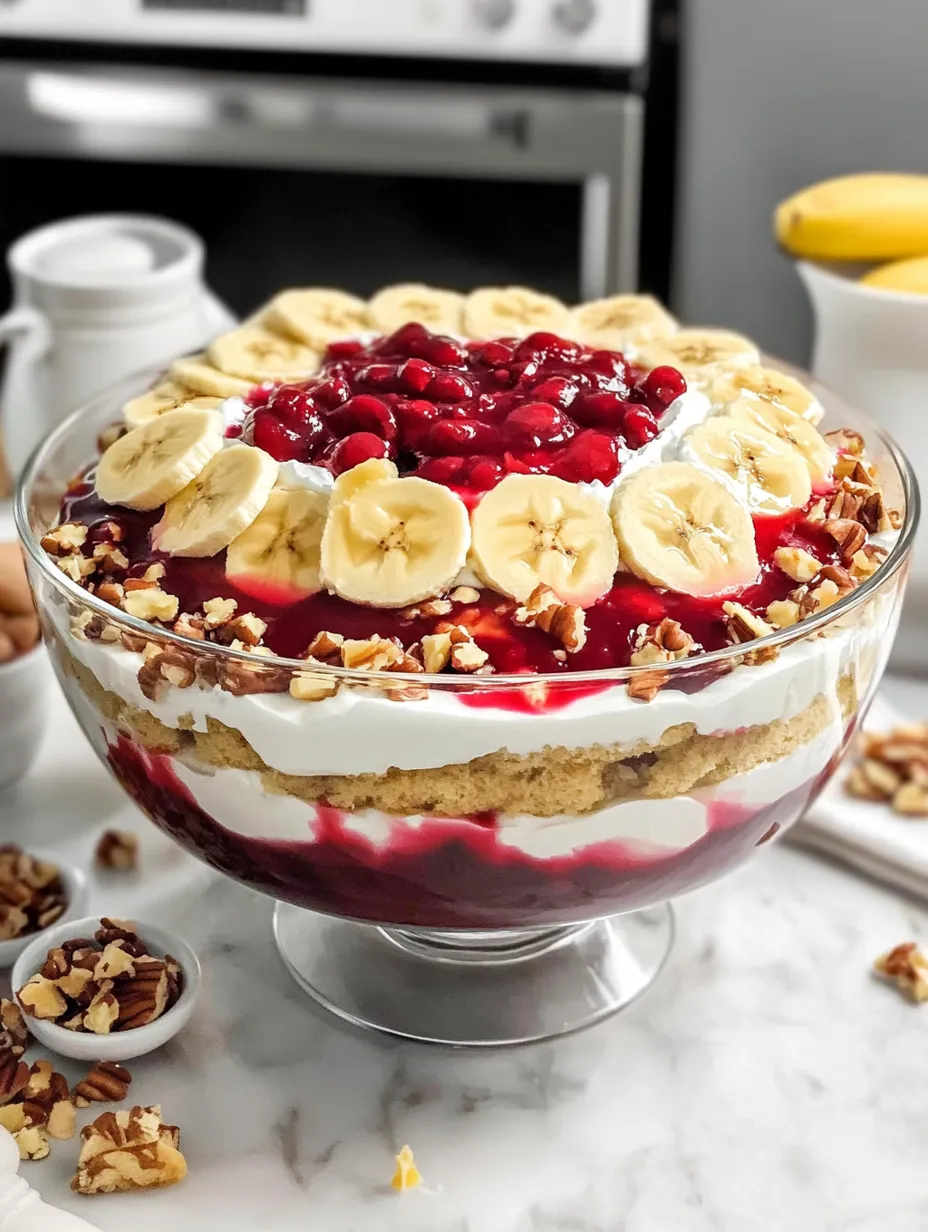
Do everything again! Another round of cake, pudding, pineapple, bananas, cherries and whipped topping. Make the top look extra nice since that's what gets noticed first.
Nut Garnish
Scatter chopped pecans across the top as the final touch. They add a nice crunch against all the soft stuff below. Sometimes I brown them in a pan first for extra flavor.
Cooling Wait
Cover it loosely with plastic and stick it in the fridge for at least 2 hours, but leaving it overnight works even better. This waiting part is super important - it lets all the tastes blend together properly. Plus you won't be rushing on the day of your party!
Dish Smarts
This sweet treat tastes way better after chilling overnight, so plan to make it early
When taking it somewhere, pack the bowl in a box with towels so it stays put
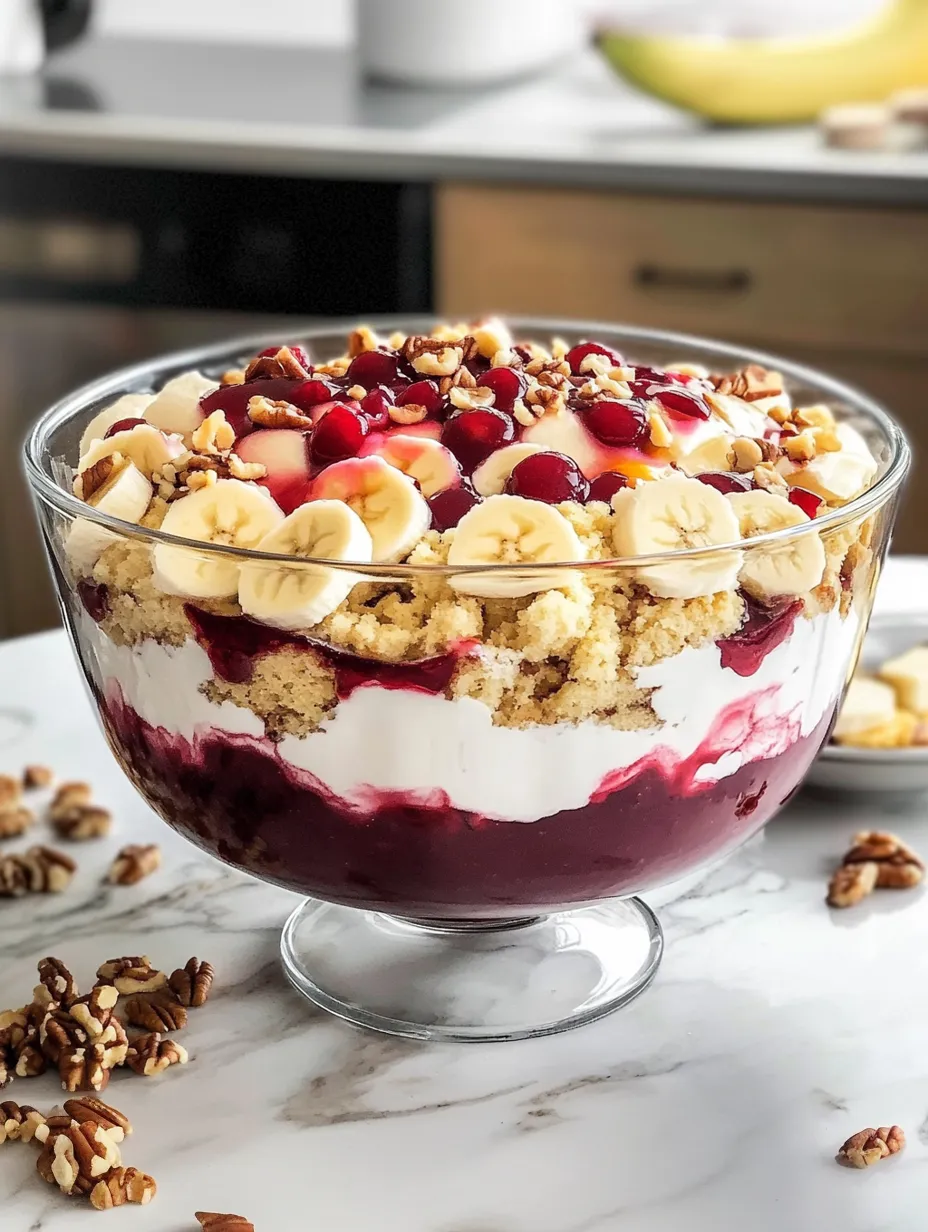
Using see-through glass is super important - the pretty layers sell the dessert
My buddy Jessica asked if I'd make this for her kid's high school graduation last summer. I was worried about making such a big batch, but it came out awesome and vanished faster than any other dessert. Her man told me it was "that fancy dessert that actually lives up to how good it looks!"
Dishing It Out
Grab a deep spoon to serve it up, making sure you get all the way to the bottom for every layer. For fancy parties, I put it in clear plastic cups so everyone sees all the pretty layers. It stays good out of the fridge for a couple hours, which makes it great for buffet tables. Adding an extra spoonful of whipped topping on each portion makes it look super special.
Tasty Twists
You can switch the cherry filling with blueberry or strawberry for different looks through the year. People who love chocolate go nuts for a version with chocolate cake and chocolate pudding layers. During holidays, throw some colored sprinkles on top of the nuts for a festive look that takes zero extra work.
Keeping It Fresh
Any leftovers will stay good in the fridge for up to 3 days if covered. The bananas might turn a bit brown, but everything will still taste great. If you plan to eat it over several days, maybe keep some fresh banana slices to add to the leftover portions. This dessert won't freeze well because of the fresh fruit and cream, so try to finish it while it's fresh.
SavePunch Bowl Cake Homemade | lilicooks.com
Smart Shortcuts
Clean your glass bowl until it shines before you start for the best look
Let the dessert chill at least 4 hours or overnight for neater serving
Cut your bananas right before adding them or splash with pineapple juice to keep them from browning
I've taken this layered dessert to family events, work parties, and neighborhood cookouts. It never fails to impress and folks are always shocked when I tell them how quick it is to put together. There's something really fun about making a treat that looks super fancy but actually comes together fast with basic ingredients. It's now what I'm known for bringing to gatherings, and I'm totally happy with that reputation!
Recipe FAQs
→ Can I prepare this fruit layered treat a day before?
Sure! You can assemble it up to a day ahead. Letting it rest in the fridge actually enhances the flavors. Just make sure to keep it covered and chilled until serving time.
→ Is it okay to try a different cake flavor?
Of course! While yellow cake works beautifully, you can experiment with white, vanilla, or lemon. Chocolate would be bold but might pair nicely with the cherries!
→ Can I swap out the cherry filling for something else?
Definitely. Strawberry, blueberry, or mixed berry fillings are great substitutes. Fresh, lightly sweetened berries also work if you prefer a less sugary option.
→ Do I need to use a special bowl for this?
A clear glass dish shows off the pretty layers best, but any large bowl that holds about 4 quarts will do. If needed, use a 9x13 dish, but it won’t have the same visual effect.
→ How long can I store leftovers in the fridge?
This treat stays good in the fridge for 2-3 days. After that, bananas may darken and the texture could get mushier.
→ How can I skip nuts to make it allergy-friendly?
Absolutely! Leave off the nuts or use alternatives like toasted coconut, crushed cookies, chocolate flakes, or even just more whipped topping.
Layered Fruit Dessert
A colorful treat with fluffy cake, pudding, pineapple chunks, banana slices, cherries, and whipped cream all stacked in a clear bowl for a showstopping look.
0115.25 oz yellow cake mix (pick any brand you like)
021 cup of water
03½ cup of oil, such as vegetable oil
043 big eggs at room temperature
056.8 oz vanilla pudding mix (instant)
064 cups cold milk (whole milk is great)
0740 oz crushed pineapple, fully drained
084 medium bananas, cut into slices
0942 oz cherry pie filling, canned
1016 oz whipped topping, already thawed
11⅓ cup of pecans, roughly chopped
Steps
Step 01
Set the oven to 350°F and grease a 9x13 pan with a nonstick spray made for baking (like Baker’s Joy or its generic version). In a medium bowl, combine the cake mix, water, oil, and eggs. Blend using a handheld mixer just long enough so there are no streaks of yellow left. Pour the mix into your prepared pan and bake for 25 minutes or until a toothpick comes out clean. Let the cake cool fully before moving on.
Step 02
In a medium mixing bowl, pour in the instant pudding mix and cold milk. Blend on medium-low speed with a hand mixer until you notice the pudding thickening up.
Step 03
Dice your baked cake into cubes. Take half of the cake pieces and spread them out at the bottom of a 4-quart dish. Layer half the pudding over the cake cubes, followed by half the drained pineapple. Next, arrange half the banana slices over the pineapple. Top it off with one can of cherry pie filling, and then spread one container of whipped topping evenly over it all.
Step 04
Repeat the same steps for the second layer, using the remaining cake, pudding, pineapple, bananas, cherry pie filling, and whipped topping. Sprinkle the pecan pieces on top of the last layer of whipped topping for a nice crunch.
Step 05
Cover the cake and pop it in the fridge for at least 2 hours to chill before serving.
Tips
This makes a big dessert that's perfect for sharing at big gatherings or potlucks.
For an extra fancy presentation, try using a 4-quart trifle dish instead of a basic punch bowl.
Keep an eye on the cake as the baking time gets close since oven heat levels might not be the same.
You can make this dessert a day ahead and keep it in the fridge until you're ready to serve.
Required Tools
9x13 pan for baking
Nonstick spray for baking pans
A few medium-sized bowls for mixing
Hand mixer (electric handheld)
Large 4-quart bowl or trifle container
Measuring tools (spoons and cups)
Allergy Information
Always check each ingredient for allergens, and consult a medical professional if unsure.
Includes gluten (from the cake mix)
Dairy items included (milk and whipped topping)
Has eggs
Contains tree nuts (pecans)
Nutritional Information (per serving)
These details are shared for general guidance and don’t replace professional advice.

 Save
Save
 Save
Save
 Save
Save