 Save
Save
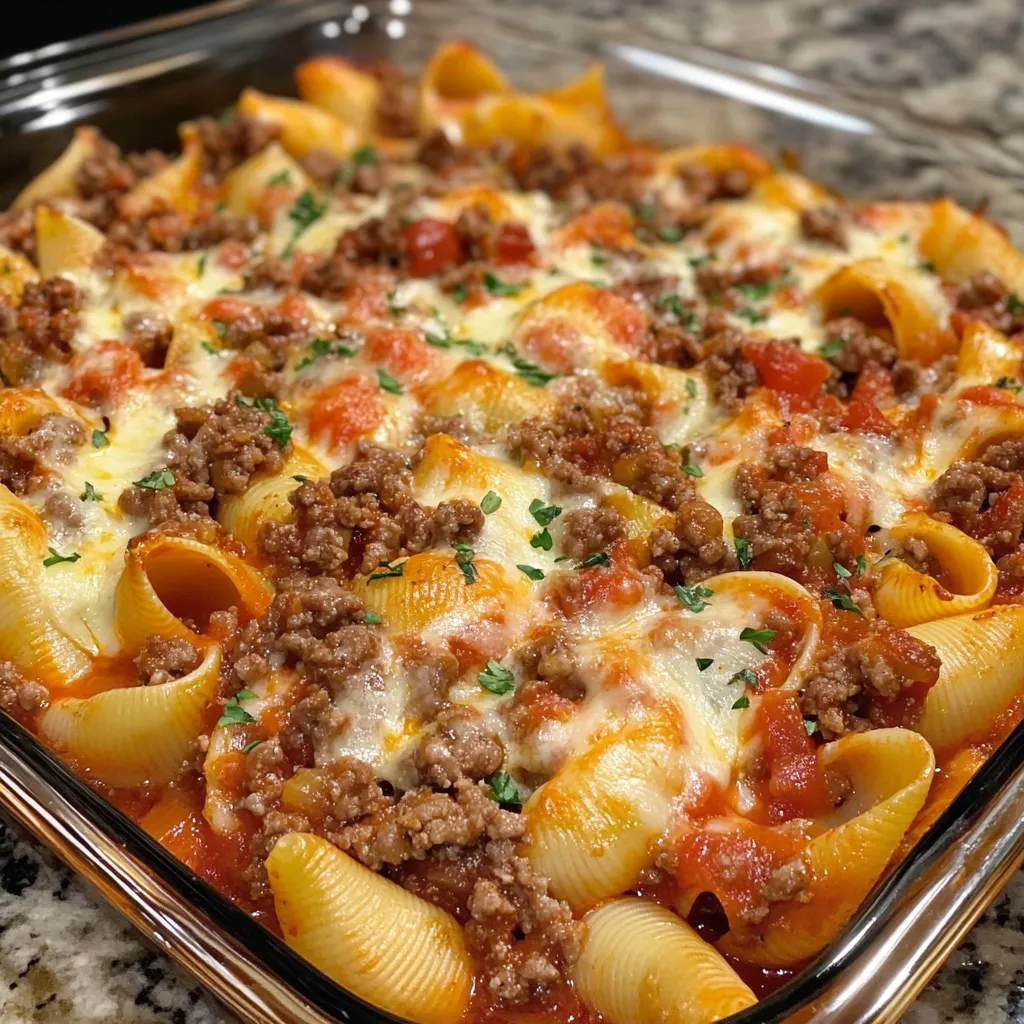
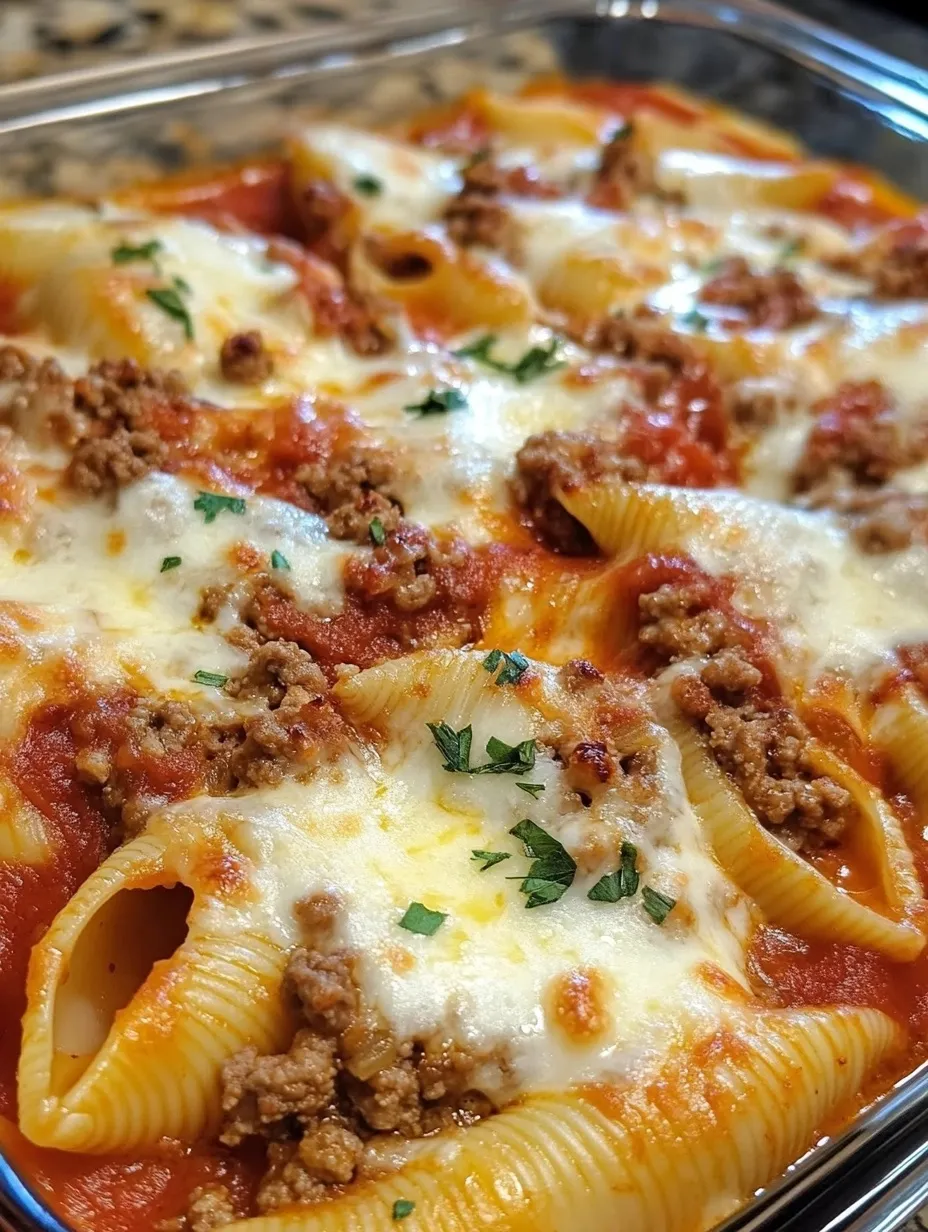
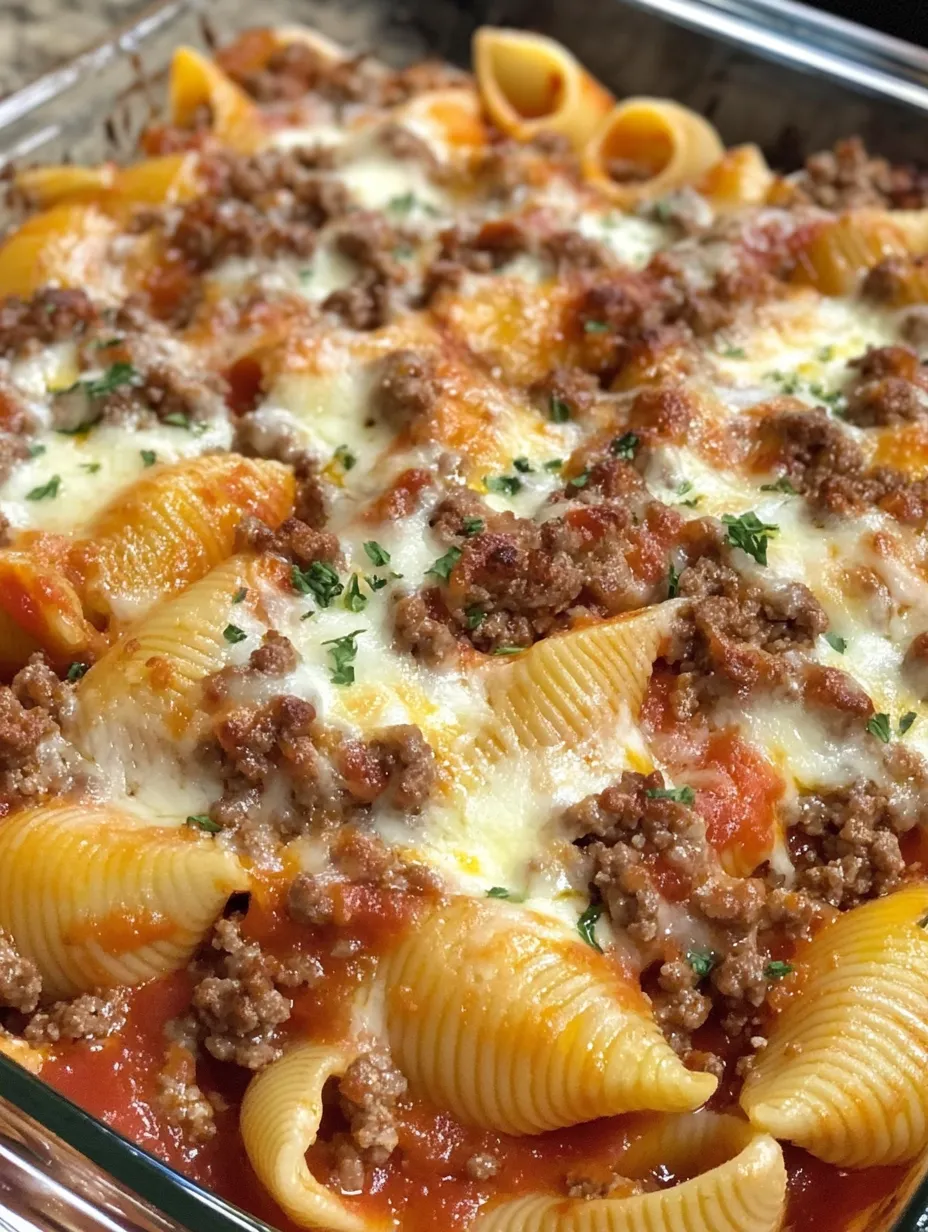
These jumbo pasta pockets mix savory ground beef with soft ricotta and gooey cheese, all tucked into tender pasta shells and bathed in a thick tomato sauce. The big shells work as perfect carriers for the tasty filling, while the cheese blend creates that mouth-watering stretch when you take a bite. Every mouthful offers just the right mix of tastes and textures that turns basic pasta into an unforgettable dinner.
A few weeks back, I brought these to a small get-together, and my friend's picky teenager, who usually runs from anything with ricotta, cleaned his plate completely and asked to take the leftovers home. His mom couldn't believe her eyes and instantly wanted to know how I made them, saying she'd never once seen him eat ricotta cheese on purpose.
Tasty Ingredients
- Jumbo pasta shells: They form the ideal pocket to stuff with plenty of filling. Don't cook them fully since they'll finish in the oven.
- Olive oil: Brings a light fruity note that boosts the savory elements. Try to get a nice extra virgin oil for better taste.
- Onion and garlic: They build the flavor base that lifts the whole dish. Make sure to cook them until see-through for maximum flavor.
- Ground beef: Adds heartiness and body to the filling. Go with 85/15 meat for just the right mix of flavor and texture.
- Crushed tomatoes: They make the sauce just thick enough without extra steps. Look for San Marzano tomatoes if you can spot them at the store.
I've whipped this up so many times and noticed that really browning the beef before adding tomatoes makes the flavor way better. Those little browned bits pack tons of taste you can't get any other way. Plus, letting the sauce bubble for the whole 10 minutes really brings all the flavors together nicely.
 Save
Save
Simple Steps
- Shell setup
- Get a big pot of really salty water boiling hard. Drop in the jumbo shells and cook them 2 minutes less than what the box says. You want them firm enough to keep their shape when filling but soft enough to finish cooking in the oven. After draining, spread them out on an oiled baking sheet so they don't stick together. This trick stops the frustration of dealing with torn or stuck shells when you're trying to fill them.
- Flavor base
- Warm up olive oil in a deep pan over medium heat until it looks shiny but isn't smoking. Toss in finely chopped onion and cook for 4-5 minutes until soft and clear, giving it a stir now and then. Add the minced garlic during the last 30 seconds so it doesn't burn but still releases its smell. This layering of flavors sets up the whole dish and can't be rushed.
- Cooking the beef
- Put ground beef in the pan, breaking it up with a wooden spoon. Sprinkle with salt and pepper, then leave it alone for about 2 minutes before stirring. This first searing makes the flavor better. Keep cooking until you don't see any pink, roughly 5-7 minutes total. Pour off most of the fat but keep about a tablespoon for taste. The brown stuff stuck to the bottom has lots of flavor that will mix into your sauce.
- Making the sauce
- Pour crushed tomatoes into the pan with the beef, stirring well to scrape up any browned bits from the bottom. Add Italian seasoning, squeezing it between your fingers as you add it to release more flavor. Let it bubble gently for 10 minutes, stirring once in a while, until the sauce thickens a bit and the flavors come together. The sauce should coat a spoon but still be loose enough to flow around the shells in the baking dish.
- Cheese filling
- In a medium bowl, mix ricotta cheese, grated Parmesan, and a beaten egg. Stir until everything comes together smoothly. The egg helps prevent the filling from getting grainy when baked. Add a little salt and pepper to bring out the cheese flavors. For extra punch, mix in a spoonful of chopped fresh basil or parsley if you have some on hand.
- Putting it all together
- Spread about a cup of meat sauce across the bottom of a 9x13 inch baking dish. Hold each pasta shell open with your fingers and spoon about 1½ tablespoons of the ricotta mix inside. Place filled shells in the dish, open side up, arranging them in tidy rows. Keep going until all shells are filled and placed, then spoon the rest of the meat sauce over and around them, making sure each is partly covered while leaving some filling showing.
- Baking it right
- Cover the dish with aluminum foil, lifting it slightly so it doesn't touch the shells. Bake in the hot oven for 30 minutes, letting the flavors blend and the shells finish cooking. Take off the foil and sprinkle the dish with the remaining Parmesan and shredded mozzarella. Put it back in the oven, uncovered, for another 10-15 minutes until the cheese gets golden and bubbly with some darker spots. Let it sit for 5-10 minutes before serving so the shells can set up.
The first time I tried making these stuffed shells, I cooked the pasta too long and ended up with a torn mess when trying to fill them. Now I know that cooking them 2 minutes less than the package says makes them just right for handling. I've also found that prepping this dish a day early and keeping it in the fridge overnight lets the flavors get even better. Just add an extra 10-15 minutes to the covered baking time if you're cooking it straight from the fridge.
Great Side Dishes
These rich stuffed shells go great with a fresh Caesar salad that cuts through the heaviness of the main dish. A chunk of garlic bread works wonders for soaking up any extra sauce left on your plate. For a full Italian meal experience, start with a small plate of seasoned olives or bruschetta. I usually pour a medium-bodied red wine like Chianti or Sangiovese that works well with tomato sauce without being too strong against the delicate cheeses.
Mix It Up
Try swapping half the ground beef for Italian sausage to add more exciting flavor. For something lighter, use ground turkey instead of beef and mix some finely chopped spinach into the ricotta. Add a layer of cooked mushrooms between the shells for an earthy touch. My family really loves when I stir some pesto into the ricotta filling—about two tablespoons adds a wonderful herby flavor that fits perfectly with everything else.
Saving Leftovers
Keep extras in a sealed container in the fridge for up to 4 days. When reheating, splash a few drops of water over the shells before covering with microwave-safe wrap to keep them from drying out. To store longer, freeze the whole dish before baking it. Wrap it tightly with plastic and foil and freeze for up to 3 months. Thaw overnight in the fridge before baking as directed, adding about 15 minutes to the covered baking time. I often make two batches at once and freeze one for those crazy weeks when I can't cook from scratch.
 Save
Save
I've cooked these beef-filled shells for so many family dinners, potlucks, and meal deliveries for new parents. There's just something about that mix of meaty sauce, creamy ricotta, and soft pasta shells that everyone seems to love. While it takes a bit more work than throwing together a quick pasta dinner, the wow factor and amazing taste make it worth the extra effort. My family now expects this dish for special occasions, and honestly, seeing everyone's faces light up when I bring it to the table makes me happy to keep making it!
Recipe FAQs
- → Can I prep stuffed shells in advance?
- Of course! Assemble them the night before, pop them in the fridge, and just bake with an extra 10-15 minutes if cold.
- → Is it okay to freeze stuffed shells?
- Totally! Freeze before baking with a tight wrap. Thaw in the fridge overnight or bake frozen, adding 20-30 extra minutes.
- → What sides go well with stuffed shells?
- You can pair these with some garlic bread and a light green salad. Roasted veggies or steamed greens work, too.
- → Can this dish be made without meat?
- Yes, leave out the beef and toss in spinach with ricotta or use mushrooms for a vegetarian spin.
- → How do I know when the shells are done?
- Look for bubbly, browned cheese on top and sauce simmering around the edges of the dish.
