
 Save
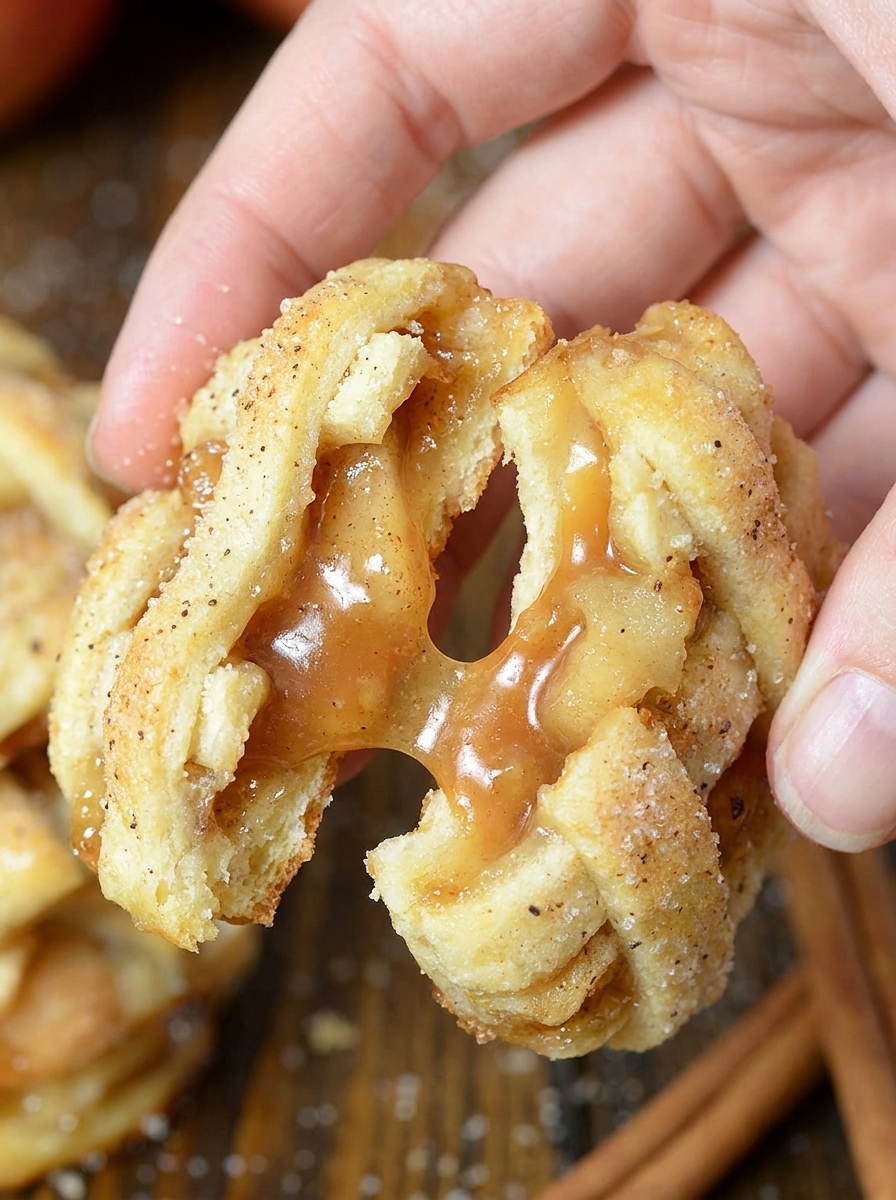
Apple Pie Cookies capture everything I love about classic apple pie and wrap it up in a portable treat. They make the perfect cozy dessert for gatherings or a sweet snack with tea. The combination of buttery crust, spiced apples, and gooey caramel makes these always disappear fast at family get-togethers.
These cookies first appeared on our Thanksgiving table when I wanted a fuss-free pie alternative. Everybody reached for seconds the moment I set out the tray.
Ingredients
- Apples: choose firm baking types like Granny Smith for best tartness and structure
- Lemon juice: keeps the apples bright and balances out the sweetness
- White sugar and brown sugar: for a mix of sweetness and caramel note
- Cornstarch: thickens the filling and gives a glossy finish
- Cinnamon and nutmeg: both create that classic apple pie spice warmth
- Water: helps dissolve everything and brings the mixture together
- Unsalted butter: gives the crust its signature flakiness use very cold butter for best results
- All-purpose flour: forms the base of the crust always use fresh flour for the right texture
- Salt: enhances flavor and keeps the crust from tasting flat
- Sugar: just a hint in the crust for subtle sweetness
- Ice water: brings the crust together without melting the butter
- Refrigerated pie crust: works if you are in a hurry choose a reliable brand
- Caramel sauce: takes the cookies to another level use homemade or a thick store-bought version
- Egg: helps the cookies get golden and shiny
- Cinnamon and sugar: make a sparkly sweet topping on each cookie
Step-by-Step Instructions
- Prepare the Filling:
- Toss your sliced apples with lemon juice to keep them vibrant and prevent browning while you get everything else ready.
- Cook the Apple Mixture:
- Combine the cornstarch both sugars cinnamon nutmeg and water in a saucepan. Whisk until smooth. Bring it to a boil over medium-high heat whisking constantly to avoid lumps. Let it bubble for about two minutes until it thickens. Add in the apples and stir so every piece gets coated.
- Simmer Until Tender:
- Lower the heat and cover the pot. Let everything cook gently for about ten minutes so the apples get soft but not mushy. You want them gently yielding but still holding their shape because this makes the best texture for your cookies.
- Cool and Chop:
- Take the pan off the heat and let the apples cool down covered. When they are ready chop them into small even pieces for easy cookie assembly.
- Make the Pie Crust:
- Mix flour salt and sugar in a big bowl. Add your cold cubed butter and use fingers or a pastry blender to cut it into the flour. Stop when the mixture looks like chunky sand with some pea-sized butter bits.
- Bring Dough Together:
- Drizzle in a little ice water at a time and toss with a fork. Add just enough so the dough clumps if you squeeze it in your hand. If it is still crumbly add a touch more water.
- Shape and Chill:
- Divide the dough into two disks shape them gently without overworking and wrap in plastic. Chill for at least an hour so the butter firms up and you get a flaky crust.
- Roll Out Crusts:
- On a floured surface roll one disk thin about one eighth inch thick. Dust your pin and the dough with flour as you go so it does not stick. Repeat with the other disk so you have tops and bottoms ready.
- Assemble Cookies:
- Spread a generous layer of caramel sauce over one crust. Spoon over the chopped apple filling and lightly pat to even out the surface. Cut the second crust into strips and form a lattice on top just like a mini pie.
- Shape the Cookies:
- Use a round cookie cutter to press out circles through the layered dough. Place the rounds on a parchment lined baking sheet.
- Brush and Sprinkle:
- Beat a small egg in a bowl and brush just the tops of your cookies. Sprinkle each with a cinnamon sugar mix so they bake up sparkly and crisp.
- Bake:
- Place the tray in a preheated oven at three hundred fifty degrees Fahrenheit and bake until the cookies are golden all over. This usually takes between twenty and thirty minutes but start checking halfway through for even browning.
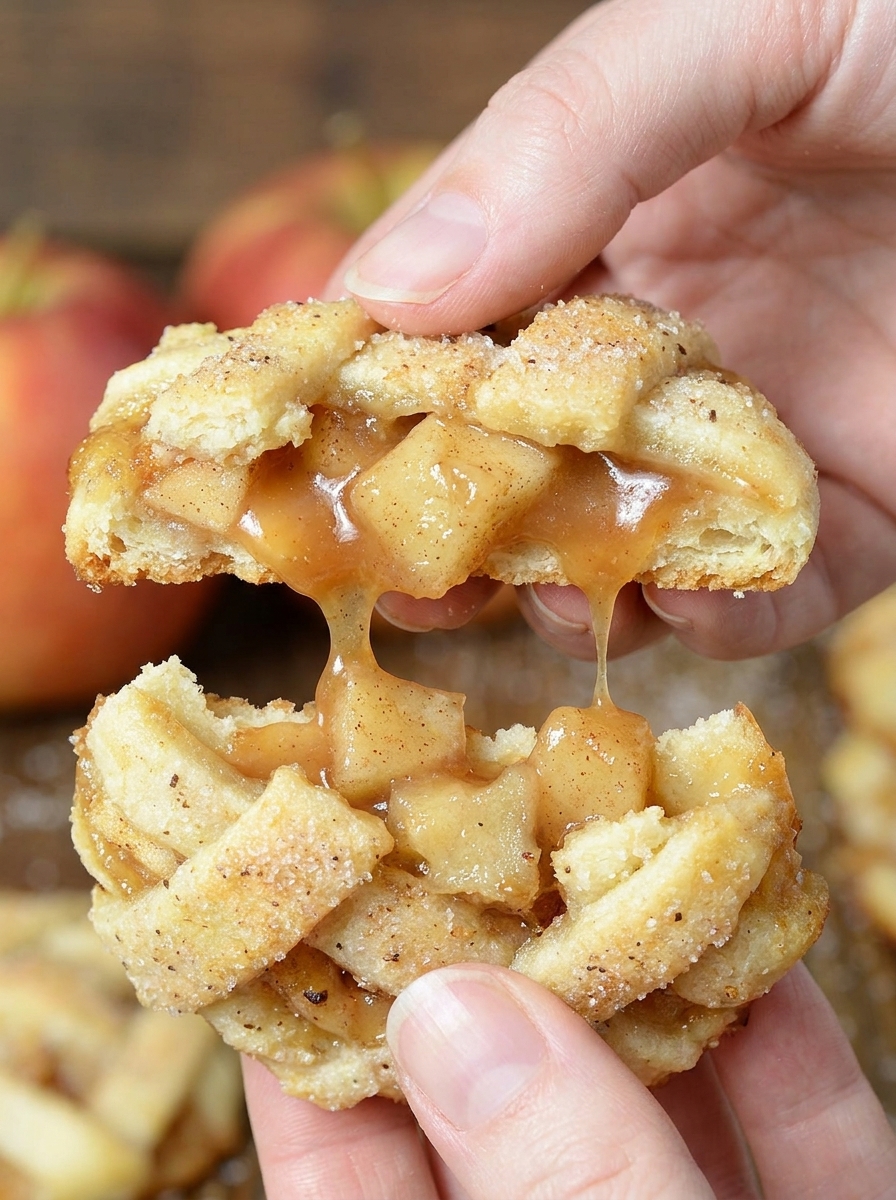
Caramel sauce always brings out happy memories in my family because my mom used to drizzle extra on our after school apple slices. This recipe is special because it captures the comfort of her apple desserts in a cute little package.
Storage Tips
Once the cookies have cooled completely store them in an airtight container at room temperature for up to two days. For longer storage keep them refrigerated to preserve the fruit filling. They also freeze very well just wrap and store for up to two months then reheat in a warm oven to crisp them up again.
Ingredient Substitutions
You can swap pears for apples for a twist or use gluten free all purpose flour to accommodate dietary needs. If you are short on time store bought pie dough is a solid option. For those who like spice try a pinch of ginger in the filling.
Serving Suggestions
Serve warm from the oven with an extra drizzle of caramel or even a scoop of vanilla ice cream. These make excellent treats for picnics lunchboxes or as a portable dessert for potlucks. I love to pair them with spiced tea or hot cider for a cozy afternoon snack.
Apple Pie and Cultural Roots
Apple pie is often called a symbol of comfort and nostalgia in American baking but these cookies show a playful twist on tradition. Turning a classic pie into cookies means you can enjoy the flavors by the handful and share them more easily at any celebration.
Recipe FAQs
- → How do I prevent the dough from sticking?
Lightly dust your work surface and rolling pin with flour, and turn the dough frequently as you roll it out.
- → Can I use store-bought pie crust?
Yes, ready-made refrigerated crust works well if you prefer a quicker option in place of homemade dough.
- → What type of apples works best?
Firm and slightly tart varieties like Granny Smith or Honeycrisp hold their shape and offer balanced flavor.
- → How do I make the lattice topping?
Cut the top crust into strips and weave them over the filling before cutting out cookie rounds.
- → How do I store these cookies?
Keep them in an airtight container at room temperature for up to two days, or refrigerate for longer freshness.
- → Can these be made ahead of time?
Yes. Bake and cool completely, then store or freeze. Warm before serving for best texture and flavor.