
 Save
Save
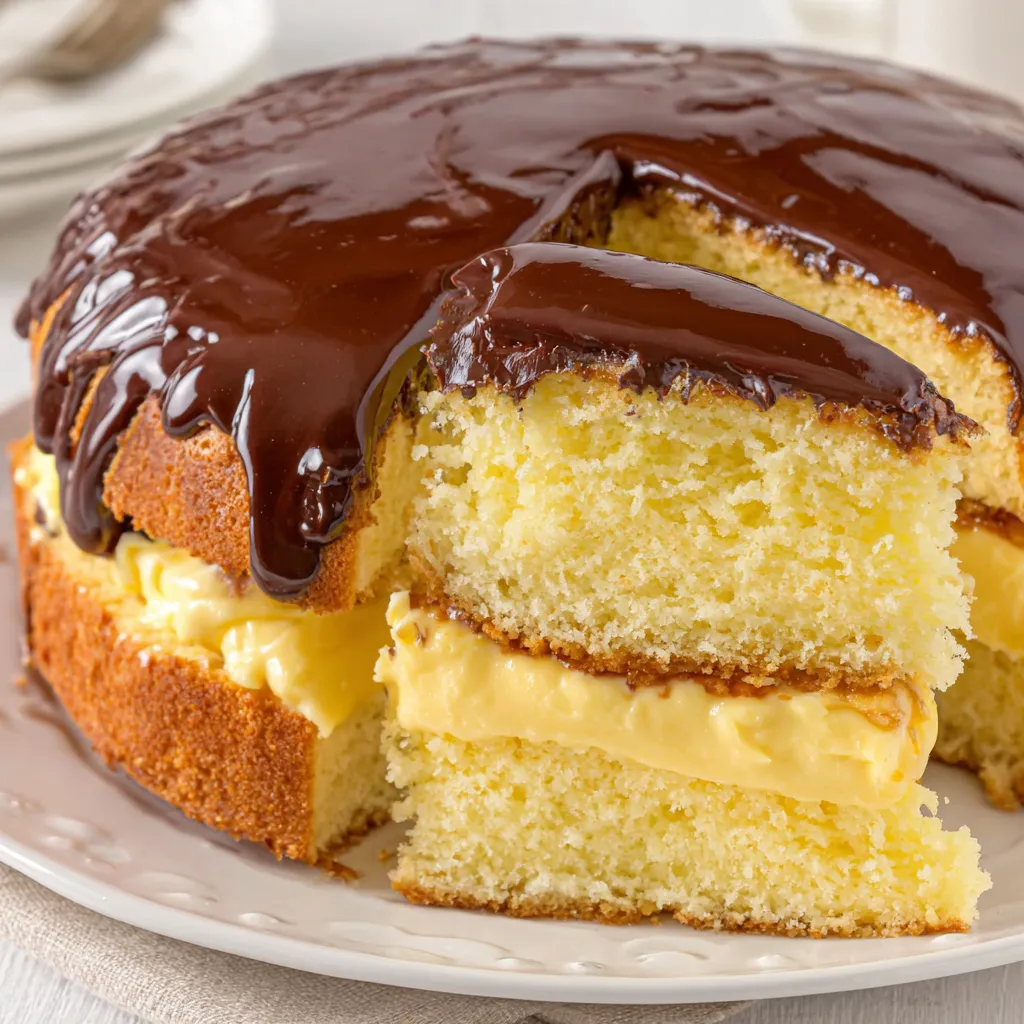
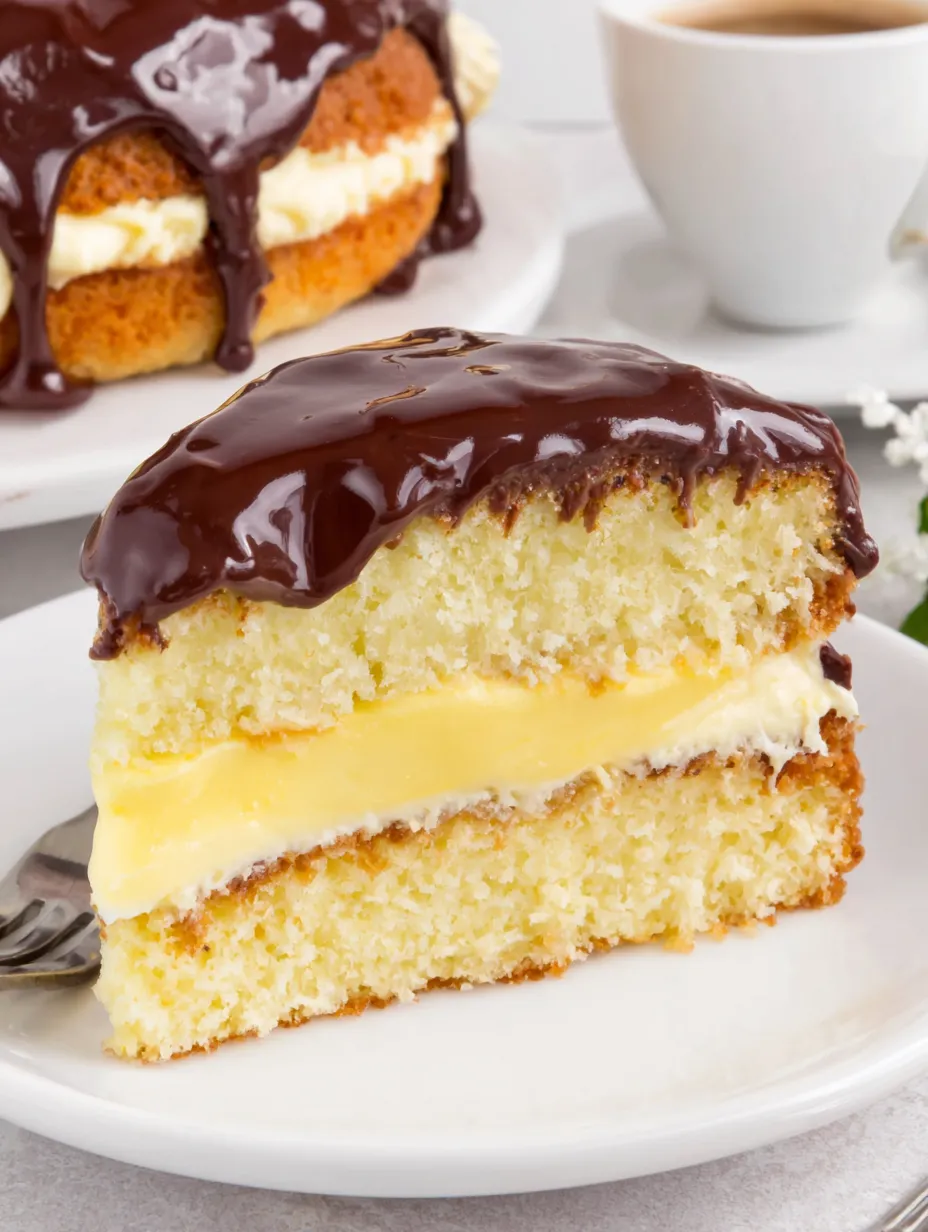
Boston Cream Pie is a showstopper of a dessert where silky pastry cream is sandwiched between two fluffy sponge cake layers and the whole thing gets slicked with a rich chocolate glaze. It is iconic New England fare and the kind of special cake that makes any celebration feel that much fancier. I have baked it for birthdays and holidays and am always amazed at how that glossy chocolate top draws a crowd to the kitchen.
My family requests Boston Cream Pie every New Year’s Eve and I have learned through trial and error how simple tweaks actually bring bakery results into your home kitchen. This recipe created some of the most satisfying cake slicing memories for me with the perfect ooze of pastry cream.
Ingredients
- Granulated sugar: Adds calibrated sweetness to both pastry cream and cake Choose fine grains for even mixing
- Fine sea salt: Gives balance and brings out the flavors Avoid table salt which can taste metallic
- Cornstarch: Sets the pastry cream to the ideal thickness Look for fine white powder with no lumps
- Egg yolks: Enriches texture and gives golden color to the pastry cream Use large eggs for consistency
- Whole milk: Delivers richness and keeps the cake moist Opt for fresh whole milk for best flavor
- Unsalted butter: Gives flavor and tender moisture throughout Choose a good quality butter with sweet cream base
- Vanilla extract: Infuses the cake and cream with warmth Look for pure extract rather than imitation
- All purpose flour: Provides structure to the sponge Sift before using to keep cake light
- Baking powder: Leavens the cake Go for a fresh opened canister to ensure maximum rise
- Heavy cream: Makes a shiny chocolate glaze Use high-fat cream for smoothest results
- Corn syrup: Helps ganache stay glossy Light corn syrup works best here
- Bittersweet chocolate: Adds depth to the glaze Use a chocolate bar over chips for best melting and taste
Step-by-Step Instructions
- Make the Pastry Cream:
- Thoroughly mix sugar salt and cornstarch in a medium heatproof bowl then whisk in egg yolks and a little of the milk until smooth No dry patches should remain
- Heat the Milk:
- Warm remaining milk in a saucepan just until you see it start to steam but not bubble Watch closely as overheating can scorch it
- Temper the Eggs:
- Whisk a small amount of hot milk into the egg mixture to gradually raise the temperature and prevent curdling Continue whisking as you pour the eggs back into the saucepan
- Cook the Cream:
- Stir the mixture constantly over medium heat with a wooden spoon It will slowly thicken Keep stirring for about five minutes until the cream makes thick bubbles
- Finish and Chill Cream:
- Remove from heat and stir in butter and vanilla Push pastry cream through a fine mesh sieve to ensure a smooth texture Lay plastic wrap directly on the cream surface and chill for at least two hours
- Bake the Sponge Cake:
- Preheat oven and prep two cake pans with spray and parchment In a bowl whisk together flour baking powder and salt separately
- Ribbon Eggs and Sugar:
- Beat eggs and granulated sugar together for around four minutes until the mixture falls in a thick ribbon when the beaters are lifted Mix in vanilla for full aroma
- Fold in Dry Ingredients:
- Slowly add the flour mixture into eggs on low speed Mix only until just incorporated to keep air in the batter
- Add Milk and Butter:
- Melt milk and butter together until hot and add to the batter Mix just until smooth and pour evenly into pans The cake batter will be pourable
- Bake and Cool Cakes:
- Bake until the top springs back and a toothpick comes out clean Cool in pans for twenty minutes then invert onto racks and cool completely
- Assemble the Cake:
- Remove the pastry cream from the fridge so it softens Lay one cake on your platter Add an even layer of pastry cream nearly to the edges but not quite Top with second cake and press gently
- Make the Chocolate Glaze:
- Gently heat heavy cream and corn syrup until steaming Pour over chopped bittersweet chocolate Let it melt for five minutes before stirring into a smooth shiny glaze
- Finish the Cake:
- Pour the glaze over the cake letting it drip over the edges for effect Chill to set the chocolate before slicing
 Save
Save
The moment I first poured the glossy chocolate glaze over my finished cake felt pretty magical The way the chocolate hugged the sponge and dripped down the sides just like the ones in bakery windows is my favorite finishing touch
Storage Tips
Since pastry cream is dairy based this cake must be kept refrigerated Store leftover cake under a dome or loosely covered with plastic Enjoy within three days for optimal flavor It is best to remove the cake from the fridge about thirty minutes before serving for the creamiest texture
Ingredient Substitutions
You can swap bittersweet chocolate for semisweet if you prefer a milder glaze For a vanilla bean pastry cream split a vanilla bean and infuse it into the milk before combining Skip corn syrup if you must and increase the cream in the ganache just slightly but note it will be less shiny
Serving Suggestions
Boston Cream Pie is delicious as is but can be made extra festive with a sprinkle of chopped toasted nuts on top If you like contrast serve with tart berries on the side For parties I sometimes cut the cake into squares instead of wedges for easy nibbling
 Save
Save
Cultural and Historical Context
Despite its name Boston Cream Pie is in fact a cake first developed at the Parker House hotel in Boston during the 1800s It became famous as a culinary symbol of Massachusetts and is now the official state dessert The combination of cake pastry cream and chocolate was once so novel it inspired plenty of imitators
Recipe FAQs
- → What makes Boston Cream Pie unique?
Boston Cream Pie stands out with its layers of delicate vanilla sponge, rich custard filling, and a glossy chocolate glaze, offering both texture and flavor contrasts in each bite.
- → Can I make the components ahead of time?
Yes, the sponge cake can be prepared a day in advance or frozen for up to two months. The pastry cream and ganache are best made the day of assembly.
- → How should I store this dessert?
Keep Boston Cream Pie chilled in the refrigerator due to the custard layer. Allow it to reach room temperature before serving for the best texture and flavor.
- → Why is it called 'Boston Cream Pie' if it's actually a cake?
The name dates back to the 1800s when cakes and pies were often baked in the same pan, leading to some crossover in naming.
- → What tips ensure smooth pastry cream?
Whisk constantly while thickening and strain through a fine mesh sieve after cooking for the creamiest texture.