
 Save
Save
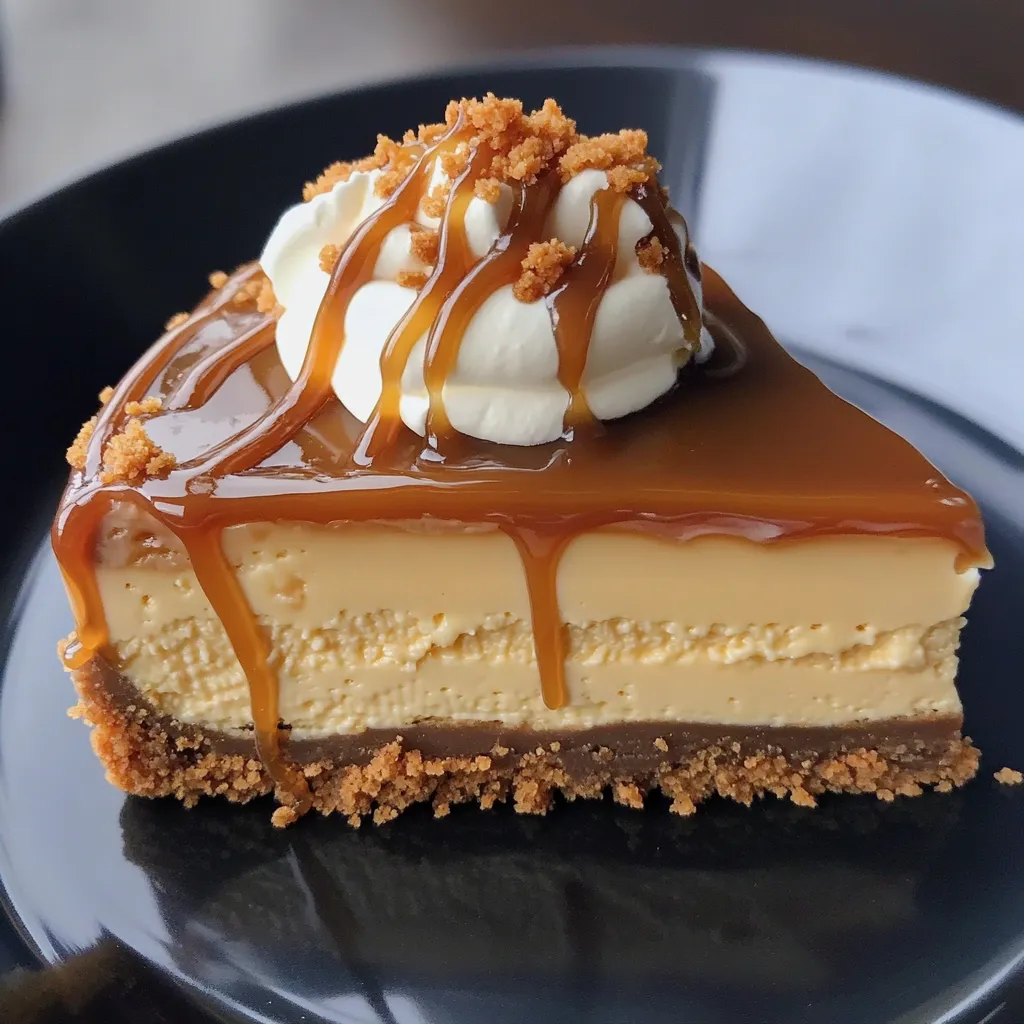
This cookie butter caramel cheesecake has turned into my go-to dessert for wowing crowds. I stumbled upon this treat last year while hunting for something different to bring to a holiday party that wasn't the typical pumpkin or apple fare. The way the spiced cookie butter blends with the smooth cheesecake and thick caramel creates this amazing flavor mix that tricks folks into thinking you spent hours in the kitchen. My friends always bug me for how to make it, and some even want it instead of regular birthday cake!
When I took this to my sister's Christmas dinner last year, something amazing happened. My brother-in-law Mark, who usually just nibbles politely at desserts, gobbled up a whole slice and came back for more. The next day my sister sent me a message saying he'd been asking when I might make it again! It's now become my trademark dessert that everyone expects me to bring to family get-togethers.
Essential Ingredients
- Biscoff cookies: They make that wonderful spiced base that goes so well with the cookie butter filling. They're those tasty caramelized treats often served with coffee. You can swap in graham crackers if needed, but Biscoff adds that real speculoos flavor kick.
- Cookie butter: The real hero here! This spread (you might know it as Biscoff spread or speculoos) gives that unique spiced caramel flavor that makes this cheesecake stand out. You can find it at most grocery stores near the peanut butter.
- Cream cheese: The backbone of any good cheesecake. Just make sure it's totally soft at room temp for the creamiest mix. I usually set mine out about an hour before I start cooking.
- Brown sugar: Boosts the caramel hints in the cookie butter and gives the sweetness more character. Either light or dark works fine, though dark gives a bit more punch.
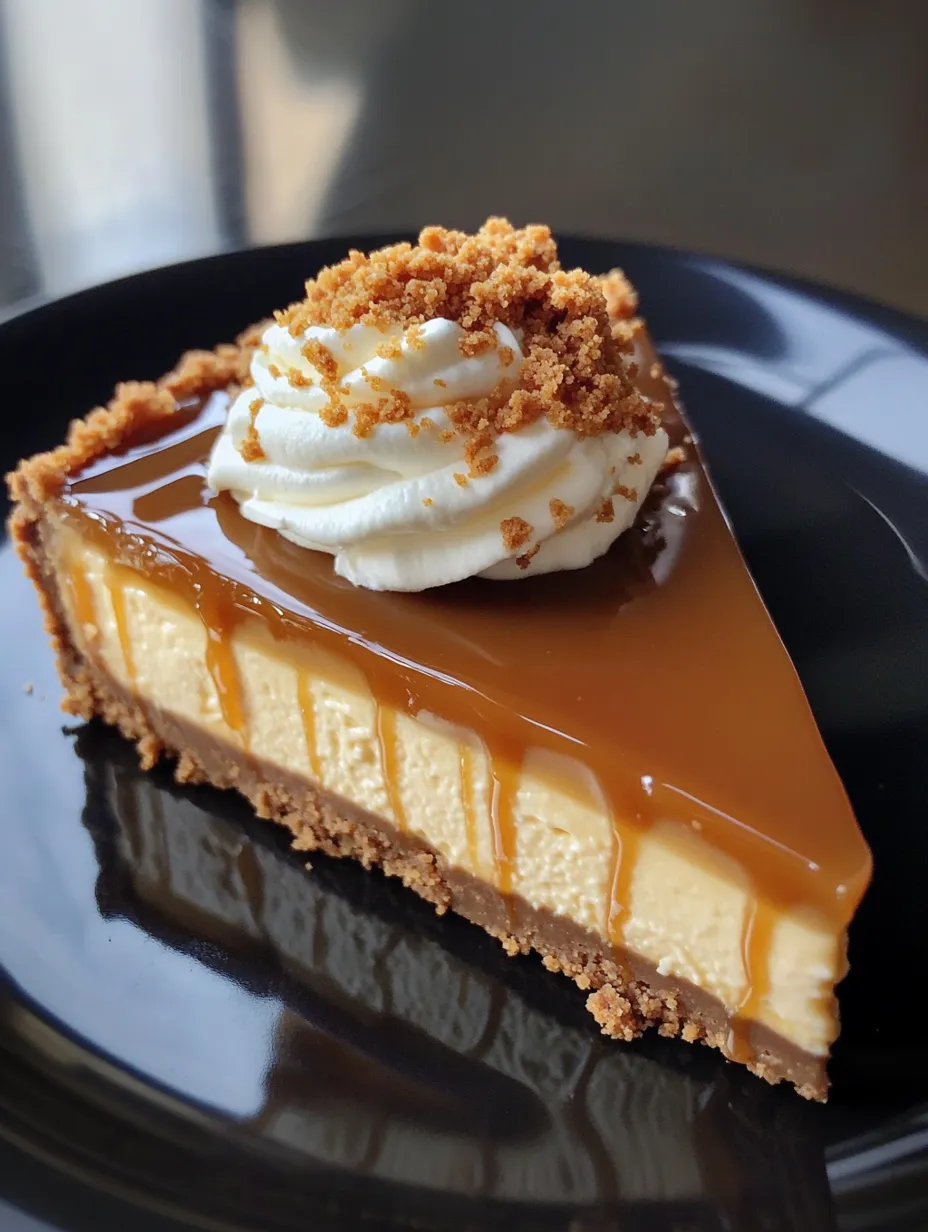
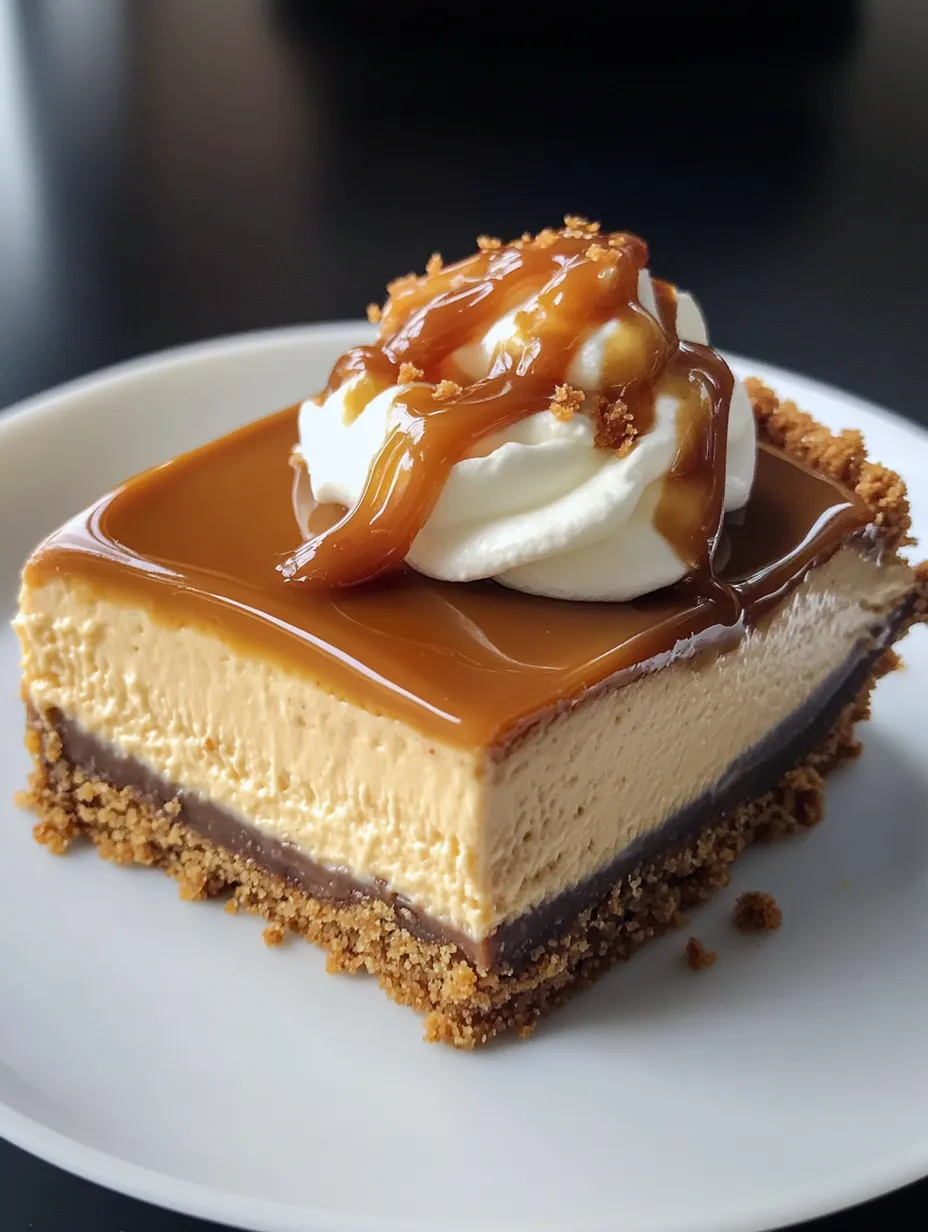
- Caramel sauce: The final touch that pulls everything together. Store-bought is totally fine, but homemade takes it up a notch. Sometimes I throw in a tiny bit of sea salt to balance the sweetness.
 Save
Save
Cooking Process
- Getting the crust just right:
- The mix of cookie bits and butter makes a crust that stays intact when you cut it but isn't too greasy. Press it down hard into the pan so it holds together nicely.
- Ingredients at room temp:
- This isn't something you can skip if you want a smooth filling! Cold cream cheese will stay lumpy no matter how much you mix it. I always put my stuff out at least an hour beforehand.
- Mix with care:
- Super important if you're doing the baked version. After adding eggs, just mix until they're blended in. Too much mixing adds air bubbles that can make cracks and mess up the texture.
- Smart cooling:
- For baked cheesecake, slow cooling stops the top from cracking. I switch off the oven, open the door a bit, and let it cool down gradually before putting it in the fridge.
- Plenty of chill time:
- Don't try to speed this up! Time in the fridge lets all the flavors come together and helps the cheesecake set properly. Leaving it overnight really does give the best taste.
- Adding the caramel:
- Put the caramel on right before serving to make it look its best. I like to put some on the plate first, set the slice on top, then finish with more drizzled over.
I've been playing with this recipe for ages to nail it just right. My early tries had way too much cookie butter, which took over the whole cheesecake flavor. The amount in this recipe hits that sweet spot where you definitely taste the cookie butter but still know you're eating cheesecake. I also tried different amounts of caramel until I found just enough to make everything better without stealing the show.
How To Serve
Make sure this cheesecake is nice and cold when you serve it for the best flavor and feel. For a fancy look, add some whipped cream swirls around the edge and sprinkle crushed Biscoff cookies on top. When I bring it to holiday parties, I sometimes stick whole Biscoff cookies standing up around the edges to make it look impressive. It goes really well with coffee, especially drinks with caramel or vanilla flavors.
Fun Variations
Throw in a teaspoon of cinnamon to the filling if you want more spice flavor for fall or winter. If you love chocolate, drizzle some melted chocolate along with or instead of the caramel. During the holidays, I sometimes add a spoonful of bourbon to the filling for a grown-up twist. For parties, try making tiny cheesecakes in a muffin tin with paper liners - they chill faster and are great for sharing.
Keeping It Fresh
This cheesecake stays good in the fridge for up to 5 days. Cover it loosely with foil instead of plastic wrap so the topping doesn't get messed up. If you need to keep it longer, you can freeze it without the caramel for up to a month; let it thaw in the fridge overnight, then add fresh caramel before serving. I often make the cheesecake part a day or two ahead, then add the toppings just before I serve it.
 Save
Save
I've whipped up this cookie butter caramel cheesecake for so many get-togethers, from casual dinners to big holiday bashes. There's just something about mixing spiced cookie butter with rich caramel that almost everybody loves. It's familiar enough to feel comforting but different enough to seem special. The best part is it actually tastes better when you make it ahead, which makes hosting so much easier. It's become one of my trademark desserts - the one that friends and family specifically ask for when they know I'm bringing something sweet!
Recipe FAQs
- → What exactly is cookie butter?
- It's like peanut butter, but made from crushed spiced cookies (like Speculoos/Biscoff) with a sweet, cinnamon-like taste.
- → Can I skip the springform pan?
- Yep! Use ramekins or small cups for personal-sized portions, or try a deep pie pan lined with parchment to lift it out easily.
- → How are baked and no-bake versions different?
- The baked option, which uses eggs, is denser and more classic. The no-bake choice is fluffier and smooth like mousse.
- → Can I prepare this dessert in advance?
- Of course! It tastes even better after sitting in the fridge overnight. Finish it up to two days ahead and decorate just before serving.
- → Is it okay to freeze this dessert?
- Definitely! Keep it frozen without toppings for up to two months. Thaw it in the fridge the night before and add the final touches before enjoying.