
 Save
Save
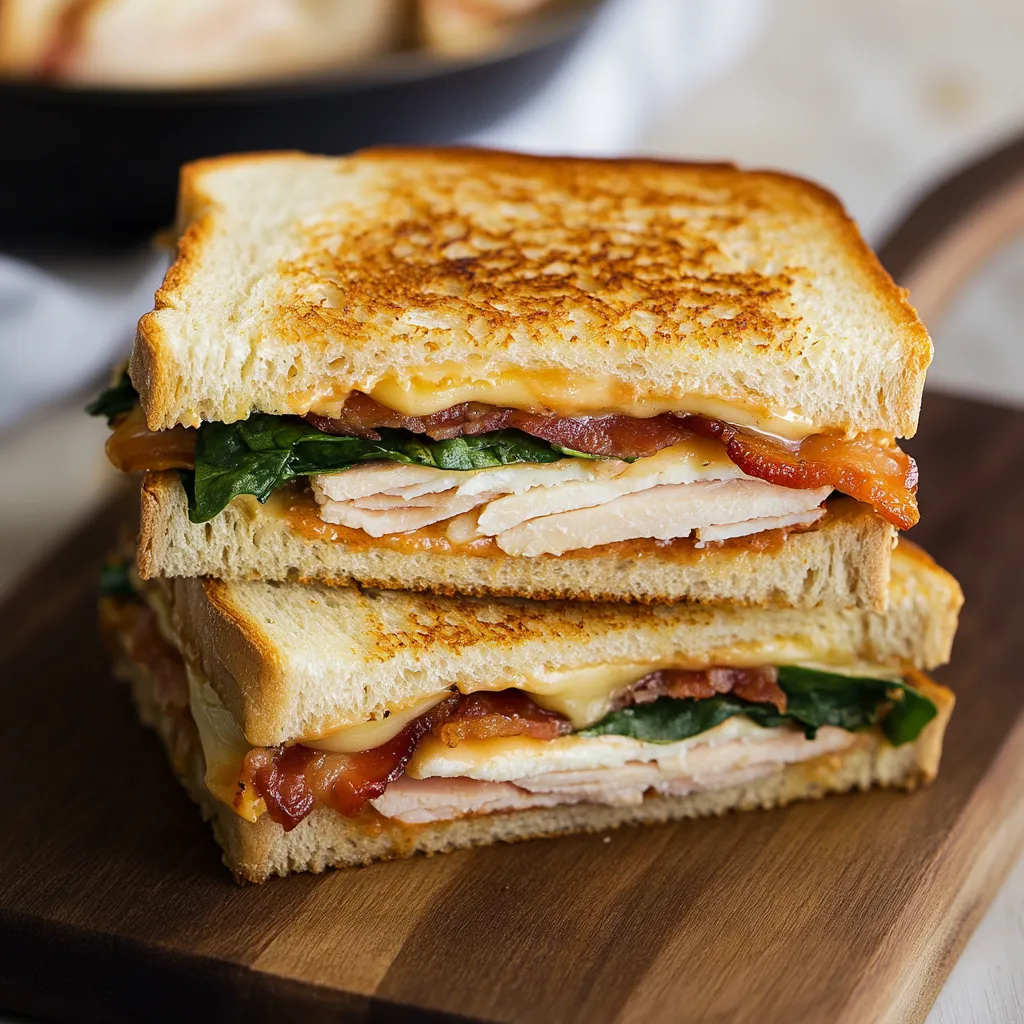
There's a kind of kitchen magic that happens when you bite into a truly great sandwich. Through years of lunchtime testing in my own kitchen, I've nailed this turkey melt combo that blends toasty sourdough, gooey aged cheddar, and stacks of garden-fresh goodies into what we now call our "go-to comfort food." The way these simple items come together on my stove creates this warm, cheesy wonder that fills my house with smells that always get everyone running to grab a plate.
Must-Have Ingredients Breakdown
Go for sourdough with a good firm crust that won't fall apart when heated - those fresh loaves from neighborhood bakeries work great.
Grab deli turkey sliced a bit thicker than normal for better sandwich texture.
Choose actual cheddar from the cheese counter, not those flat wrapped singles that barely melt.
Get bacon cooked to that sweet spot between too soft and too brittle.
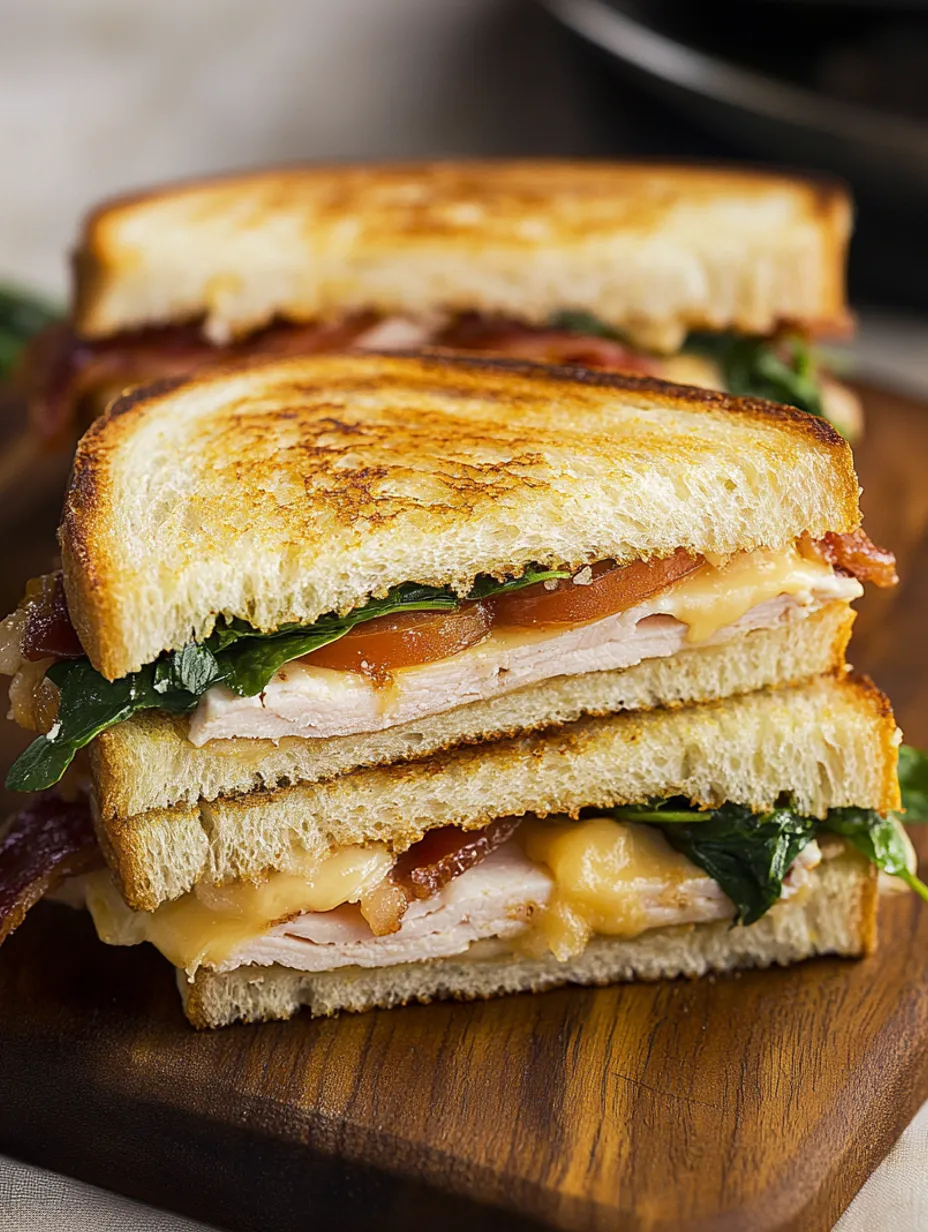
The game-changer happened when I stopped buying pre-packaged cheese slices and started getting freshly cut cheddar from the deli. It melts into this amazing blanket over the turkey that processed stuff just can't match.
 Save
Save
Crafting Your Delicious Melt
- The Setup Steps:
- Place your sourdough pieces on a nice clean cutting board - I've got one my dad crafted years back.
- Smear honey mustard all the way to the edges like you're finishing a painting.
- Put cheese down first - it works as a shield that stops your bread from getting mushy.
- Arrange turkey in loose waves instead of flat - this makes little spots where cheese can melt in.
- Add tomato slices after patting them dry - a trick I figured out after making too many soggy meals.
- Top with handfuls of fresh spinach and those perfectly done bacon strips.
- Close your sandwich carefully, pressing lightly so everything sticks together.
- The Cooking Secrets:
- Spread soft, room-temp butter on the bread outside - cold butter will just tear holes in your bread.
- Let the pan heat gradually - going too fast means burnt outsides and cold middles.
- Set your sandwich down carefully, waiting for that quiet sizzle that shows the heat's just right.
- Don't keep flipping it to check - being patient gives you that perfectly golden crust.
Ideal Side Dishes
These melts go amazingly well with a hot bowl of homemade tomato soup - it's such a thing at our house that my kids automatically start heating soup when they see me grab sourdough. For something lighter, I'll make a simple green salad with just lemon juice and olive oil drizzled on top. In summer, they taste great with cold cucumber soup or a handful of crunchy kettle chips on the side.
Personalize Your Sandwich
Through tons of family meals and lunch making, I've found so many ways to switch these melts up. My husband can't get enough of his version with pepper jack and a few jalapeño slices tucked inside - we stumbled on that combo accidentally when we ran out of cheddar once. My daughter loves adding avocado and sprouts to make what she calls her "West Coast melt." Around Thanksgiving, I swap deli meat for leftover roasted turkey, which adds this amazing rich flavor that takes these sandwiches to another level.
Keeping Them Tasty
After years of making packed lunches and prepping for crazy weeknights, I've picked up some tricks to make these work anytime. If you're taking them for lunch later, cook them just a bit less than normal - they'll finish perfectly when warmed up in a toaster oven or press. For busy evenings, I cook bacon ahead of time and keep it between paper towels in the fridge, making it super fast to throw everything together when everybody's starving and getting cranky.
 Save
Save
Smart Storage Tricks
Though these taste best right off the stove, sometimes you need to save them for later. After lots of tries, I found that wrapping in parchment paper works way better than plastic wrap for keeping the bread crisp. If you need to store a fully made sandwich in the fridge, always keep tomatoes separate until you're ready to eat - I learned that one after too many sad, soggy lunch failures.
Helpful Kitchen Tips
Using a cast iron pan gives the most even heating, but any thick-bottomed skillet does the job.
When your buttered bread first hits the pan, it should make a soft sizzling sound, not a loud hiss.
Make sure you've got extra cheese nearby - sometimes one layer just doesn't cut it.
Always cook on medium-low heat; trying to rush just leaves you with burnt outside and cold inside.
I started making this turkey melt just trying to jazz up our boring lunch routine. Now it's turned into this family favorite that gets everyone coming to the kitchen, drawn in by that amazing smell of toasting bread and melting cheese. Whether it's a quick dinner, a cozy lunch on cold days, or part of a casual weekend meal, these melts always bring happy faces and warm feelings. And isn't that what cooking's really about - making those simple happy moments that stick with you?
Just remember, the tastiest sandwiches come from taking your time and adding a little love, plus some butter never hurts! Now I've made myself hungry for a turkey melt just writing about it!
Recipe FAQs
- → What cheese's the best option?
- Freshly cut cheddar from the block or deli is great for flavor and melt.
- → Is there a dairy-free way?
- Absolutely, swap in plant-based cheese and butter substitutes.
- → What sides match well?
- Pairs great with a warm soup or crisp salad.
- → Can this sandwich be prepped ahead?
- It's better fresh and warm, but prep the ingredients earlier if needed.
- → What bread works best?
- Sourdough or any sturdy, crusty bread grills beautifully.