
 Save
Save
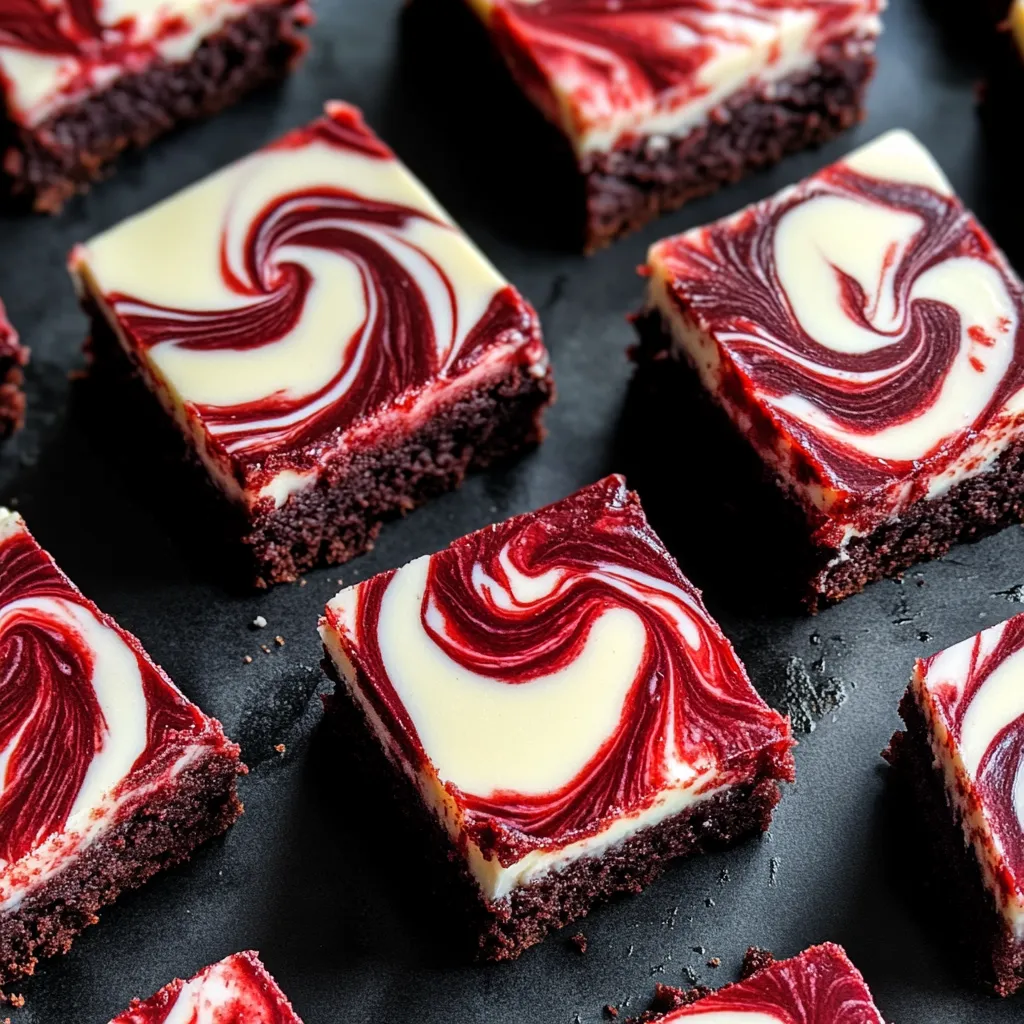
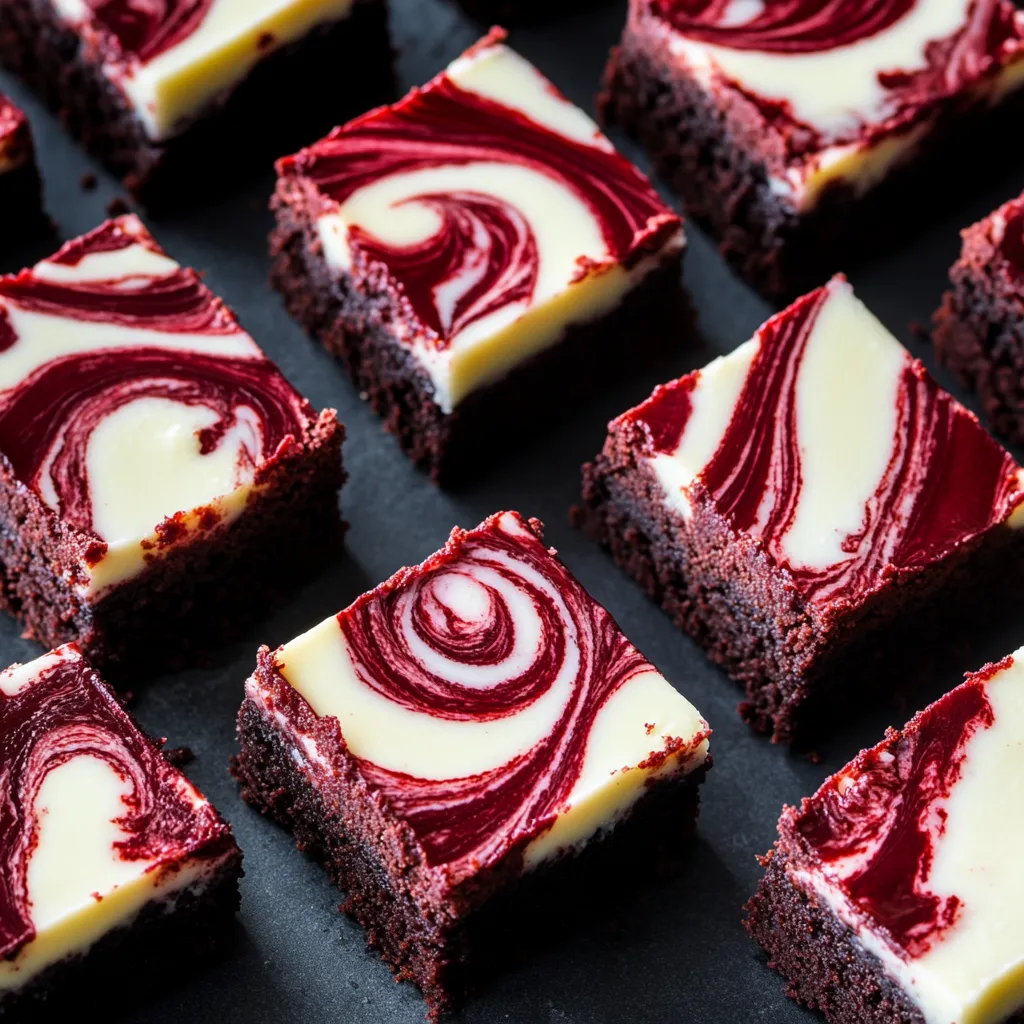
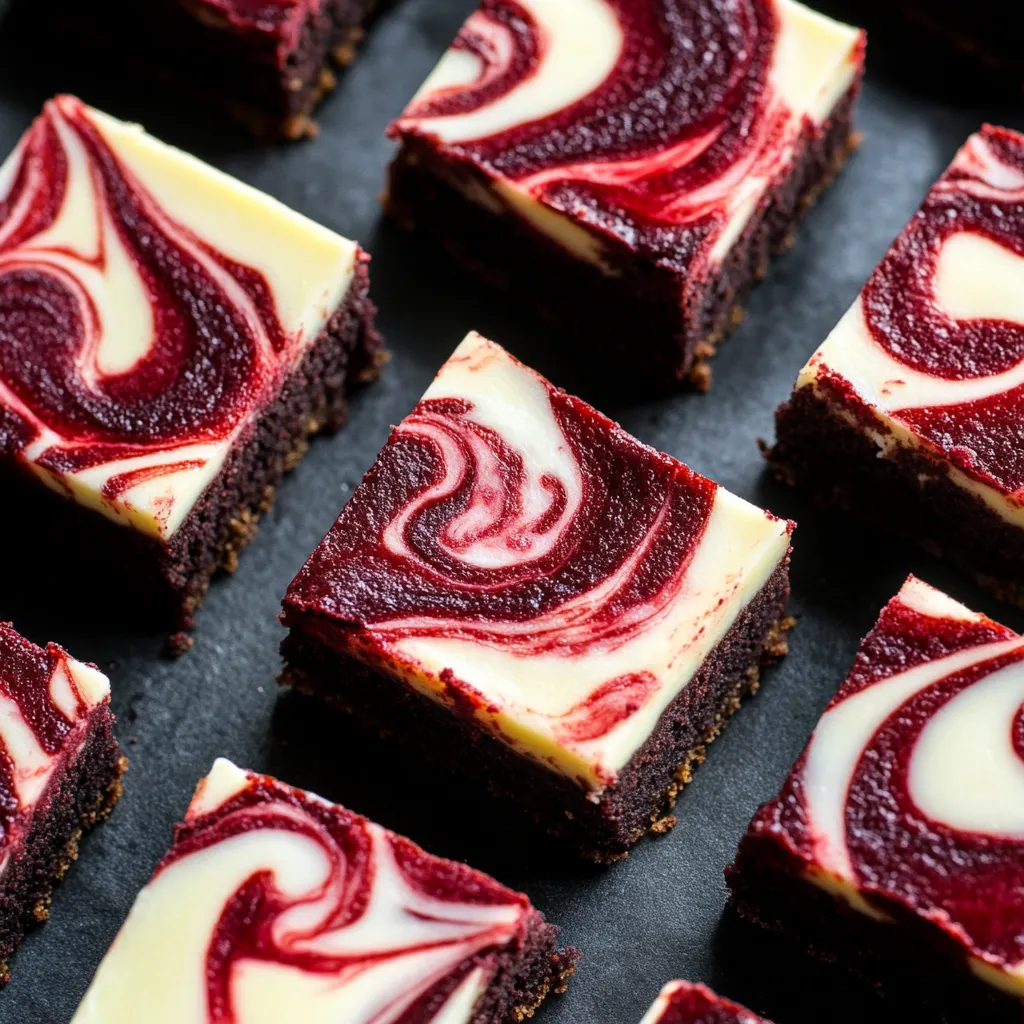
Rich, velvety chocolate layers swirl together with smooth cheesecake to make a treat that goes way beyond regular brownies. The eye-catching contrast between deep ruby brownie mix and snow-white cheesecake creates a marbled showstopper that tastes just as good as it looks. Every bite gives you the perfect mix of deep cocoa flavors and tangy cream cheese goodness.
I whipped up these brownies for a Christmas party and they vanished in seconds. Everyone was drawn to the pretty red and white swirls, but it was how the textures played together that had people coming back for more. My kids now ask for these instead of cake when their birthdays roll around - there's no better seal of approval than that from my home's harshest food judges.
Key Ingredients
- Unsalted Butter: Gives that moist, tender base that makes brownies so irresistible. Splurging on fancy European butter with extra fat will make them taste even better.
- Granulated Sugar: Adds the sweetness while helping create that crackly top layer brownies are famous for.
- Eggs: They hold everything together and add richness. Let them sit out until they're room temperature so they mix in better.
- Red Food Coloring: Creates the wow-factor color that makes these brownies stand out. Gel colors work best since they don't add extra liquid.
- Cocoa Powder: Brings the chocolate flavor without making the batter heavy. Dutch-processed types taste smoother and less bitter.
- All-Purpose Flour: Gives just enough structure while keeping the brownies fudgy. Weighing it instead of using measuring cups makes them turn out the same every time.
- Cream Cheese: The main player in the cheesecake part; go for full-fat for the creamiest results.
- Vanilla Extract: Makes both layers taste better. Real vanilla (not the fake stuff) really does make a difference you can taste.
Making Your Masterpiece
- Oven Preparation:
- Get your oven hot at 350°F before you start baking. Put parchment paper in your pan with extra hanging over the sides so you can lift the brownies out easily later.
- Brownie Foundation:
- Melt your butter until it's just liquid but not hot. Mix in your sugar until it's completely blended and a bit thick. Add eggs one by one, mixing each one in completely before adding another. This helps get the texture just right for both layers.
- Dry Ingredient Integration:
- Sift your cocoa powder right into the wet mix to avoid lumps, then add flour, salt, and baking powder. Use a rubber spatula to fold in chocolate chips by hand, making sure they're spread out evenly in the dough.
- Base Layer Formation:
- Pour your brownie mix into the pan and spread it out evenly, getting it into all the corners and making the top flat. This thin layer will be the fudgy base for your two-in-one dessert.
- Cheesecake Layer Creation:
- In another bowl, beat your softened cream cheese with a mixer until it's completely smooth with no lumps, about 2 minutes. This puts air in it for the right cheesecake feel. Add fine sugar and vanilla to the cream cheese, beating slowly at first, then faster until it's smooth and fluffy. Mix in the egg until everything looks glossy and smooth.
- Layer Assembly:
- Drop spoonfuls of the cheesecake mix evenly across the brownie layer, then use a flat spatula to gently spread it out without mixing into the brownie underneath. Don't worry about making it perfectly smooth—a bit of texture looks more homemade.
- Artistic Swirling:
- Warm up your red food coloring in the microwave for 15-20 seconds until it's runny enough to drizzle. Use a small spoon to drop it across the top, then pull a knife or skewer through all the layers to make pretty swirls without mixing too much.
- Baking Transformation:
- Put the pan on the middle rack of your hot oven and bake for 25-30 minutes until the edges of the cheesecake are set and golden but the middle is still a bit soft. When you stick a toothpick in, it should come out with a few damp crumbs but no wet batter.
- Cooling Patience:
- Let the brownies cool completely in the pan on a wire rack, which might take 1-2 hours. Your patience pays off with perfectly set brownies that cut cleanly. For even neater slices, chill them in the fridge for 30 minutes after they reach room temperature.
 Save
Save
My grandma taught me to be patient when making layered desserts. I can still remember how she'd gently tap my hand when I tried to cut into her famous brownies too soon. 'The good stuff comes to those who wait,' she'd say with a knowing grin. That's so true with these brownie cheesecake bars—they really do need proper cooling time, changing from a hot, gooey mess into perfect, clean-cutting squares with clear, distinct layers.
Tasty Pairings
These two-in-one brownie bars go great with lots of different sides to make your dessert even better. Try warm squares topped with vanilla ice cream for an amazing hot-cold combo. Coffee lovers will enjoy these with a cappuccino topped with thick Greek yogurt, sprinkled cinnamon, and a honey drizzle. When you want to show off at a party, arrange the squares on a board with fresh raspberries, chocolate-covered strawberries, and whipped cream for a colorful spread that goes perfectly with the rich chocolate and tangy cheesecake.
Mix It Up
This flexible recipe can be changed in lots of ways to match what you like or what you have in your kitchen. If you love peanut butter, mix 1/4 cup of the smooth kind into the cheesecake layer before adding the powdered sugar for a nutty twist that goes great with chocolate. White chocolate fans can swap white chocolate chips for regular ones in the brownie mix—this version has become my sister's favorite. Make a fall-themed batch by adding 1 teaspoon of pumpkin spice to the brownie mix and swirling pumpkin butter into the cheesecake layer. For extra crunch and flavor, sprinkle 1/2 cup of toasted chopped walnuts or pecans between the brownie and cheesecake layers.
Keeping Them Fresh
Keep your brownies tasting great with the right storage. At room temperature, store them in an airtight container for up to 3 days, putting parchment paper between layers so they don't stick together. To keep them fresh longer, store them in the fridge in a cake container, but let them warm up before eating for the best flavor and texture. These also freeze really well—wrap each piece in plastic wrap, then foil, and freeze for up to three months. Thaw overnight in the fridge, then let sit at room temperature for about an hour before eating, or warm them slightly in a 300°F oven for 5-10 minutes to make them taste freshly baked.
These chocolate cheesecake brownies have turned into my go-to dish for potlucks, always requested by friends and family for all kinds of get-togethers. What makes them really special is how something so simple can instantly put you in a better mood. The mix of rich chocolate, creamy cheesecake, and bright chocolate chips creates something that's way more than just the sum of what goes in it. Even my friends who usually pass on sweets can't resist these treats.
 Save
Save
Recipe FAQs
- → Can I skip the red food dye?
- Sure, just leave it out or reduce it. The flavor stays the same, but they won't have the red velvet look.
- → How do I know if they're baked?
- Check the center with a toothpick. A few damp crumbs are fine, but it shouldn't have liquid batter. The middle should feel set but a bit soft.
- → Why do these need to go in the fridge?
- The cream cheese needs to stay cool. Also, refrigeration helps them firm up so they slice neatly.
- → Can I freeze them?
- Yep! Wrap them tightly and they’ll last up to 3 months in the freezer. Let them thaw overnight in the fridge before eating.
- → Why is the cheesecake layer cracking?
- Cracks might mean it's baked too long or cooled too fast. Next time, bake a tad less and let it cool slowly on the counter.