
 Save
Save
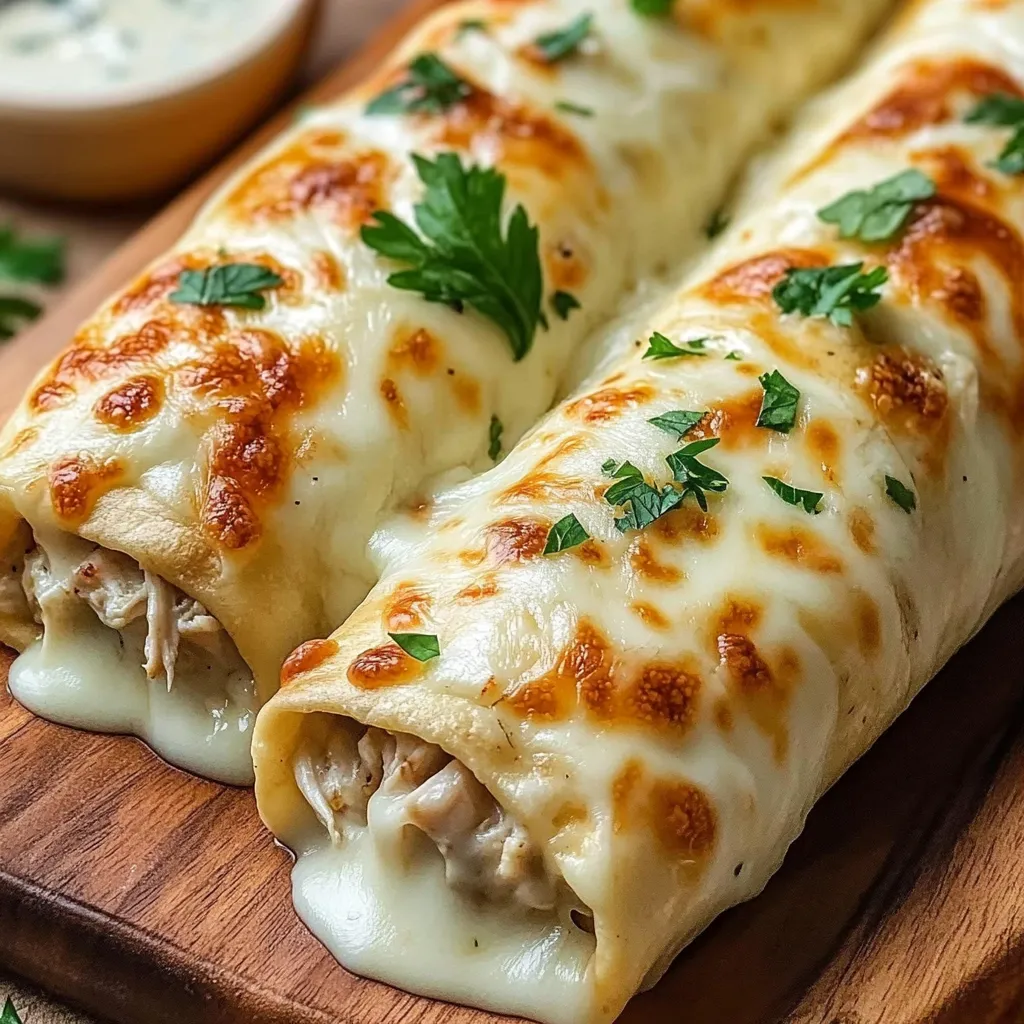
Crispy Garlic Chicken Wraps
These cheesy garlic chicken wraps bring together tender shredded chicken breast, three melted cheeses, and lashings of aromatic garlic butter, all rolled inside soft flour tortillas for the ultimate comfort food experience. After brushing the wraps with garlicky herb butter, they're pan-seared and baked to golden perfection, resulting in a crispy exterior and irresistibly melty, savory filling that satisfies every craving. These wraps were born out of a fridge clean-out session, but my family now requests them for every movie night because they deliver restaurant-quality flavor with minimal effort.
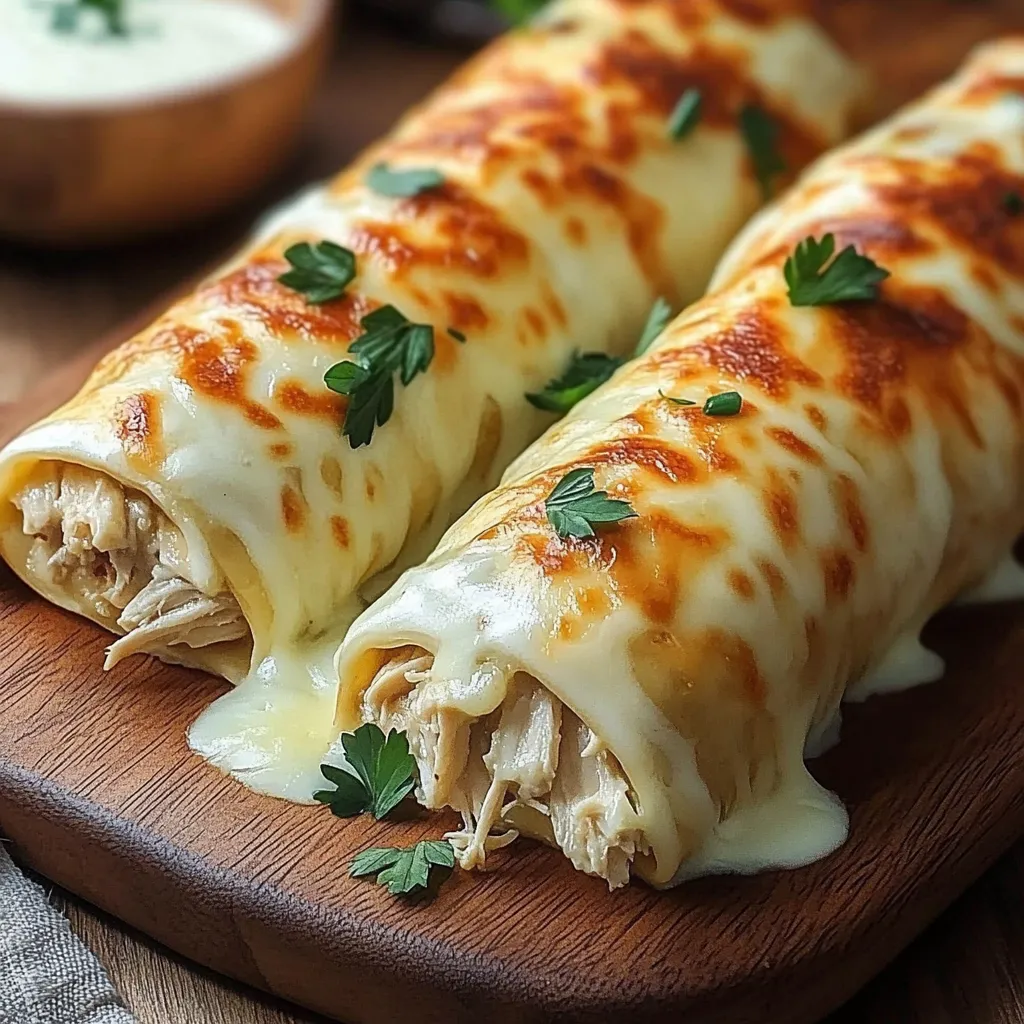
Cheesy Garlic Chicken Wraps have become my absolute go-to when friends come over unexpectedly because they look and taste impressive while being incredibly simple to prepare. The aroma of the garlic butter as the wraps hit the hot skillet always has everyone gathering in the kitchen asking for seconds, even before I finish plating them for serving.
Premium Wrap Ingredients
- Cooked chicken breast: Shredded or diced for hearty protein and satisfying texture. Freshly cooked or leftover rotisserie chicken makes prep even faster
- Shredded mozzarella cheese: Creates perfect melty stretch and mild creamy flavor. Look for low-moisture mozzarella for best melting results
- Sharp cheddar cheese, shredded: Gives tangy notes and classic cheesy richness. Choose quality block cheese over pre-shredded for superior melting
- Fresh Parmesan cheese, grated: Brings salty bite and savory depth throughout. Always grate fresh for superior taste and texture
- Large flour tortillas: Soft and pliable for wrapping all fillings securely. Check for tortillas with no cracks and good flexibility
- High-quality unsalted butter: Melted to carry garlic flavors and toast wraps evenly. Choose premium butter for richest flavor
- Fresh garlic cloves, minced: Provides pungent aroma and deep savory flavor that defines these wraps
- Dried parsley: Adds subtle freshness and appealing color. Use dried for convenience or fresh herbs chopped finely
- Salt and pepper: For proper seasoning balance throughout the filling mixture
Complete Preparation Process
- Creating Perfect Cheese Filling
- In a large mixing bowl, combine the shredded chicken with mozzarella, cheddar, and Parmesan cheeses, mixing until all ingredients are evenly blended for a balanced, cheesy bite in every single wrap. Season lightly with salt and pepper, tasting to ensure proper flavor balance that complements rather than overwhelms the cheese combination. The mixture should hold together well while remaining light and fluffy.
- Mastering Wrap Assembly Technique
- Lay a flour tortilla flat on a clean work surface and place about four ounces of the prepared filling in the center, spreading it slightly but leaving plenty of border space. Fold both sides tightly inward toward the center, then roll up carefully from the bottom edge to completely seal the filling inside. Keep the seam positioned on the bottom to help maintain shape during the cooking process and prevent unwrapping.
- Building Aromatic Garlic Butter
- Melt unsalted butter in a small bowl and add minced fresh garlic along with dried parsley, stirring thoroughly to infuse the butter with maximum flavor and create that signature aroma. This garlic butter mixture is absolutely key for achieving that classic garlic bread aroma and irresistibly crispy exterior that makes these wraps so special and memorable.
- Achieving Perfect Skillet Searing
- Heat a large nonstick skillet or griddle over medium heat until properly warmed throughout. Brush each assembled wrap generously with the prepared garlic butter mixture, then place seam-side down in the heated pan. Cook each wrap for two to three minutes per side, until golden brown and crispy all around. The gradual browning process gives you that satisfying crunch with every bite while melting the cheese perfectly.
- Finishing With Oven Perfection
- Preheat your oven to 375°F and arrange the seared wraps on a parchment-lined baking sheet for easy cleanup and even heating. Brush again with any remaining garlic butter to ensure maximum flavor and crispiness. Bake for ten to twelve minutes, flipping halfway through, until the wraps are perfectly crisp outside and piping hot throughout the center.
- Serving At Peak Temperature
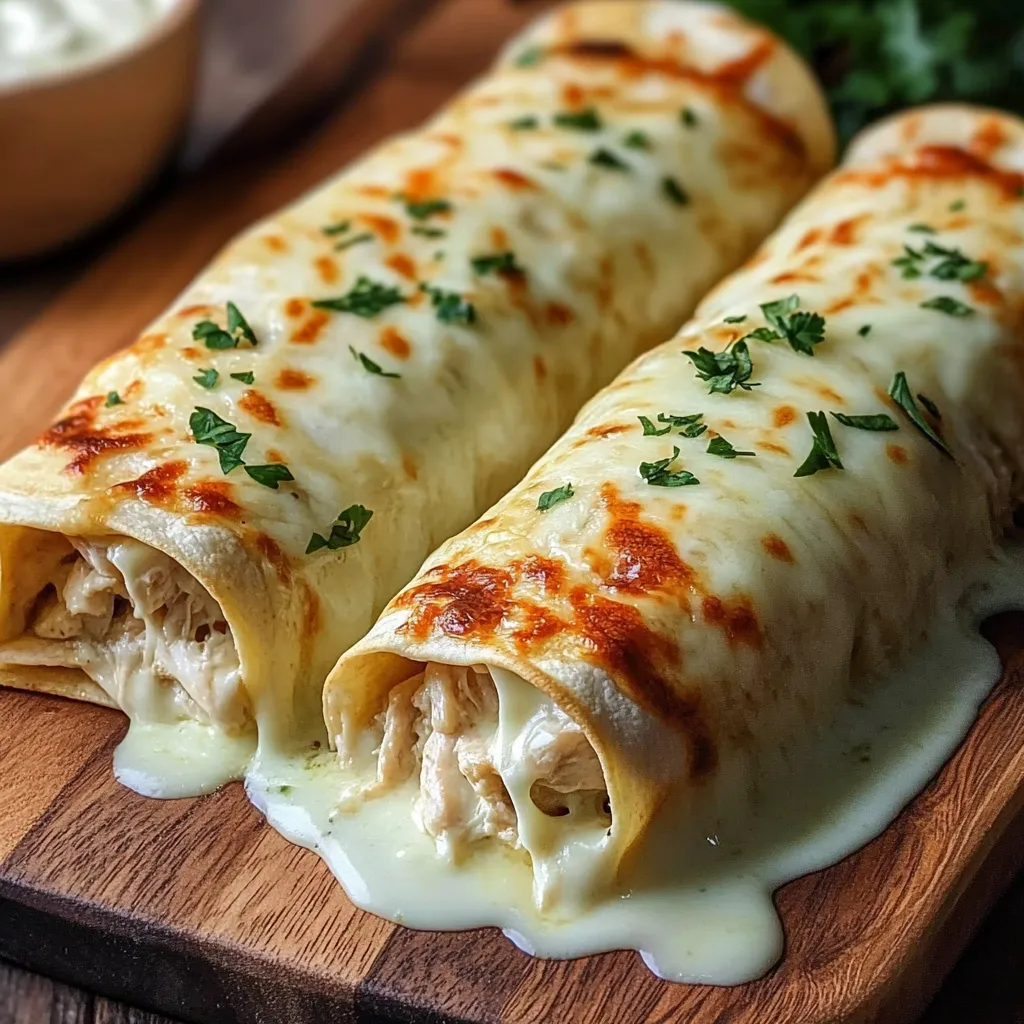
- Cut each wrap in half diagonally if desired and serve immediately while hot for the best cheese stretch and optimal texture contrast. Pair with dipping sauces such as ranch, marinara, or creamy garlic aioli for extra flavor dimensions that complement the rich filling. For family gatherings, arrange them on a large platter so everyone can try different sauce combinations.
 Save
Save
Smart Storage Solutions
Let the wraps cool completely on a wire rack to prevent condensation and sogginess before storing them properly. Wrap each one individually in foil or parchment paper, then place in an airtight container in the refrigerator where they keep well for up to three days. For best reheating results, use an oven or air fryer to regain that coveted crispy texture instead of microwaving, which unfortunately softens the tortilla and eliminates the appealing crunch.
Creative Ingredient Substitutions
Swap mozzarella for provolone or gouda if you want a different melty personality with more complex flavor notes. Craving more heat and excitement? Add diced jalapeños or substitute pepper jack cheese for a spicy kick that wakes up your taste buds. For a lower-carb version, try using large collard green leaves that have been blanched briefly as the wrap instead of traditional flour tortillas.
Perfect Serving Ideas
Slice wraps into bite-sized rounds for an attractive party platter that's perfect for entertaining and casual gatherings. Serve alongside a crisp green salad or a bowl of tomato soup for a more balanced, complete meal experience. Add a spoonful of fresh salsa or cooling tzatziki sauce for a refreshing twist that cuts through the rich cheese flavors beautifully.
 Save
Save
If you experiment with other cheese combinations or different fillings, let the kids help assemble their own wraps for a fun family activity. I find that giving everyone their own wrap to customize turns ordinary dinner preparation into an engaging DIY experience that gets everyone involved. Nothing beats watching their faces light up when they bite through that crisp, garlicky exterior into the gloriously cheesy center that makes these wraps so irresistibly satisfying.
Recipe FAQs
- → Can I use different types of cheese?
- Absolutely! Try pepper jack for heat, swiss for nuttiness, or cream cheese mixed in for extra creaminess. Just keep the total amount about the same.
- → What if I don't have cooked chicken?
- You can quickly cook chicken breast in a skillet with some seasoning, or use rotisserie chicken from the store. Even leftover grilled chicken works great!
- → Can I skip the pan-frying step?
- You can bake them directly, but pan-frying first gives you that perfect golden, crispy exterior that makes these wraps so special.
- → How do I prevent the wraps from getting soggy?
- Make sure your chicken isn't too wet, and don't overfill the wraps. The garlic butter coating also helps create a barrier that keeps them crispy.
- → Can I make these ahead of time?
- You can assemble them and wrap tightly in plastic wrap, then refrigerate for up to 4 hours before cooking. Just add a minute or two to the cooking time.
- → What dipping sauces work best?
- Ranch, marinara, garlic aioli, or even a spicy buffalo sauce all pair wonderfully with these cheesy wraps. Pick your favorite!