
 Save
Save
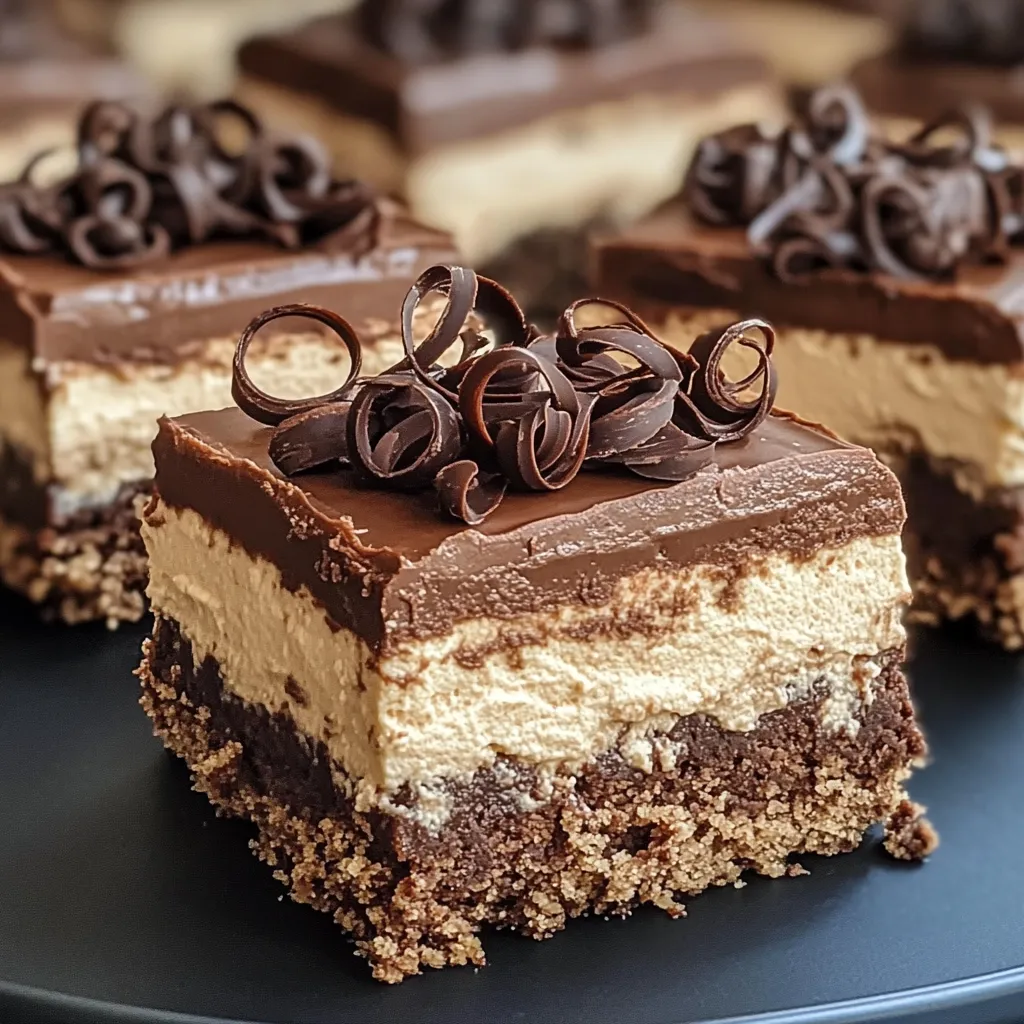
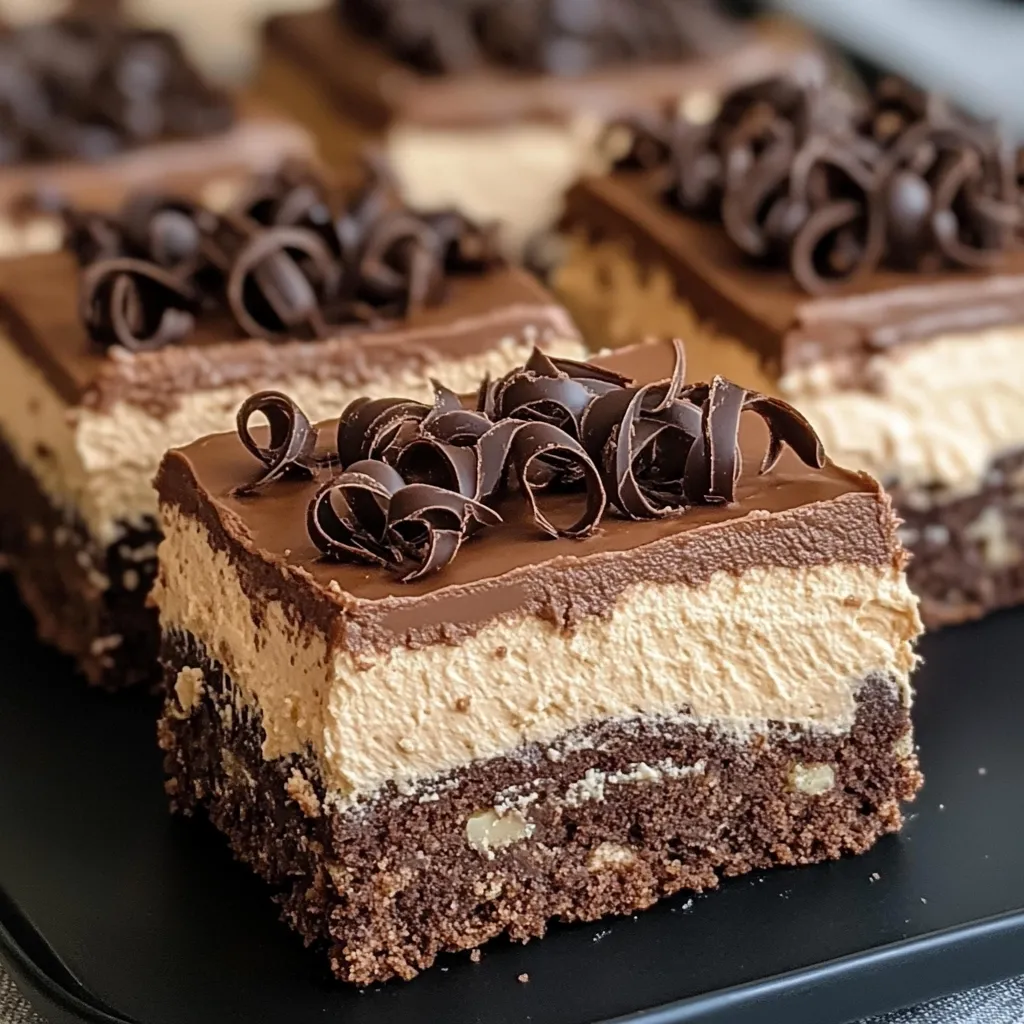
Chocolate Peanut Butter Dream Bars are that impossibly creamy and decadent dessert you whip up when everyone needs a sweet pick-me-up. A classic no bake treat with a cookie crust, peanut butter cheesecake layer, chocolate pudding, and clouds of whipped topping, these bars are always the first dessert gone at my house and never fail to put smiles on faces.
I made these once on a busy holiday afternoon and everyone kept coming back for seconds. Now they are requested for every family birthday and potluck.
Ingredients
- Chocolate sandwich cookies for the base: lend a deep cocoa flavor and great crunch Look for a brand with real cocoa for best taste
- Unsalted butter: provides richness and helps bind the cookie crust together Use fresh butter for the brightest flavor
- Creamy peanut butter: for smooth texture and nutty flavor Natural peanut butter is delicious but commercial brands give firmer results
- Cream cheese: creates a luscious tangy peanut butter filling Choose full fat for extra creaminess
- Powdered sugar: sweetens the peanut butter layer and helps make it super fluffy Make sure it flows without clumps
- Whipped topping: gives airy lightness and a melt in your mouth finish Thaw fully for better folding and coverage
- Instant chocolate pudding mix: ensures a quick and reliable layer of chocolatey depth Choose a chocolate brand you love eating as is
- Milk: is needed to mix the pudding layer Use whole milk for extra richness
- Extra whipped topping and chocolate curls or shavings for garnish: Homemade chocolate curls add elegance and make every piece look party ready
Step-by-Step Instructions
- Crush the Cookies:
- Crush the chocolate sandwich cookies into fine crumbs Use a food processor for best results or smash them in a zip top bag with a rolling pin
- Mix with Butter:
- Stir the melted butter into the cookie crumbs until evenly moistened The mixture should look like wet sand and clump when pressed
- Form the Crust:
- Press the mixture into the bottom of a nine by thirteen inch baking dish Use the back of a spoon or measuring cup to compact the crumbs into an even layer Chill in the refrigerator while you prepare the next layer
- Make Peanut Butter Filling:
- In a large mixing bowl beat together the creamy peanut butter softened cream cheese and powdered sugar Beat until completely smooth creamy and fluffy
- Fold in Whipped Topping:
- Add the thawed whipped topping to the peanut butter mixture Gently fold it in with a spatula to keep the filling light and airy Spread this over the chilled cookie crust
- Make Chocolate Pudding:
- In another bowl whisk the instant pudding mix with milk Beat for two minutes or until the mixture thickens
- Add the Pudding Layer:
- Spread the chocolate pudding evenly over the peanut butter layer Use a spatula for smooth edges
- Chill the Bars:
- Cover the pan and chill in the refrigerator for at least four hours This is key for neat slices and to allow the layers to set
- Garnish and Cut:
- Right before serving add another layer of whipped topping Decorate with chocolate curls or shavings Cut into squares and serve cold
 Save
Save
The peanut butter layer is my favorite part It always reminds me of childhood lunches and late night peanut butter sandwiches with family memories that make me smile every time I make this dessert
Storage Tips
Store leftover bars covered in the refrigerator for up to five days For best texture only add garnishes before serving You can also freeze the sliced bars in an airtight container for up to one month Let them thaw in the fridge before enjoying
Ingredient Substitutions
Swap the chocolate sandwich cookies with any favorite cookie for a new spin Graham crackers and shortbread both work well For a nut free dessert try using sunflower seed butter instead of peanut butter and always double check ingredients based on allergies
 Save
Save
Serving Suggestions
Serve these bars at parties or potlucks where they shine as a fun and rich finger food For dessert tables cut into small squares and place in cupcake liners For extra flair drizzle with melted chocolate or top each slice with a mini peanut butter cup
A Sweet Bit of Dessert History
Chocolate peanut butter bars take inspiration from American no bake desserts that became popular in the mid twentieth century when busy families wanted quick homemade sweets The classic flavor combination remains timeless and always draws a crowd
Recipe FAQs
- → Can I use different cookies for the crust?
Yes, crushed graham crackers or vanilla sandwich cookies make a delicious alternative and change up the flavor.
- → How should I store leftover bars?
Keep leftovers in the refrigerator, covered, for up to 5 days. They also freeze well for up to a month.
- → How far ahead can I prepare these bars?
These bars can be made one or two days in advance, since chilling in the refrigerator improves their texture.
- → What can I use to garnish the bars?
Garnish with chocolate curls, shavings, or a sprinkle of chopped peanuts for extra flavor and a charming look.
- → Are there tips for getting clean slices?
Chill thoroughly and use a sharp knife wiped clean between cuts to achieve neat, attractive pieces.