
 Save
Save
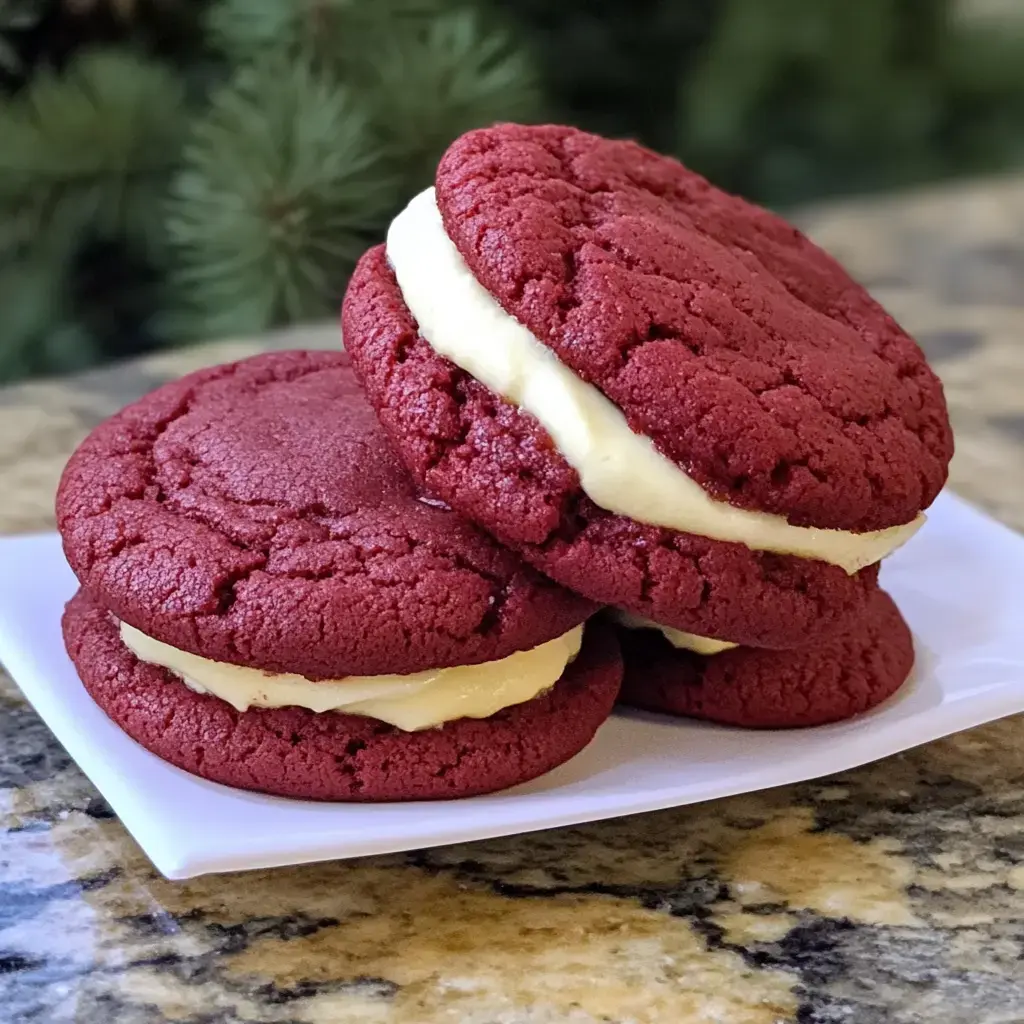
These little red velvet cream cheese cookie sandwiches are downright rich and will pull you in fast. Imagine taking a bite from soft, chewy red velvet cookies squished together with creamy, tangy frosting in the middle. They’re just the thing when you need a treat for a get-together, a holiday party, or to spoil yourself. Anyone can put them together at home and they'll wow any crowd.
Reasons You'll Crave These Cookies
If you’re looking for a new twist on red velvet, these cookie sandwiches totally fit the bill. They’ve got all that gooey, chewy goodness, plus the tangy center that pairs perfectly with their chocolatey flavor. They’re a sweet pick for any day, and don’t be surprised if they end up requested over and over again.
Top Things You Need
- For the Cookies:
- Red gel coloring: 1 tablespoon (15ml), professional stuff works best
- Buttermilk: ¼ cup (60ml), at 65°F (18°C) and at least 3.5% fat
- Large egg: 1 (50g), should be at 65°F (18°C)
- Unsalted butter: 1 cup (227g), 82% butterfat, make sure it’s at 65°F (18°C)
- Granulated sugar: 1½ cups (300g), pure cane at 70°F (21°C)
- Pure vanilla extract: 2 teaspoons (10ml)
- Dry Mix:
- Fine sea salt: ½ teaspoon (3g)
- Baking soda: 1 teaspoon (5g), fresh is best
- Dutch cocoa powder: ¼ cup (25g), sifted
- All-purpose flour: 2¼ cups (270g), make sure it’s 10-12% protein and at 70°F (21°C)
- The Filling:
- Pure vanilla extract: 1 teaspoon (5ml)
- Powdered sugar: 2 cups (240g), sifted
- Unsalted butter: ¼ cup (57g), at 65°F (18°C)
- Cream cheese: 8 oz (227g), full-fat and at 65°F (18°C)
Instructions You Can Count On
- Getting Things Ready
- First, heat your oven up to 350°F (175°C). Double check the temp with a separate thermometer if you have one. Pop racks in the upper and lower spots. Line your baking sheets with parchment. Keep your kitchen on the cooler, dry side—aim for 68-72°F (20-22°C) and less than 60% humidity.
- Mixing Up the Dough
- Whip that butter and sugar together until everything looks fluffy (give it 3 or 4 minutes). Crack in your egg and mix for another minute. Pour in buttermilk, vanilla, and food coloring and let it all blend into a smooth batter, about 68-70°F (20-21°C).
- Combining the Dry Stuff
- Grab a whisk and make sure all the dry ingredients are mixed nicely. Slowly mix them into the wet batter in three batches, only beating until it comes together. The final mix should be 68-70°F (20-21°C).
- Getting Ready to Bake
- Grab a #40 scoop (1.5 tablespoon/21g) to portion your dough on the trays. Leave 2 inches between each. Chill the dough balls in the fridge for 15 minutes so they keep their shape (make sure it’s 40°F or 4°C).
- Time To Bake
- Bake for 7-8 minutes. Stop when the edges look set and middles feel soft. Inside, they should reach 175°F (79°C). Their tops will look matte and slightly crackly.
- Letting Them Cool
- Leave cookies on the trays for 2 minutes, letting them cool to about 120°F (49°C), then move to wire racks to cool down all the way to 75°F (24°C).
- Making The Filling
- Blend cream cheese until totally creamy (about 2 minutes). Add butter, blend them together, then slowly add the sugar, beating until fluffy. Splash in the vanilla. Your filling should be around 65-68°F (18°C).
- Putting It All Together
- Pipe about 2 tablespoons (30g) of the creamy filling onto the flat side of a cookie. Place another cookie on top and press gently until the filling spreads to the edges. Stick the finished sandwiches in the fridge for at least 3 hours at 40°F (4°C) so they set up nicely.
Little Tricks To Make Yours Awesome
Don’t wait for the cookies to look totally baked—pull them once they’re just set on the edges for that chewy bite. Make sure your filling is well chilled before eating so every bite stays thick and creamy. Feeling bold? Toss in a bit more cocoa for some extra chocolate oomph.
How To Keep Them Fresh
Keep your cookie sandwiches in a sealed container in the fridge, and they’ll stay good for up to five days. Want to save them longer? Wrap each one in plastic and freeze. Just let them thaw in the fridge when you’re ready to enjoy.
 Save
Save
Fun Ways To Change It Up
Switch things around by using a different color gel or playing with extracts in the middle—try almond or peppermint for something fresh. Want a festive edge? Coat the sides of the cream with colorful sprinkles or roll them in crushed nuts for crunch.
Recipe FAQs
- → Can I make these cookies ahead of time?
Bake the cookies up to 2 days early and stash them in a sealed container. Mix up the filling last minute and pop together fresh sandwiches when you're ready to eat.
- → Why did my cookies spread too much while baking?
If your butter gets too melty or your dough is warm, cookies will flatten out. Chill your dough for about a half hour if it feels soft before baking to help fix this.
- → Can I reduce the amount of food coloring?
Sure, just use less—or swap it with beet powder if you want a natural look. The color will be less bold, but the flavor won't change at all.
- → How long do these cookie sandwiches stay fresh?
Keep them cold in your fridge and they'll be good for up to 5 days. If you want the best bite, leave them out for about 15 minutes before you dig in.
- → Can I freeze these cookie sandwiches?
Yep. Wrap each sandwich on its own, freeze up to 3 months, then thaw overnight in the fridge before munching.