
 Save
Save
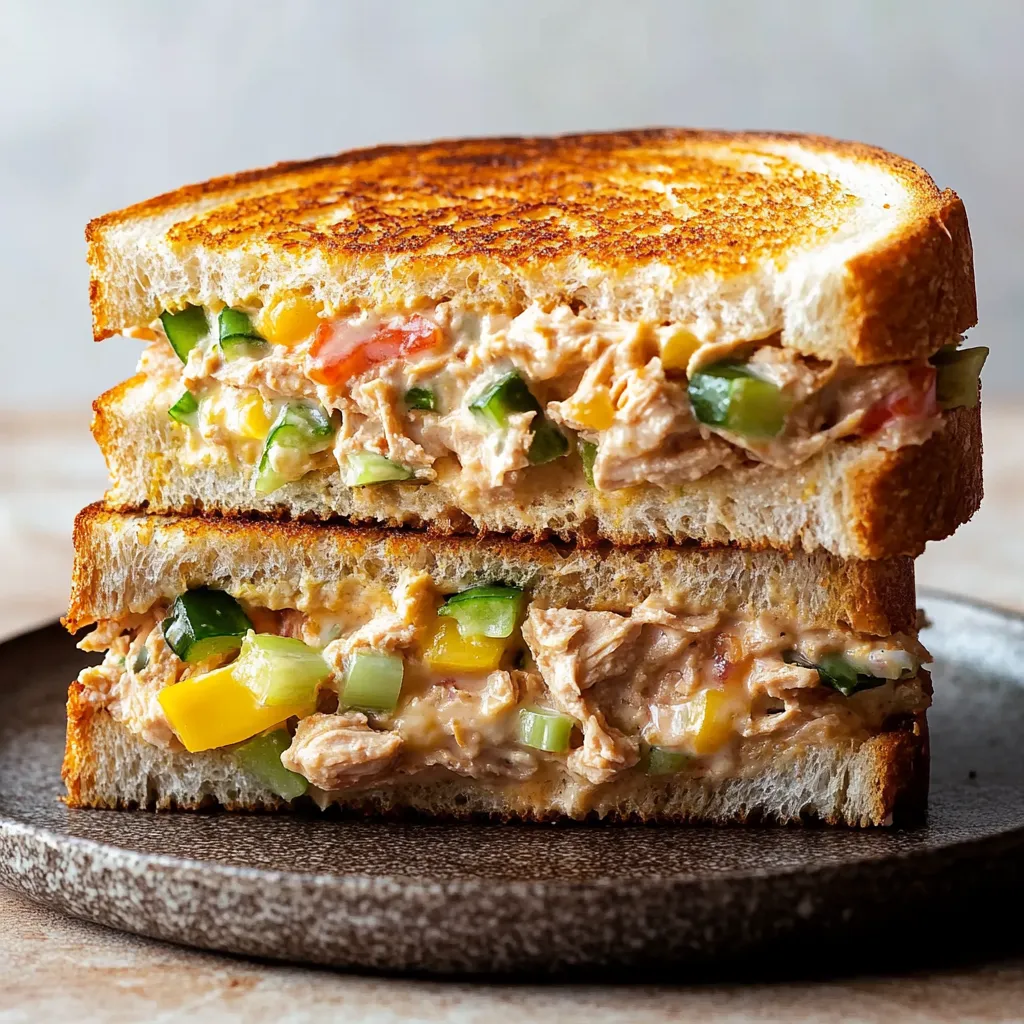
Quick tuna melts have become my lunchtime savior countless times. This speedy sandwich nails that balance between crunchy toast and melted cheese wrapped around flavorful tuna mix, somehow managing to be both cozy and practical. It's what I whip up when I want a lunch that feels special but won't make me sluggish afterward.
I began cooking this lighter version after noticing my traditional diner-style melt left me tired all afternoon. This updated approach gives me all the same comfort without knocking me out—exactly what I need during busy work days.
Ingredients You'll Want
- Water-packed canned tuna forms the protein base without unnecessary calories
- Greek yogurt adds creaminess and extra protein instead of using only mayonnaise
- Celery delivers necessary crunch and brightness to the mixture
- Roasted red peppers add gentle sweetness and juiciness
- Scallions offer a light onion flavor that isn't too strong
- Dijon mustard boosts taste without many extra calories
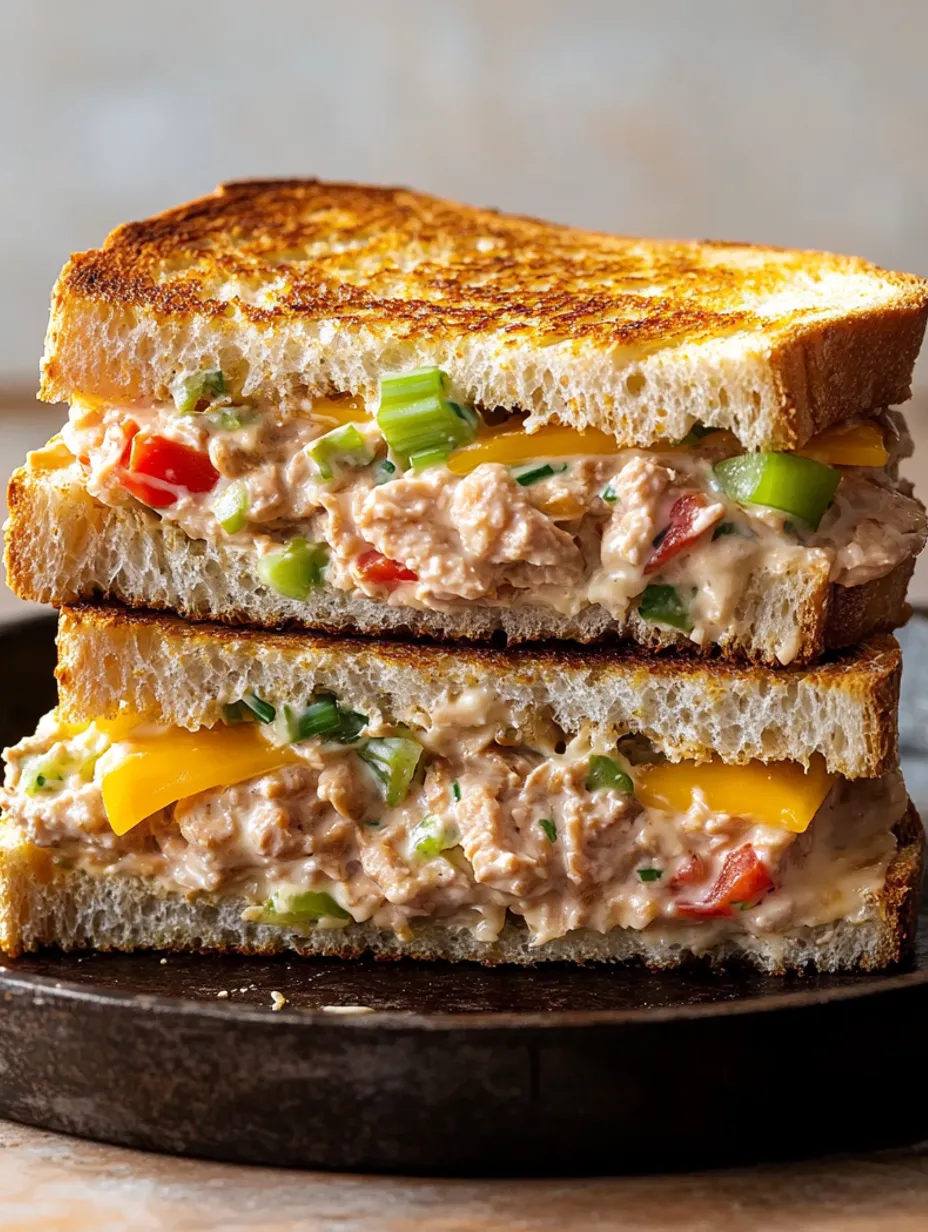
- Cheddar cheese creates that wonderful stretch when melted
- Whole-grain bread provides fiber, nutrients and good structure
- Mayonnaise (just a small amount!) goes on the outside for perfect toasting
 Save
Save
My Cooking Method
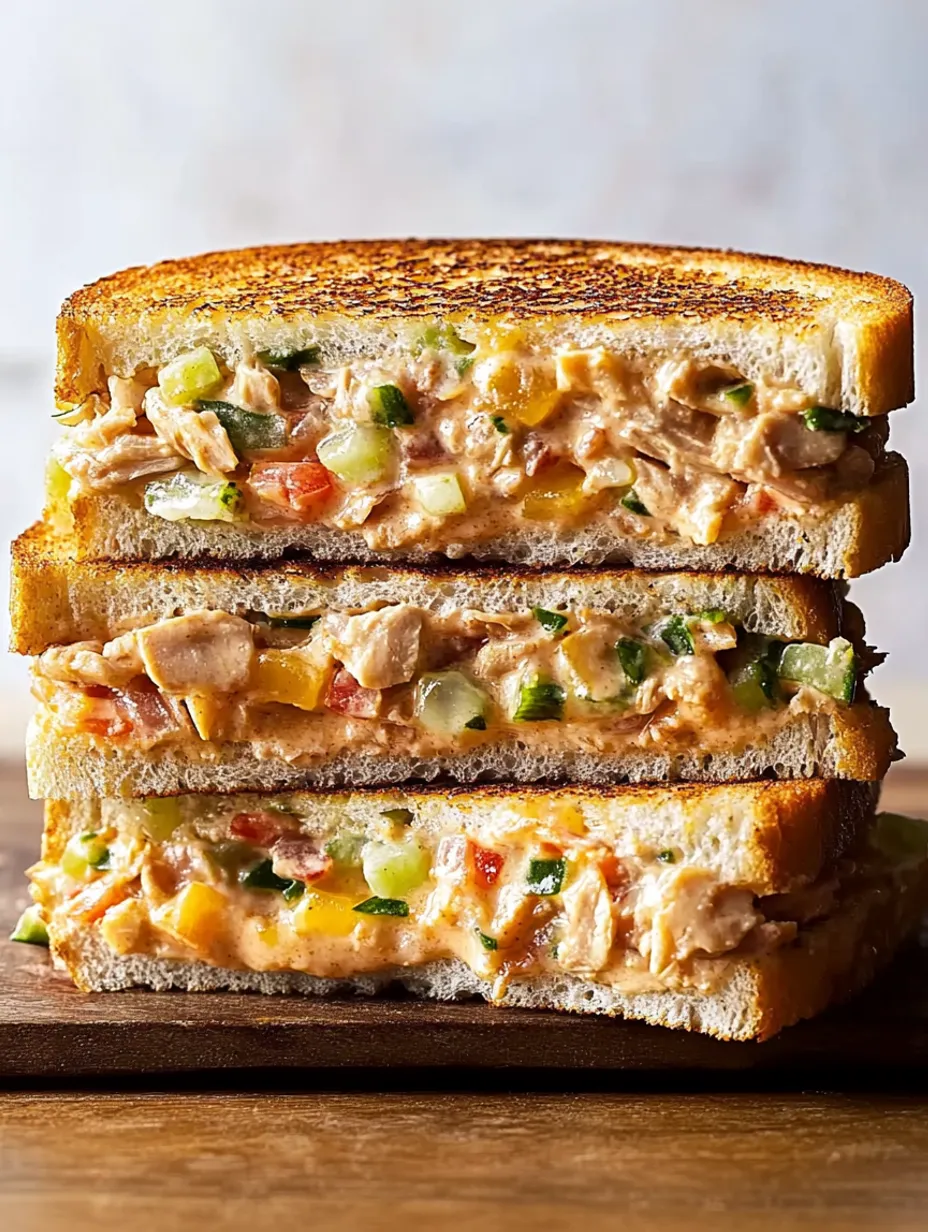
Tasty Tuna MixI start by thoroughly draining the tuna and breaking it up in a bowl with a fork. Then I toss in finely chopped celery, roasted red peppers, and scallions. Next come the yogurt, mustard, and pepper, and I stir everything until it's well blended. The result is creamy but still has bits of veggies for texture, making it much more interesting than basic tuna salad.
Building The SandwichHere's my little trick—instead of using butter, I spread a thin coat of mayo on the outside of each bread slice. This creates that perfect golden crust when cooked. Then I flip two slices over (mayo-side down), share the tuna mix between them, add a slice of cheddar on each, and top with the remaining bread, mayo-side facing up.
Pan CookingA warmed skillet on medium heat works just right for these sandwiches. I carefully put them in and let them cook without moving for about 3-4 minutes, until the bottom turns golden and crisp. Then I carefully flip them and cook the other side until the cheese melts completely and both sides look nicely browned.
Eat Right AwayThese sandwiches taste best when you grab them straight from the pan, while you can still enjoy that difference between the crunchy outside and melty inside. I usually cut mine corner to corner because it somehow makes everything taste better (that's totally real, right?).
When I first made these for my husband, who loves traditional tuna melts, he wasn't sure about the yogurt swap. But after trying it, he said it was "even better than the regular kind" because it felt lighter. Now we make them regularly, especially on days we're both working from home.
Mix It Up Options
If you don't fancy tuna, this works great with canned salmon or even chicken. Sometimes I swap cheddar for Swiss or pepper jack for different flavors. When I have them around, adding some pickled red onions to the tuna mix brings extra zip and pretty color.
Good Side Matches
I typically eat this with a basic green salad or fresh apple slices to complete the meal. If I'm really hungry, adding a small cup of tomato soup makes it feel like I'm at a cozy café without all the grease.
 Save
Save
Smart Timesaving Tricks
Some Sunday evenings, I'll prepare a batch of tuna mix to keep ready in the fridge for quick lunches during the week. The mixture stays good for about two days, which means I can have a hot lunch in just five minutes on hectic workdays—simply put together and grill.
Small Tricks I've Discovered
- Lightly pushing down on the sandwich with a spatula helps get better browning all over
- Waiting a minute after cooking keeps all the filling from spilling out when you slice it
- The more thinly you apply the mayo outside, the more evenly the bread will brown
This basic sandwich has turned into my favorite lunch when I need something filling but don't want to spend ages cooking. It hits that perfect middle ground between effort and reward—just enough actual cooking to feel like I made something real, but fast enough that I don't mind the time it takes. The fact that it's healthier than a traditional tuna melt is just a bonus.
Recipe FAQs
- → Can I swap Greek yogurt for regular yogurt?
- Of course, but the filling might not be as thick. Greek yogurt is better for its creamy texture and extra protein, but regular yogurt works too. Just use less to keep the mix from getting watery.
- → How do I cut back on calories?
- Use light mayo or skip it, try low-fat cheese, and opt for thinner bread slices. Toss in extra veggies to make it more filling without adding too many calories.
- → Can I prep the tuna mix ahead?
- Totally! The tuna mix can stay in the fridge for up to 2 days if stored in a sealed container. When you're ready to eat, just build the sandwich and toast it up.
- → What other fresh veggies can I add?
- You can toss in diced cucumber, shredded carrot, chopped pickle, or even avocado chunks. Add whatever you like or have on hand for extra flavor.
- → Can this be done in a toaster oven or press?
- Yep! For a toaster oven, just assemble and toast until the bread is golden and the cheese melts. A panini press works great too—brush bread lightly with butter and press till crisp.
- → What can I pair with this sandwich?
- It goes great with a green salad, veggie soup, or even a small bag of baked chips. For something more filling, serve it with a warm soup or crunchy pickle.