
 Save
Save
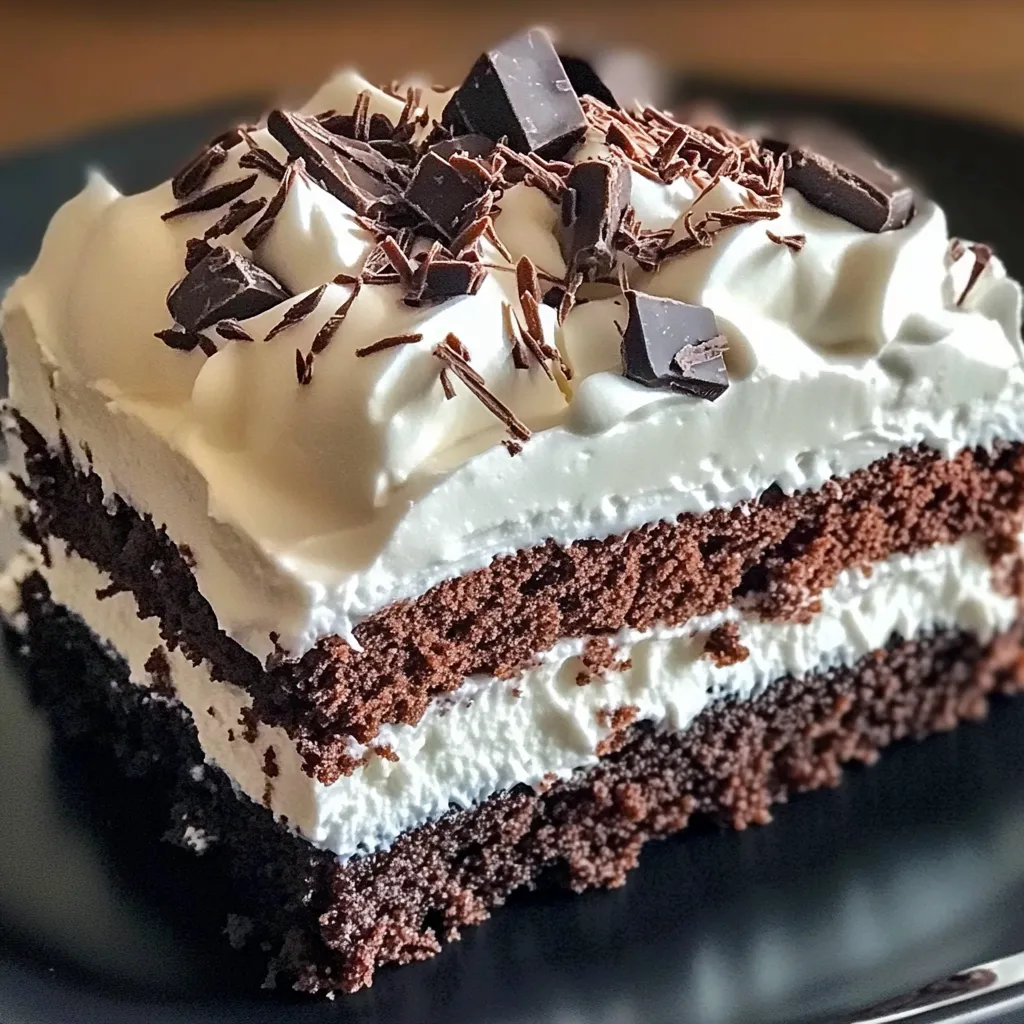
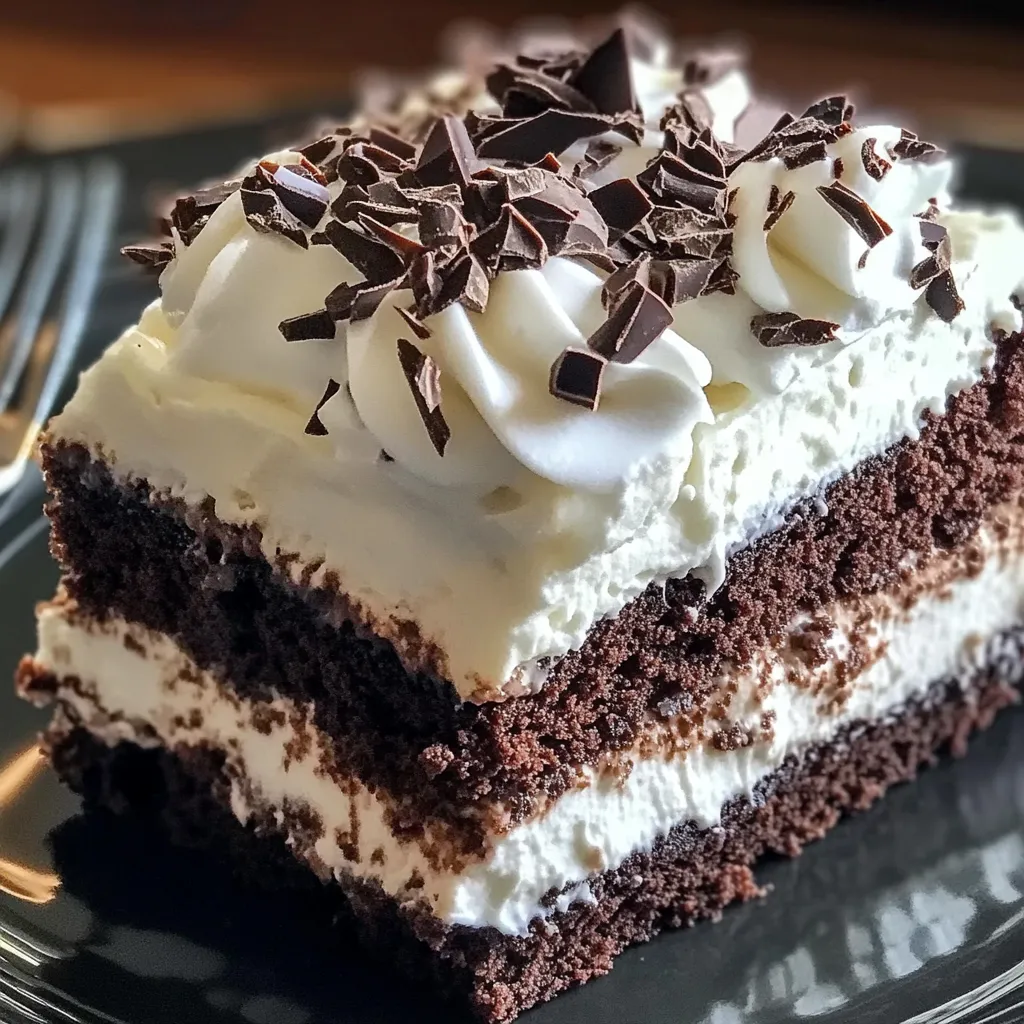
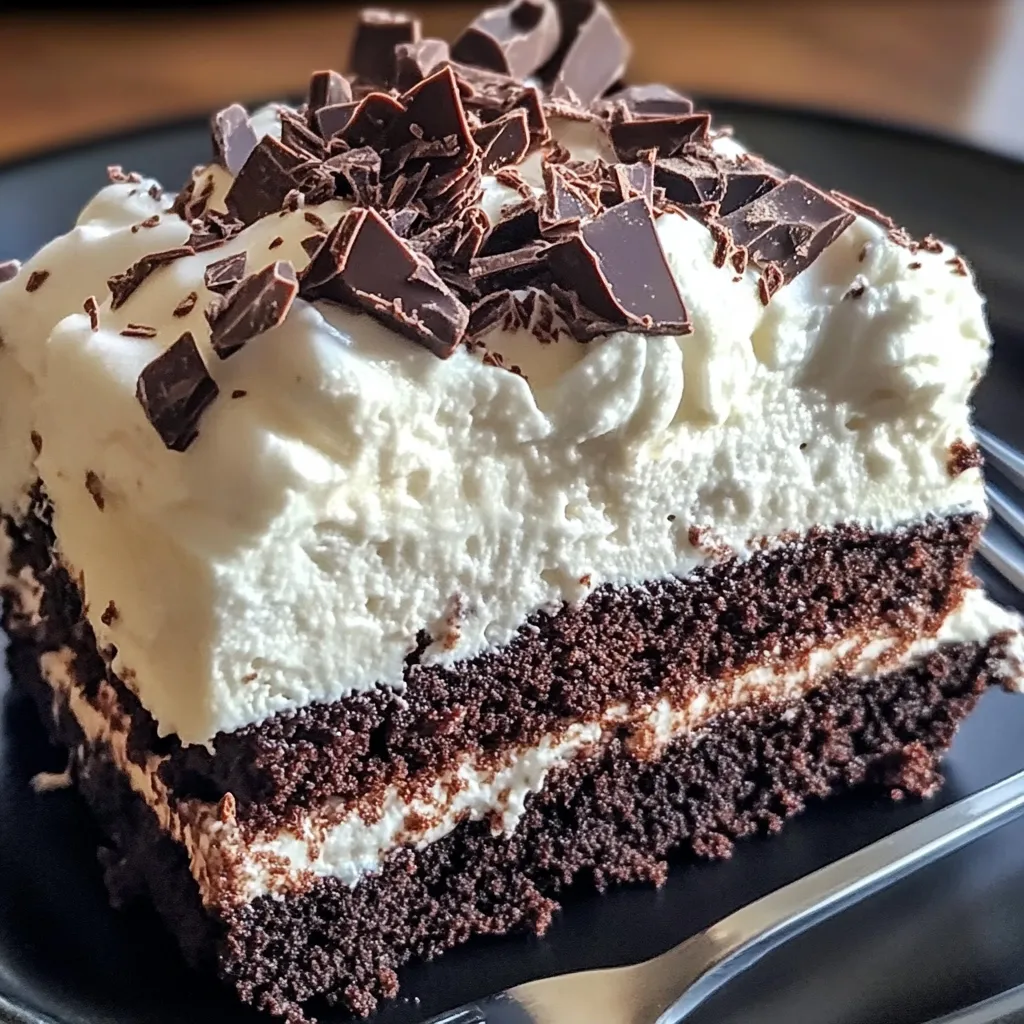
Rich layers of chewy brownie, smooth cream cheese, and airy whipped topping blend together in this super easy dessert. It's an impressive treat that looks fancy but takes minimal work. Every cool, creamy spoonful delivers pure joy without spending all day in the kitchen.
I found this gem buried in my grandma's old recipe collection, hidden among her best kitchen secrets. She told me how she'd whip this up whenever she needed to wow guests during tough times when good ingredients weren't easy to find. The first time I made it for family, everyone went silent as they took their first bites. My picky aunt actually asked me how I made it, and my brother, who usually turns his nose up at chocolate, grabbed seconds. What started as my way to connect with Grandma's cooking has turned into the dessert everyone always asks for, showing that the easiest recipes often make the biggest impression.
Smart Ingredient Choices
- Boxed Brownie Mix: Gives you a reliable fudgy base without measuring loads of separate ingredients
- Extra-Large Egg: Adds the right amount of structure while keeping the brownies rich
- Cream Cheese: Brings a tangy creaminess that cuts through the sweetness
- Powdered Sugar: Melts perfectly into cream cheese for a smooth texture with no grittiness
- Whipped Topping: Creates a dreamy, light layer on top
- Instant Chocolate Pudding: Adds rich chocolate flavor without extra work
- Instant Vanilla Pudding: Works with the chocolate components to create better flavor balance
- Whole Milk: Makes the pudding layers creamy with just the right thickness
- Chocolate Bar or Syrup: Tops everything off with a nice finishing touch
- Pure Vanilla Extract: Boosts all the other flavors in every layer
Foolproof Assembly Steps
- Start With The Brownie Base:
- Heat your oven to 350°F and mix up the brownie batter following the box directions. Pour it into a greased 9x13 pan, making sure it's spread out evenly. Bake until it's just done but still a bit fudgy. A toothpick should come out with a few sticky crumbs. Don't overbake or it'll get too dry when chilled.
- Mix The Cream Cheese Filling:
- While your brownies cool down completely, beat your softened cream cheese until it's fluffy. Add powdered sugar bit by bit plus a dash of vanilla, and keep beating until it's totally smooth with no lumps. This creamy layer will sit between your brownie and the lighter top layers.
- Whip Up The Pudding Mix:
- In another bowl, mix both chocolate and vanilla pudding powders with cold milk and whisk until smooth. Let it sit about five minutes until it thickens up a bit. Using both flavors gives you a more interesting taste than just chocolate alone.
- Add The Lightness:
- Carefully fold your whipped topping into the pudding mix. Go slow so you don't squash all the air out. You want it light and mousse-like but still firm enough to slice cleanly.
- Build Your Layers:
- Spread the cream cheese mix over your completely cooled brownies, making sure to reach all the edges. Then add your pudding mixture on top, smoothing it out for a nice, even look.
- Add The Final Touch:
- Sprinkle some chocolate shavings on top, dust with a bit of cocoa, or drizzle with chocolate syrup. This extra bit not only looks pretty but adds another hit of chocolate flavor.
- Let It Set:
- Cover with plastic wrap and stick it in the fridge for at least four hours, but overnight works even better. This cooling time lets all the flavors mix together and helps everything set up properly.
- Cut And Serve:
- Use a knife dipped in hot water and wiped clean between cuts for neat squares. The dark bottom against the lighter layers looks really pretty on plates.
 Save
Save
My family goes crazy for this dessert at summer gatherings when nobody wants to turn on the oven. My husband always drizzles extra chocolate sauce on his piece, while my kids love adding fresh raspberries for some tartness. I've learned that using brownie mix with chocolate chunks makes the base extra special and sturdy enough to hold up all those creamy layers.
This recipe came from my grandma, who called it her "Company Cake" because she'd make it whenever unexpected visitors showed up. I've kept up her tradition of always having these ingredients in my pantry, ready for any dessert emergency.
Tasty Serving Ideas
This rich dessert tastes even better with something on the side to balance it out. Try serving it with small glasses of cold milk to cleanse your palate between bites. Coffee lovers will enjoy it with hot coffee or espresso since the bitter coffee taste works so well with the sweet cake. When berries are in season, put some fresh raspberries or strawberry slices on the plate for a tangy contrast. For special occasions, add a scoop of vanilla ice cream next to each piece to play with hot and cold temperatures. Right before serving, try sprinkling just a tiny bit of sea salt on top to make all the flavors pop.
Fun Flavor Twists
Mix things up while keeping the amazing texture contrast that makes this dessert special. For mint chocolate fans, add a few drops of peppermint extract to the cream cheese layer and sprinkle crushed mint candies on top. Coffee lovers can stir 1-2 teaspoons of instant espresso into the pudding for a mocha flavor. In fall, mix some cinnamon into the brownie batter and use caramel drizzle instead of chocolate. For a fruity version, place a layer of sliced strawberries between the cream cheese and pudding. Want to impress dinner guests? Skip the box mix and use your favorite brownie recipe with a spoon of espresso powder mixed in for extra depth.
Keeping It Fresh
Make the most of this easy make-ahead dessert by storing it right to keep all those great textures. It'll stay good in the fridge for up to five days, and the flavors actually get better during that time. Cut it into squares and keep them in sealed containers so you can grab just one piece without messing up the whole cake. For longer storage, wrap individual slices in plastic then foil and freeze for up to a month. Thaw frozen pieces overnight in the fridge for best results. When serving refrigerated cake, let it sit out for 10-15 minutes so the flavors come alive and the texture gets creamier.
I really discovered how magical this cake is when I hosted my first dinner party in my tiny apartment with terrible AC. Since I could make it ahead and it was so refreshingly cool, it solved both my limited kitchen space and the summer heat problems. Watching guests' faces light up with their first taste showed me that sometimes the most impressive desserts aren't complicated at all. This simple layered treat has been with me through everything from casual potlucks to fancy celebrations, always getting the same happy reactions. There's something special about a dessert that connects different generations through its simplicity and amazing taste—sometimes grandma's recipes really are the best ones.
 Save
Save
Recipe FAQs
- → Can I prepare this in advance?
- Totally! It’s even better if made a day ahead. Store it in the fridge—it helps the layers set and flavors blend beautifully.
- → Can I use scratch-made brownies?
- Of course! Whip up your favorite homemade brownie recipe and bake in a 9×13-inch pan. Ensure they’re fully cooled before building the layers.
- → What can replace whipped topping?
- Swap it with homemade whipped cream. Beat 3 cups of heavy cream with 1/3 cup powdered sugar until stiff peaks form. Use in place of store-bought whipped topping.
- → Is this dessert freezer-friendly?
- Freezing works, but be aware the pudding and cream layers may slightly alter in texture. If freezing, wrap well and thaw in the fridge overnight.
- → Can I experiment with flavors?
- Yes! Add fresh strawberry slices between layers, mix mini chocolate chips into the cream cheese, or swap in butterscotch or white chocolate pudding.