
 Save
Save
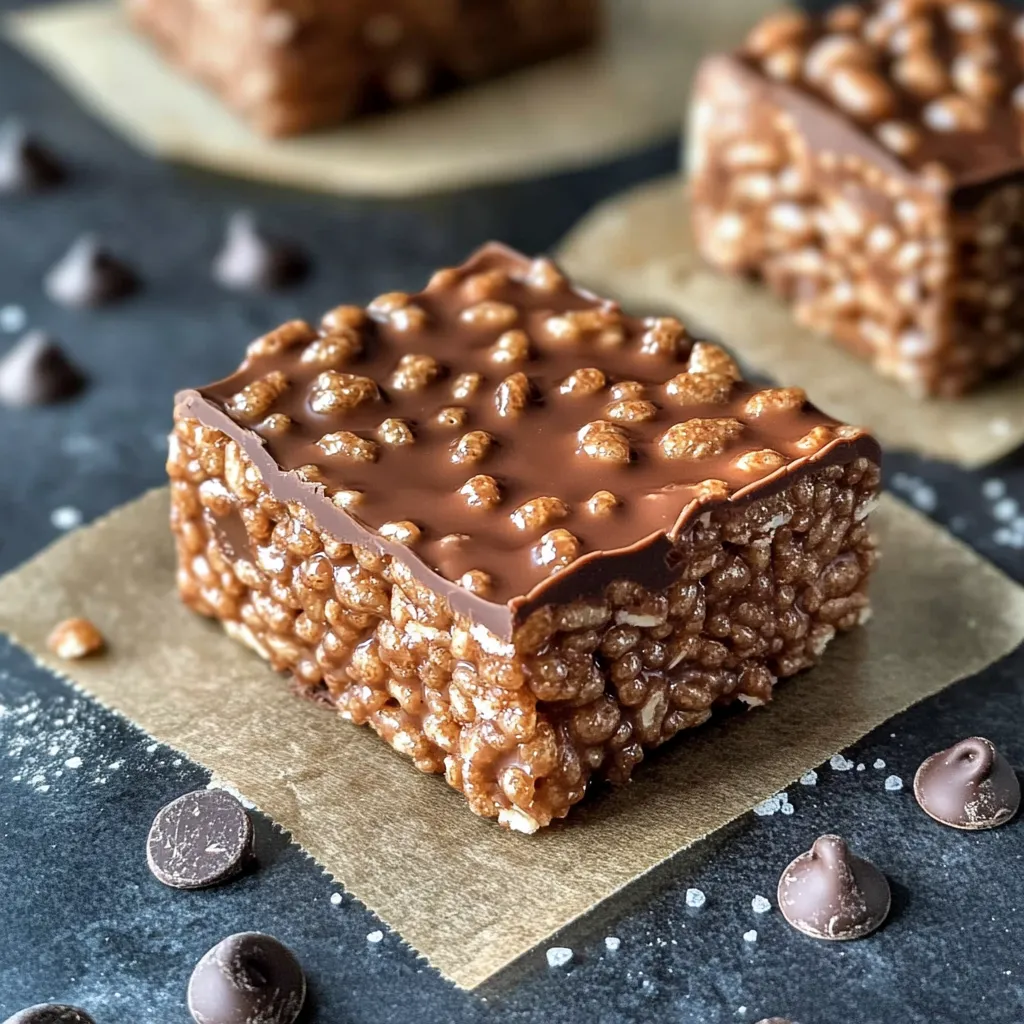
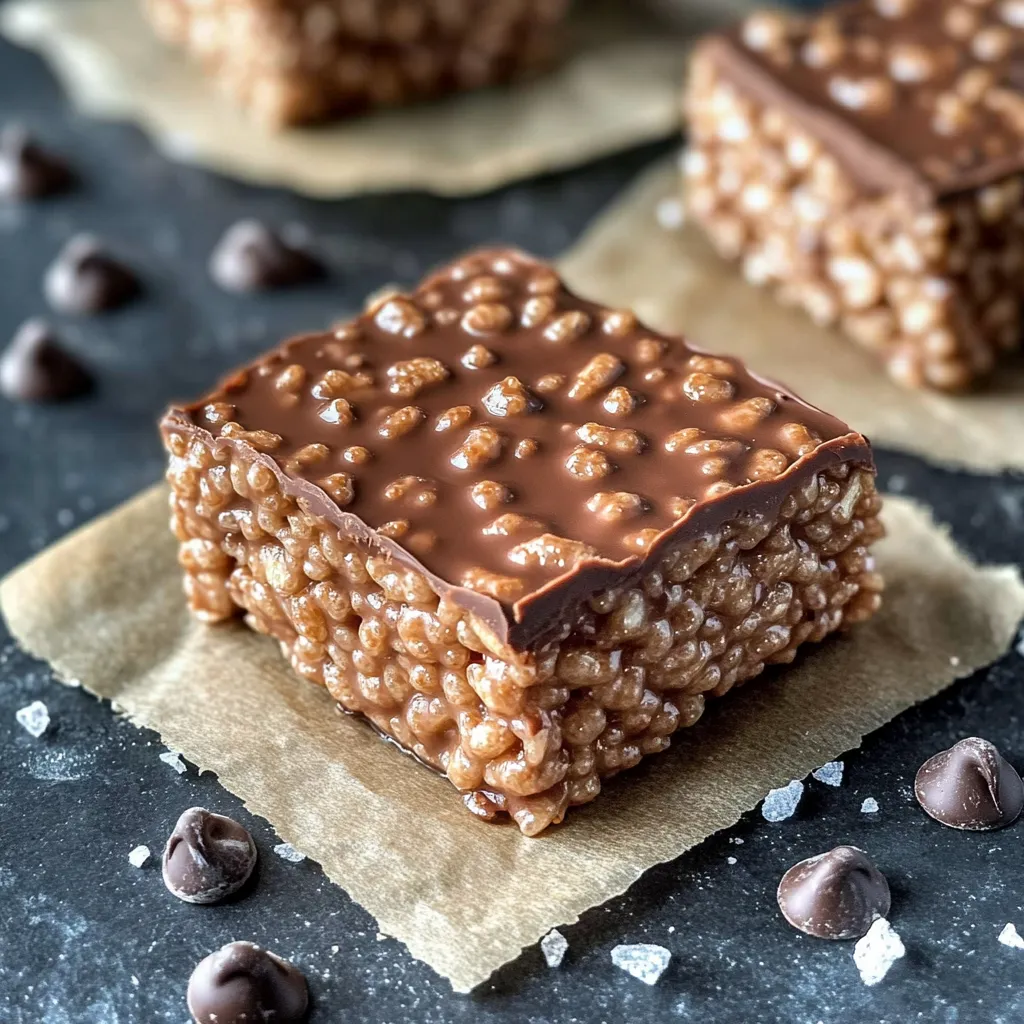
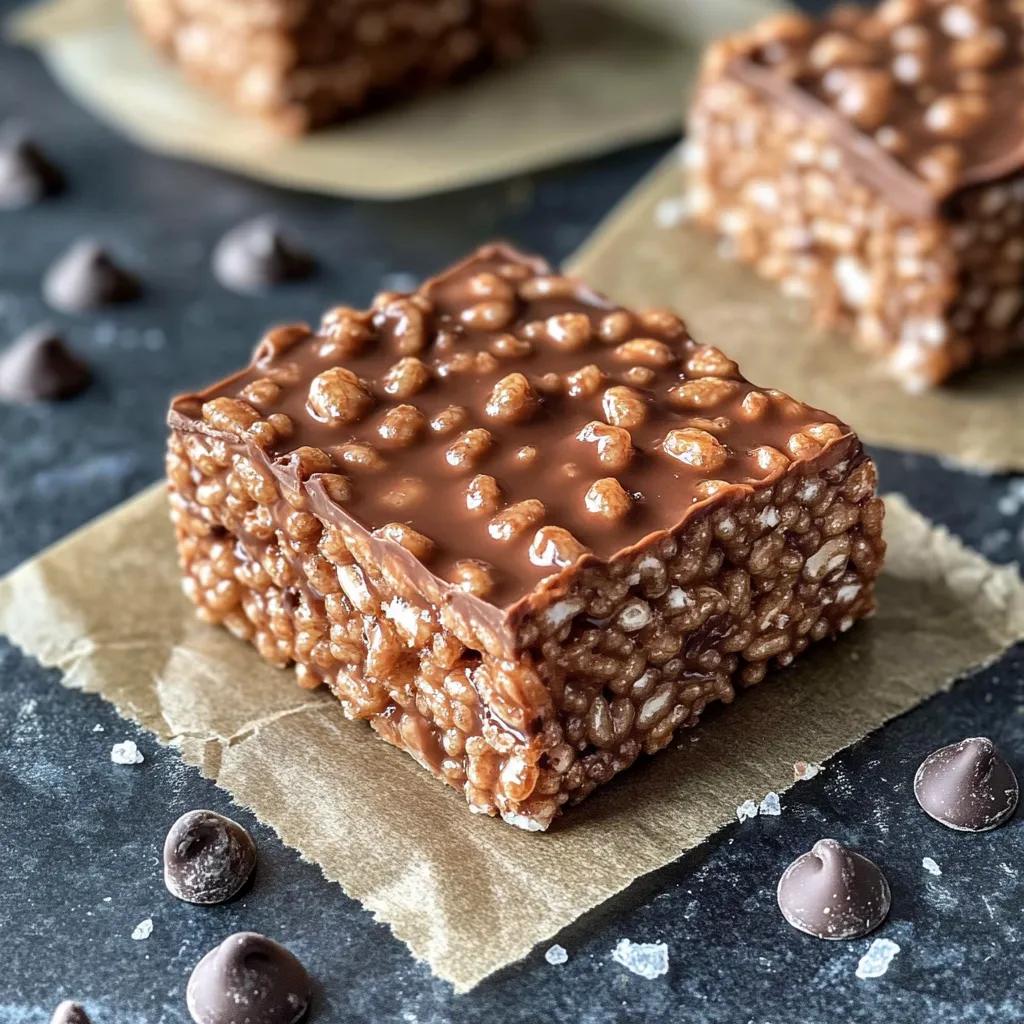
These homemade crunch bars are my go-to treat for when I want to recreate that classic candy bar at home without any complicated steps or mystery ingredients. With just five simple ingredients you probably already have, they come together quickly, and I swear the result is even better than the store-bought version. Whether you are vegan gluten-free or simply after a wholesome chocolate fix, this no-bake recipe delivers all the crispy chocolatey joy you crave.
The first time I made these was after reading that the classic crunch bar had been discontinued. Now my friends and family beg me to make a double batch every time chocolate cravings hit.
Ingredients
- Crispy rice cereal: essential for that signature crunch look for a gluten-free option for allergies the fresher the better for extra snap
- Crunchy peanut butter: adds richness and crunch use smooth if preferred or swap for other nut or seed butters if you have allergies
- Chocolate chips: the backbone of the bars opt for a high-quality dark or semi-sweet chocolate for the best flavor dairy free if needed
- Maple syrup: sweetens naturally and adds chewiness try to use pure maple for depth use a sugar-free syrup if you want lower sugar
- Coconut oil: helps the chocolate set smoothly and gives a glossy finish choose virgin coconut oil for subtle coconut notes or swap for vegan butter for a different texture
Step-by-Step Instructions
- Prepare the Pan:
- Line a square baking dish with parchment paper letting the edges hang over for easy removal later. This prevents sticking and makes cleanup a breeze.
- Melt the Chocolate Base:
- Combine chocolate chips peanut butter maple syrup and coconut oil in a microwave-safe bowl. Microwave in thirty-second bursts stirring between each until the chocolate is melted and mixture is thick and smooth. Whisk well to fully blend everything together.
- Mix in the Cereal:
- Pour the crispy rice cereal into a large mixing bowl. Add the melted chocolate mixture and gently fold everything together until every piece of cereal is completely coated and glossy.
- Transfer and Chill:
- Spread the mixture evenly into the prepared pan using a spatula or the back of a spoon to press it down firmly. Chill in the refrigerator for at least one hour until the bars are set and firm to touch.
- Slice and Serve:
- Lift the set slab out of the pan using the parchment overhang. Place on a cutting board and slice into small bars or squares. Store any leftovers in an airtight container.
 Save
Save
I adore using crunchy peanut butter for the little pockets of peanuts in every bite. It reminds me of baking with my mom when we used to argue over which nut butter to use. Now it is a tradition to try a new nut or seed butter version every holiday.
Storage Tips
Keep these bars in a sealed container at room temperature for up to two weeks. For an even longer shelf life store them in the freezer. Wrap each bar in parchment and place in a zip top bag where they will remain fresh for up to six months. Simply thaw at room temperature for a few minutes before enjoying.
Ingredient Substitutions
Swap the peanut butter for almond butter or sunflower seed butter if you need a nut-free option. For a sugar-free treat use your favorite sugar-free chocolate chips and syrup. Coconut oil can be replaced with any mild tasting oil or a vegan butter substitute for similar results.
Serving Suggestions
Serve chilled straight from the fridge for a snappy crunch or leave out for a few minutes for a softer bite. These bars make a fun topping for ice cream or a decadent layer in a dessert parfait. I love packing a few in lunchboxes for a sweet and nostalgic surprise.
 Save
Save
Cultural Context
Crunch bars were once a beloved part of classic American candy aisles but when Nestle discontinued them many of us started searching for homemade versions. My recipe stays true to the spirit of the original but uses modern wholesome ingredients and is completely adaptable for all kinds of dietary preferences.
Recipe FAQs
- → What makes these chocolate crunch bars extra crispy?
The use of crispy rice cereal as the base ensures every bite is light, airy, and full of crunch. Choosing crunchy peanut butter or other textured nut butters adds extra bite throughout each bar.
- → What substitutions can I use for peanut butter?
For peanut allergies or preference, swap peanut butter with sunflower seed butter, soynut butter, almond, or cashew butter. Crunchy varieties add extra texture.
- → Are these bars suitable for vegan and gluten-free diets?
Yes, using vegan chocolate and dairy-free butter, along with gluten-free rice cereal, keeps the bars fully vegan and gluten-free. Always check your ingredients' labels.
- → How do I store homemade chocolate crunch bars?
Store at room temperature in an airtight container for up to two weeks, or freeze individually wrapped bars for up to six months.
- → Can I make these bars without added sugar?
Yes, simply use sugar-free chocolate and a sugar-free syrup alternative for a sweet treat that's lower in sugar. The flavor remains delicious and satisfying.
- → What is the best chocolate for crunch bars?
Choose a high-quality chocolate bar or chocolate chips, preferably baking style, for the best flavor and melting consistency in your bars.