
 Save
Save
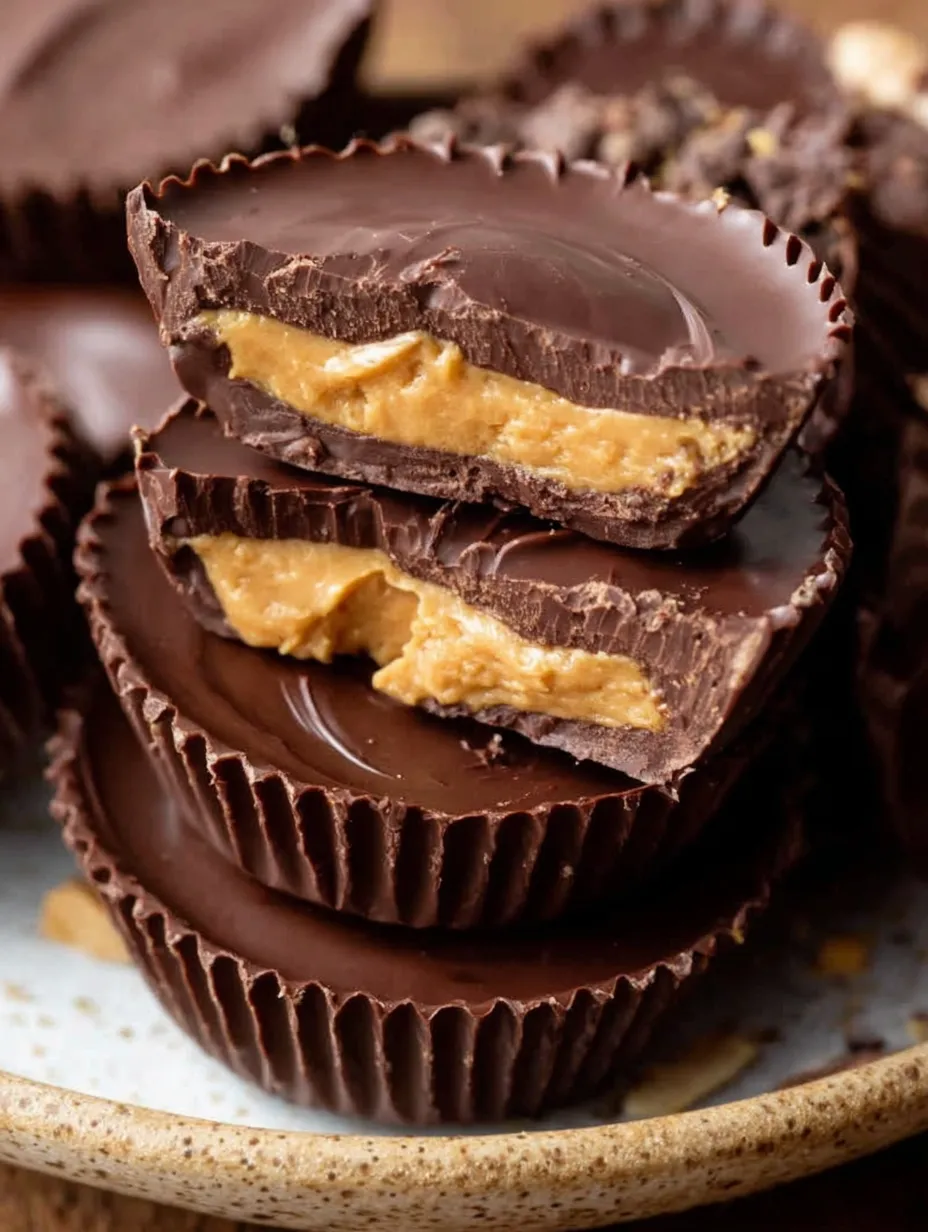
Homemade Peanut Butter Cups are the ultimate nostalgic treat made with just a handful of ingredients. The rich, creamy peanut butter filling and smooth milk chocolate coating bring out memories of childhood candy but taste even fresher and more intense.
The first time I made these, I realized how much better homemade tastes over any packaged candy. Now every holiday I get requests from friends and family for an extra batch.
Ingredients
- Creamy peanut butter: brings all the rich nutty flavor and a soft texture look for brands that are thick but easily spoonable
- Unsalted butter: adds silkiness and richness use a high-fat European style for maximum flavor
- Confectioners sugar: sweetens and firms up the filling sift to avoid any lumps and use a trusted fresh box for best results
- Milk chocolate chips: smooth chocolate that melts easily on the stove or in the microwave splurge on a quality brand for the richest taste
Step-by-Step Instructions
- Prep the Pan:
- Line a standard muffin tin with paper liners making sure each cup sits flat and upright this keeps cleanup simple and makes the cups easy to remove
- Mix the Filling:
- Blend peanut butter butter and confectioners sugar with a hand mixer on low speed continue until the texture is smooth and no streaks of sugar remain the mixture should be thick but scoopable
- Melt the Chocolate:
- Place chocolate chips in a microwave safe bowl heat in 20 second bursts stirring well between each until entirely smooth and shiny be careful not to overheat as chocolate can scorch quickly
- Fill the Cups:
- Drop about one tablespoon of melted chocolate into each muffin liner enough to fully cover the base mound two heaping teaspoons of the peanut butter filling in the center keeping it away from the edges
- Seal and Smooth:
- Top with another tablespoon of melted chocolate per cup making sure the peanut butter is fully hidden tap the pan gently on the counter so the chocolate evens out and bubbles escape
- Chill and Set:
- Refrigerate the filled pan for at least an hour to help the chocolate firm up these can be enjoyed straight from the fridge
 Save
Save
Growing up my sister and I would argue over the last peanut butter cup now I double the recipe so everyone gets an extra
Storage Tips
Store your peanut butter cups in an airtight container in the fridge for best texture and flavor They stay fresh up to one week on the counter if your kitchen is cool Peanut butter cups also freeze well wrap tightly in plastic to avoid freezer burn and thaw in the fridge before serving
Ingredient Substitutions
You can swap the peanut butter for almond butter or sunflower seed butter for a nut free option Semisweet or dark chocolate chips also work for deeper flavor If you avoid dairy use coconut oil based butter and an allergy friendly chocolate brand
Serving Suggestions
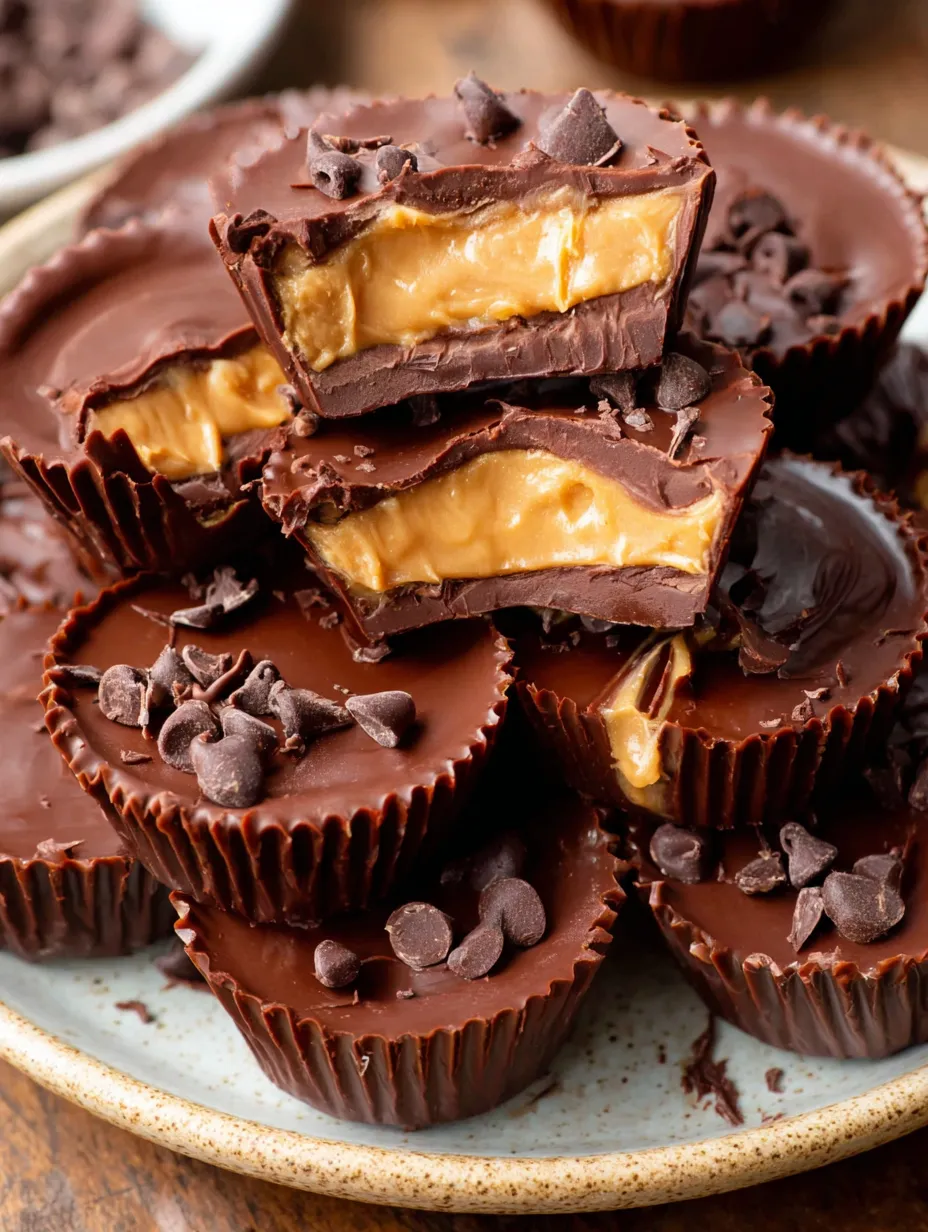
These peanut butter cups look extra cute on a platter with fresh berries or a dusting of chopped nuts Try tucking them into gift boxes or cookie tins They are delicious with a cold glass of milk or a hot cup of coffee
 Save
Save
Cultural and Historical Context
Peanut butter cups date back to the 1920s as an all American confection Inspired by classic candy store treats their homemade version packs more flavor and fun While the original was a penny candy favorite homemade ones are now a sweet symbol of sharing at parties or family gatherings
Recipe FAQs
- → How do I keep the peanut butter filling from being too runny?
Using room temperature butter with confectioners' sugar helps stabilize the peanut butter, creating a thick, moldable filling that holds its shape between chocolate layers.
- → Can I use dark chocolate instead of milk chocolate?
Absolutely! Dark chocolate chips can be substituted for milk chocolate, offering a bittersweet contrast to the creamy peanut filling.
- → What is the best way to melt chocolate for coating?
Microwave chocolate chips in 20-second bursts, stirring in between each interval to ensure even melting and a lusciously smooth texture without burning.
- → How should peanut butter cups be stored?
Keep finished cups in an airtight container in the refrigerator to maintain freshness and prevent melting, enjoying within a week for best results.
- → Can I add other flavors or toppings?
You can mix in a pinch of sea salt, drizzle extra chocolate on top, or sprinkle chopped nuts for additional flavor and texture.