
 Save
Save
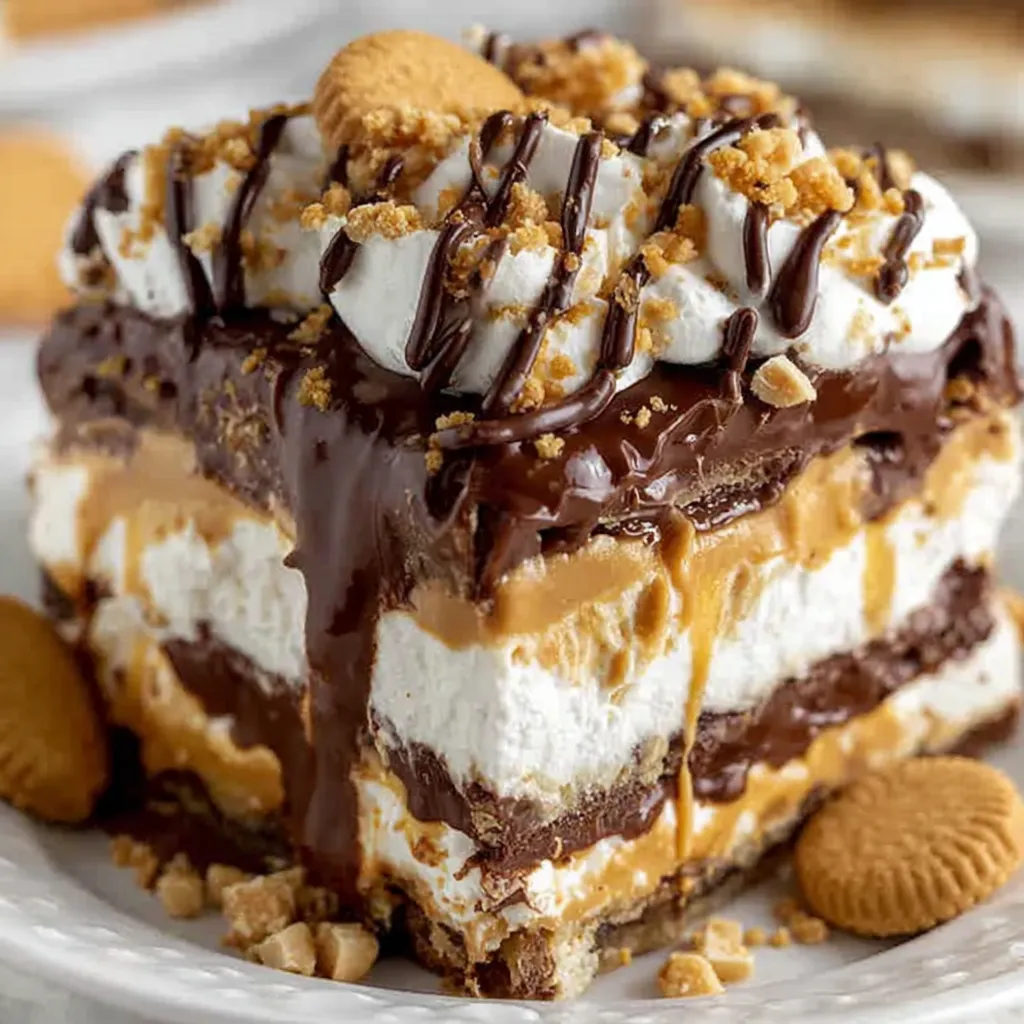
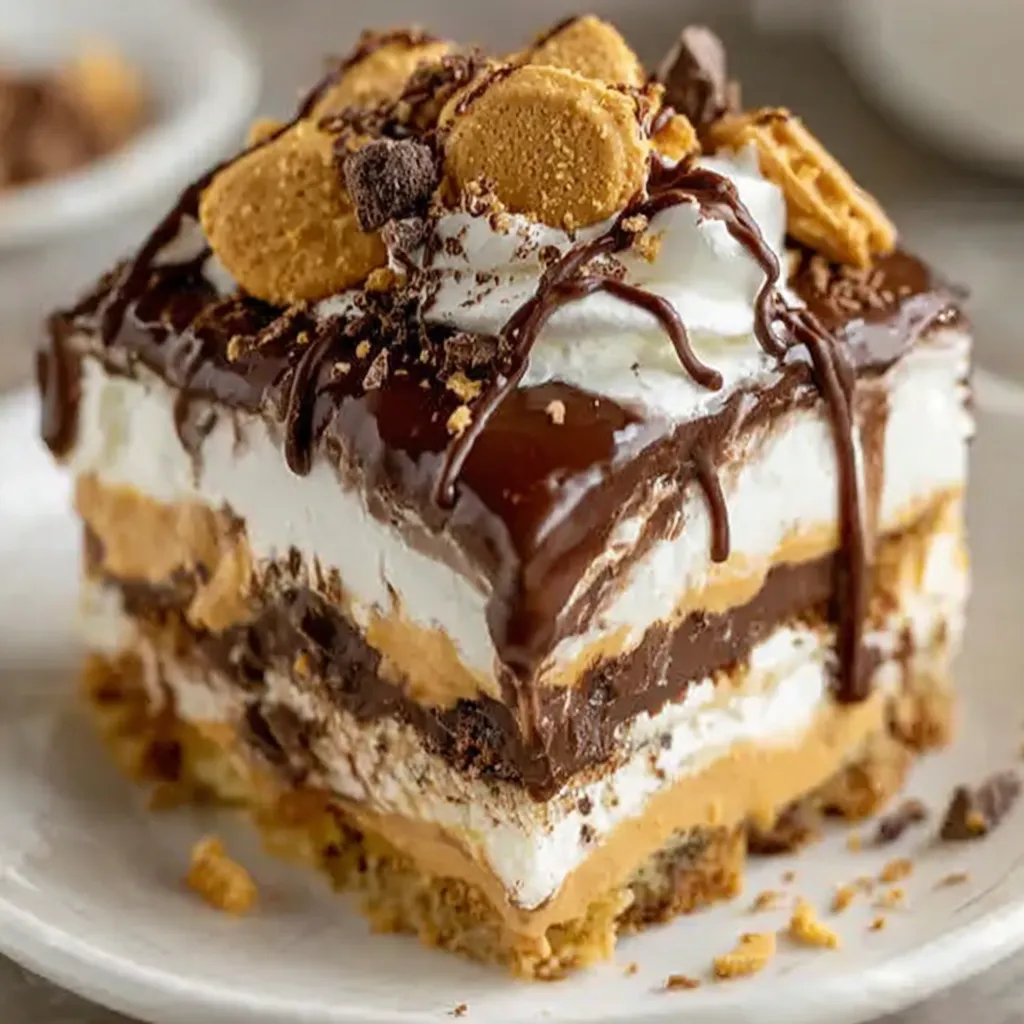
This no-bake peanut butter lasagna might just be the richest, most delicious layered dessert you can make in a 9 by 13-inch pan. Each layer comes together to create a perfect balance of crunch, creaminess, and chocolate-peanut butter goodness. It’s become my go-to dessert for family gatherings and potlucks because it’s easy to prepare yet always impresses everyone.
I first made this for a big family Sunday dinner, and now it’s always requested whenever we get together. The combination of crunchy cookie base and silky layers is addictive.
Ingredients
- Nutter Butter cookies: whole cookies including filling are used to make a flavorful peanut butter crust with great texture. You want fresh cookies that snap when broken
- Butter: melted butter helps bind the crust together. Unsalted butter lets you control the saltiness
- Cream cheese: full-fat cream cheese ensures rich, smooth peanut butter layer
- Peanut butter: creamy peanut butter provides the star flavor. I recommend a good quality brand with a smooth texture
- Powdered sugar: sifted for smoothness and to avoid lumps in the peanut butter layer
- Milk: whole milk adds richness and helps the mixture blend smoothly
- Cool Whip: thawed cool whip adds stability and lightness to the peanut butter layer. Store-bought whipped topping holds up better than homemade here
- Instant chocolate pudding mix: chocolate pudding provides the luscious chocolate layer. Ignore the package instructions and mix with milk as directed in the recipe
Step-by-Step Instructions
- Make the crust:
- Add the Nutter Butter cookies to a food processor and pulse until fine crumbs form. Add the melted butter and pulse just enough to combine the mixture. Press this crumbly mixture evenly into the bottom of a 9 by 13-inch baking dish to form the crust base. Press firmly so the crust holds together well.
- Make the peanut butter layer:
- In a large bowl, beat together softened cream cheese, milk, and peanut butter until the mixture is fluffy and smooth. Gradually mix in the sifted powdered sugar until fully incorporated. Fold in the thawed cool whip gently to keep the mixture light and airy. Spread this peanut butter layer evenly over the cookie crust and place the pan in the freezer to firm up while you prepare the next layer.
- Make the chocolate pudding layer:
- In a separate bowl, whisk together the instant chocolate pudding mixes with cold milk until the pudding starts to thicken. Spread this pudding layer evenly over the peanut butter layer. Transfer to the refrigerator and allow it to set for 15 to 20 minutes so the layers stay distinct.
- Add the topping and garnish:
- Spread the remaining cool whip over the set pudding layer to cover the entire surface. Add toppings like peanut butter chips, chopped Reese’s Mini Pieces, or chocolate sauce as you like. Refrigerate the finished dessert for at least four hours or overnight to allow all the layers to set beautifully.
 Save
Save
Storage Tips
Keep the peanut butter lasagna covered tightly with plastic wrap in the refrigerator to avoid absorbing other food odors. It lasts well for three to four days chilled. For longer storage, wrap tightly and freeze. When ready to eat, thaw it overnight in the fridge to maintain the layered texture. Avoid repeated freezing and thawing for best quality.
Ingredient Substitutions
You can substitute the Nutter Butter cookies with Oreos for a chocolate crust but keep the filling included to maintain moisture and flavor. If you prefer homemade whipped cream, it can be used instead of Cool Whip but the layers may not hold up quite as firmly. Natural peanut butter can be substituted but it will alter the texture slightly. Using low-fat cream cheese is possible but will affect richness.
Serving Suggestions
Serve this peanut butter lasagna chilled straight from the fridge with extra peanut butter chips or chopped nuts sprinkled on top for crunch. A drizzle of chocolate or caramel sauce on each slice amps up the decadence. Pair this dessert with a cup of strong black coffee or cold milk for the perfect treat. It also works wonderfully as a make-ahead dessert for parties or potlucks.
Cultural Context
Peanut butter and chocolate is a classic American flavor combo often found in candies and pies. This layered dessert builds on that tradition by combining these familiar flavors with creamy textures in a no-bake format. The use of Nutter Butter cookies highlights a beloved peanut butter snack brand and brings nostalgic appeal. It’s a modern twist that pays homage to childhood favorites while feeling elegant enough for special occasions.
Recipe FAQs
- → What cookies work best for the crust?
Using whole Nutter Butter cookies, including the cream filling, gives a rich peanut flavor and crunchy texture, but crushed Oreos are a tasty alternative.
- → How can I ensure clean slices when serving?
Dip the knife in warm water and wipe clean between cuts to maintain neat, defined layers without mixing.
- → Is refrigeration necessary between layers?
Yes, chilling between layers helps them firm up, preventing blending and preserving distinct textures.
- → Can this dessert be prepared ahead of time?
Absolutely! It improves with time in the fridge, setting overnight for best flavor and structure.
- → What toppings complement this layered dessert?
Peanut butter chips, chopped mini Reese’s, and a drizzle of chocolate sauce add texture and flavor just before serving.