
 Save
Save
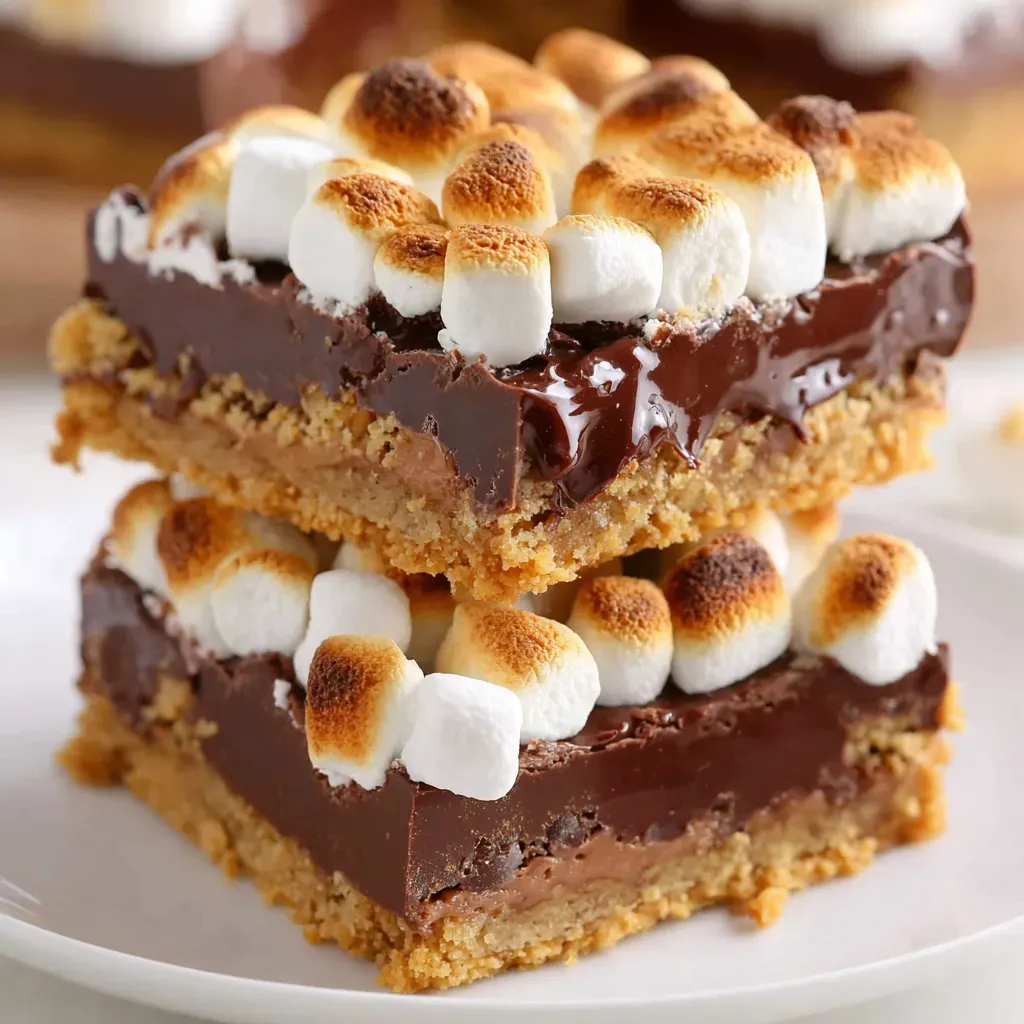
These s’mores bars bring the magic of campfire s’mores inside your kitchen with a thick buttery graham cracker crust loaded with mini chocolate chips, a rich melty chocolate layer, and a toasted marshmallow topping that is golden with those perfect burnt edges. This recipe transforms the classic gooey treat into neat, cuttable bars you can enjoy any time of year without the mess or hassle of the traditional stick roasting. Whether you’re craving a nostalgic summer flavor or a fun dessert for a crowd, these bars deliver that perfect balance of crunchy, creamy, and toasted sweetness.
I made these bars once during a chilly winter weekend and suddenly had a summer memory in every bite. Now they are a hit whenever friends or family drop by for dessert.
Ingredients
- Graham cracker crumbs: about 2 and a half cups for a sturdy, buttery crust that holds together well
- Unsalted butter: melted half a cup to create richness and help bind the crust
- Granulated sugar: a quarter cup to add sweetness and crisp up the crust
- Salt: just a pinch to balance the sweetness and enhance flavors
- Mini chocolate chips: one cup mixed directly into the crust for pockets of melty chocolate
- Semi-sweet chocolate chips: two cups for a rich and creamy chocolate layer choose quality chips for best results
- Sweetened condensed milk: a 14-ounce can that creates a fudgy ganache with a luscious smooth texture
- Butter: two tablespoons added to the chocolate mixture for extra silkiness
- Vanilla extract: one teaspoon to brighten all the sweet flavors
- Mini marshmallows or large marshmallows: cut in half four to five cups for that classic toasted topping fresh marshmallows toast best
- Optional marshmallow fluff: as an alternative marshmallow topping for smoothness
- Extra chocolate: for drizzling, sea salt flakes, additional graham cracker crumbs to sprinkle on top if you want to elevate the look and texture
Step-by-Step Instructions
- Sauté the Aromatics:
- N/A for this dessert
- The Pan Prep:
- Preheat your oven to 350 degrees Fahrenheit. Line a 9 by 13 inch baking pan with parchment paper leaving an overhang on the sides so you can lift the bars out easily later. Lightly spray the parchment with cooking spray to prevent sticking.
- Craft the Graham Crust Base:
- Combine the graham cracker crumbs, melted butter, sugar, and salt in a large mixing bowl. Stir until the mixture resembles moist sand that holds together when squeezed. Fold in the mini chocolate chips to add delightful melty pockets throughout the crust. Press the mixture firmly and evenly into the bottom of the prepared pan using the flat bottom of a measuring cup or glass. Packing it down well ensures your bars will hold together nicely.
- Bake the Crust:
- Place the crust in the oven and bake for 10 to 12 minutes. You want the crust to set and turn a light golden brown around the edges, which releases a toasty aroma. Remove from oven and let it cool for about 5 minutes before adding the chocolate layer.
- Make the Chocolate Ganache Layer:
- In a microwave-safe bowl or over a double boiler, melt the chocolate chips, condensed milk, and butter. Heat in 30-second intervals if using a microwave, stirring in between until the mixture is smooth and fully melted. Alternatively, stir constantly over low heat on the stovetop until all ingredients combine into a glossy, thick, and pourable ganache. Stir in vanilla extract and a pinch of salt to enhance the flavor.
- Pour and Set the Chocolate Layer:
- Pour the chocolate ganache over the baked crust and spread evenly with an offset spatula. Be sure to cover the entire surface including the corners with a thick layer of chocolate. Return the pan to the oven for 5 minutes just to warm and slightly set the chocolate. You do not want it fully baked. Remove and allow it to cool at room temperature for about 10 minutes, then refrigerate for at least one hour until firm. This step is crucial to support the marshmallow topping.
- Arrange the Marshmallow Topping:
- Once the chocolate layer is firm, arrange the mini marshmallows in tight rows so they are touching each other, covering the entire surface. For large marshmallows, cut them in half and place cut side down. If using marshmallow fluff, spread it evenly over the chocolate layer with an offset spatula.
- Toast the Marshmallows:
- If you have a kitchen torch, hold it 4 to 6 inches above the marshmallows and move it back and forth until the marshmallows turn golden with some charred spots. Avoid lingering too long in one spot to prevent burning. If you do not have a torch, place the pan under a high broiler on the top rack but not too close to the heating element. Broil for one to three minutes watching very closely to prevent burning, rotating the pan for even browning if needed.
- Cool and Set:
- Let the pan cool at room temperature for 15 minutes after toasting the marshmallows and then refrigerate for another 30 minutes. This chilling helps everything set so you get clean cuts and prevents the bars from being a melty mess.
- Cut the Bars:
- Using the parchment paper overhang, lift the slab out of the pan onto a cutting board. Use a large sharp knife warmed under hot water and dried to cut into 12 to 16 bars. Wipe the knife clean between cuts to create clean edges without dragging melted marshmallow or chocolate.
- Optional Finishing Touches:
- Drizzle melted chocolate over the toasted marshmallows or sprinkle with crushed graham crackers and flaky sea salt to give your bars a beautiful bakery-quality finish.
 Save
Save
My favorite ingredient here is the crispy buttery graham cracker crust studded with melty chocolate chips that hold the whole bar together. One chilly winter afternoon, making these indoor bars brought back all the warmth and joy of sunny summer camping trips. It’s nostalgia you can bite into anytime.
Storage Tips
Store s’mores bars in an airtight container at room temperature for up to three days although the marshmallow coating softens over time. For best texture, refrigerate up to five days and bring to room temperature before serving. You can also freeze the bars without marshmallows for up to two months and add fresh marshmallows before toasting when ready.
Ingredient Substitutions
Use gluten free graham crackers to make these bars gluten free without sacrificing flavor. Dark chocolate chips can replace semi-sweet for a less sweet, richer chocolate layer. Nutella or peanut butter can be stirred into the chocolate layer for variety. Marshmallow fluff is a smooth alternative to mini marshmallows that will toast nicely under the broiler or torch.
Serving Suggestions
Pair these bars with a cold glass of milk to balance the sweetness or a cup of hot coffee to cut through the richness. Vanilla ice cream served alongside creates a decadent dessert plate. For a fun nostalgic touch, serve them at summer parties or potlucks where they are sure to disappear quickly.
Recipe FAQs
- → Can I skip toasting the marshmallows?
While you can opt out, toasting marshmallows adds a signature caramelized flavor and crisp texture that elevate the bars’ overall taste and mouthfeel.
- → What causes marshmallows to burn quickly under the broiler?
Broilers generate intense heat rapidly; placing the pan too close or leaving it unattended can cause quick burning. Monitoring closely or using a kitchen torch offers more control.
- → Can I substitute chocolate bars for chocolate chips?
Yes, chopping regular chocolate bars works well. Around 12 oz mixed with sweetened condensed milk creates a smooth, rich layer similar to chips.
- → Why are the bars too soft to cut cleanly?
Soft bars usually mean the chocolate layer isn’t fully chilled. Refrigerate for at least an hour and use a warmed, clean knife for neat slices.
- → Is it possible to make these gluten-free?
Absolutely. Using gluten-free graham crackers instead of traditional ones keeps the crust safe without compromising the texture or flavor.
- → How do I avoid a grainy chocolate layer?
Prevent graininess by melting chocolate gently over low heat and stirring constantly. Overheating causes separation and a gritty texture.
- → Can I use a lighter to toast marshmallows?
It's not recommended as lighters can impart a fuel taste. A kitchen torch or oven broiler provides safer and better toasting results.