
 Save
Save
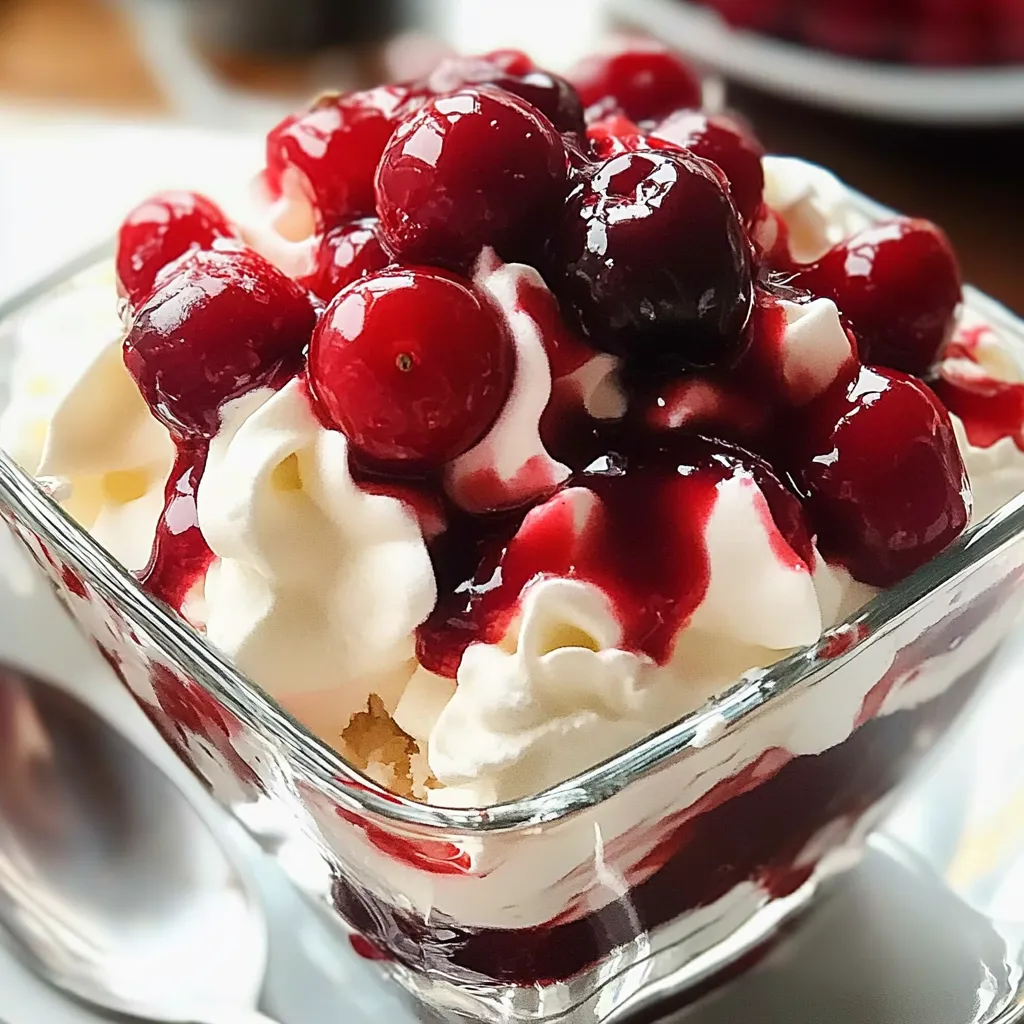
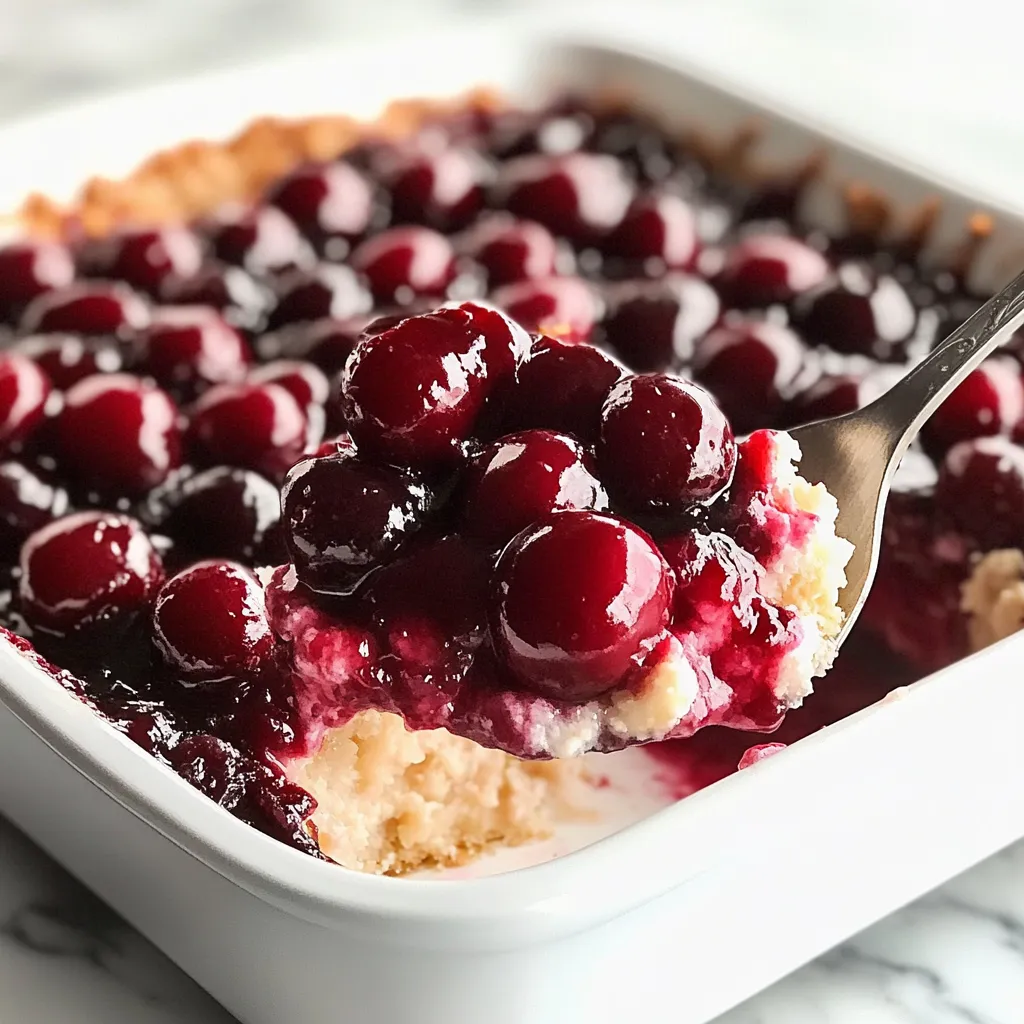
A dreamy mix of airy angel food cake, smooth cream cheese filling, and bright cherries makes this no-bake treat irresistible. The interplay between light cake chunks and decadent creamy sections, topped with vivid cherry sauce, turns this old-fashioned dessert into a crowd-pleaser at any party. Each bite delivers a wonderful mix of sweet, tangy, and velvety sensations that turn basic components into something really special.
I've made this my go-to dessert for community dinners and family reunions. I love watching people's eyes widen when they notice those gorgeous layers. The first time I brought it to a Christmas dinner, I hadn't even left the party before three people cornered me for the instructions.
Choice Ingredients Matter
- Angel food cake: Gives that fluffy foundation; grab a good one from the store or whip up your own for best results
- Full-fat cream cheese: Makes the creamiest, most indulgent filling; just make sure it's nice and soft
- Premium cherry pie filling: Delivers better taste and looks; try to find one with whole fruit pieces
- Pure vanilla extract: Boosts everything else; don't go for the fake stuff
- Stabilized whipped topping: Helps your dessert stay pretty and intact
Delightful Building Process
- Starting Base:
- Slice angel food cake into same-sized cubes, setting up the perfect layer for soaking up goodness.
- Smooth Mixture:
- Whip softened cream cheese until completely lump-free before adding other stuff.
- Easy Combining:
- Mix whipped topping with cream cheese blend using slow, gentle movements.
- Beautiful Stacking:
- Build alternating sections of cake, cream, and cherries for a wow-worthy look.
- Fruity Finish:
- Spread remaining cherries on top, letting their juices create pretty red streaks.
- Patience Part:
- Refrigerate thoroughly, allowing everything to come together into perfect harmony.
 Save
Save
My grandma first showed me this dessert at a family picnic years ago, and I couldn't stop staring at it. She always said the secret to those perfect layers was taking your time - carefully spreading each part and giving it plenty of time in the fridge. Now whenever I make it, I can almost hear her giving me pointers.
Impressive Presentation Ideas
Show off this dreamy dessert in a see-through trifle bowl to highlight all those beautiful sections. For single servings, make little versions in clear cups or small mason jars. Add a sprinkle of grated chocolate or a tiny mint leaf for a fancy touch that won't take away from the classic look.
Fun Twists To Try
Switch up this flexible dessert by trying different fruit toppings like blueberry or strawberry pie filling. Sneak in a layer of chocolate pudding between the cream cheese parts for a black forest feel. Go tropical by mixing in crushed pineapple and coconut cream with the filling.
Keeping It Fresh
Cover and keep in your fridge for up to three days, though it usually gets eaten way before that. Want to plan ahead? Make it a day early and keep it cold until you're ready to serve. You can even freeze single portions in sealed containers for up to a month.
After making this cherries in the snow dessert countless times, I've realized it's more than just food - it starts conversations, creates memories, and builds family traditions. Whenever I bring it out, I'm reminded how good it feels to share something both pretty and tasty with people I care about.
 Save
Save
Recipe FAQs
- → Can I prepare this earlier?
- Go ahead! Chill it for up to a day in advance. It's even tastier after sitting overnight.
- → Do fresh cherries work?
- Stick with pie filling if you want that soft, saucy texture.
- → What's a good Cool Whip swap?
- Whip up 3 cups of fresh cream and sweeten it with 2 tablespoons of sugar.
- → Can I put this dessert in the freezer?
- Better not – the fluffy cream changes texture once it's frozen and thawed.
- → How long can leftovers stay fresh?
- Keep it in the refrigerator, tightly sealed, for up to 3 days.