
 Save
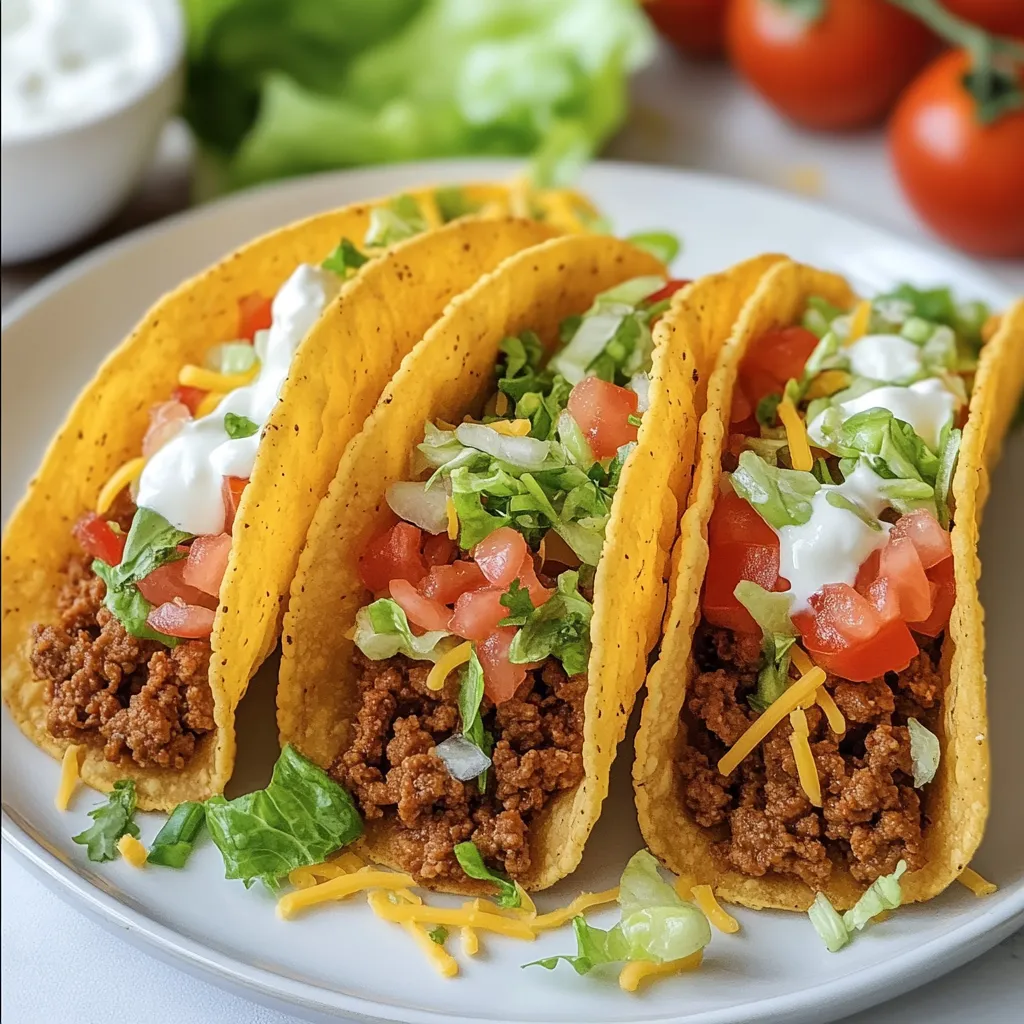
Better Than Taco Bell Beef Chalupa brings all the joy of crunchy fluffy shells and savory beef into your own kitchen for a meal that always gets rave reviews. Each bite is loaded with classic toppings and that fresh off the skillet taste you cannot get from a drive-thru. Once you master homemade chalupa bread and beef filling you will not want takeout again.
The very first time I tried my hand at homemade chalupa shells the kitchen was filled with laughter and anticipation. Now these are my family's top-requested weekend treat and everyone loves building their own.
Ingredients
- Ground beef: It gives classic savory flavor Use lean beef for the best texture and less grease
- Olive oil: Adds richness and helps with browning the beef Choose extra virgin for more flavor
- Taco seasoning: Brings that signature taco shop taste Use your favorite premade packet or blend your own with cumin chili and paprika
- Water: Helps blend and simmer the seasoning into the beef
- All-purpose flour: The backbone for the chalupa dough Use fresh high-protein flour for the puffiest shells
- Baking powder: Ensures the shells puff up Light aluminum-free powder yields better flavor
- Salt: Balances out the flour and makes all the flavors pop
- Vegetable oil: Essential for both dough and frying Pick a neutral oil with a high smoke point like canola or sunflower
- Milk: Adds tenderness to the dough Whole milk is best for richer taste
- Shredded lettuce: Adds cool crunch Romaine or iceberg works well wash and dry well for the best bite
- Diced tomatoes: Give juicy brightness Use ripe firm tomatoes for easy dicing
- Shredded cheddar cheese: Melts perfectly for gooey topping Try sharp cheddar or a Colby Jack mix
- Sour cream: Adds rich creamy finish Pick full-fat for extra decadence
Step-by-Step Instructions
- Cook the Beef:
- In a large skillet heat olive oil over medium heat then add the ground beef Break it up with a spatula and let cook slowly until no pink remains about eight to ten minutes Drain excess fat to keep things light
- Season the Filling:
- Add taco seasoning evenly over the beef then pour in water Stir to combine and reduce heat to low allowing the mixture to simmer and thicken for about five to seven minutes Taste for seasoning then remove from the heat and set aside
- Make the Dough:
- In a big bowl whisk together the flour baking powder and salt Make a well in the center add vegetable oil and milk then use your hands or a spatula to gently fold everything into a soft shaggy dough It should come together without sticking to your hands
- Shape the Dough:
- Turn dough onto a lightly floured counter Divide into four equal pieces and roll each into a ball Use a rolling pin to flatten each ball into a circle about quarter inch thick Keep them covered to avoid drying out
- Fry the Chalupa Shells:
- In a deep skillet heat a full inch of vegetable oil over medium until shimmering not smoking Gently lay one dough circle into the oil letting it puff up and fry for one to two minutes per side Use tongs to flip when golden brown Drain each one on paper towels
- Form the Shells:
- While the bread is hot but not scorching use clean hands or a spatula to gently fold in half making the chalupa shape Do not press flat let the steam keep them fluffy
- Assemble:
- Spoon warm seasoned beef into each shell then layer with lettuce tomato and a big sprinkle of cheddar cheese Top with a dollop of sour cream for that final touch
- Serve:
- Serve hot and fresh so every bite is both crunchy and tender
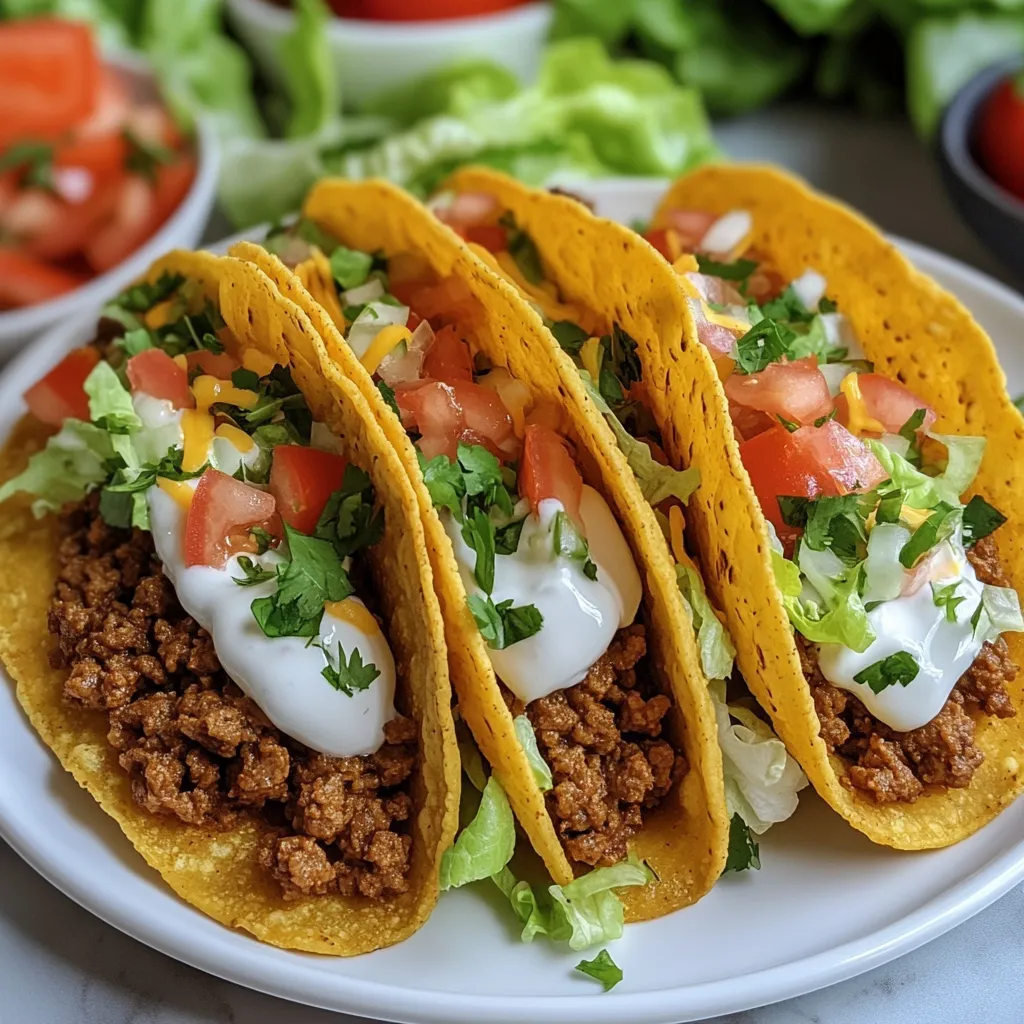
My favorite part is definitely the fresh shell once I nailed that recipe my family lined up at the stove to sneak extras while I assembled the toppings. It is always a scene with everyone grabbing their favorite fixings and building their own chalupa masterpiece.
Storage Tips
Leftover chalupa shells keep best at room temperature in a towel-lined container for up to a day. If you have more filling simply store beef and toppings separately in airtight containers in the fridge for up to three days. Rewarm the beef gently on the stove and re-crisp bread in a hot dry skillet for a few minutes.
Ingredient Substitutions
Ground turkey or plant-based crumbles can swap in for the beef if you want a lighter or vegetarian take. For dairy-free eaters use a rich oat or nut milk for the dough and top with plant-based sour cream and cheese alternatives.
Serving Suggestions
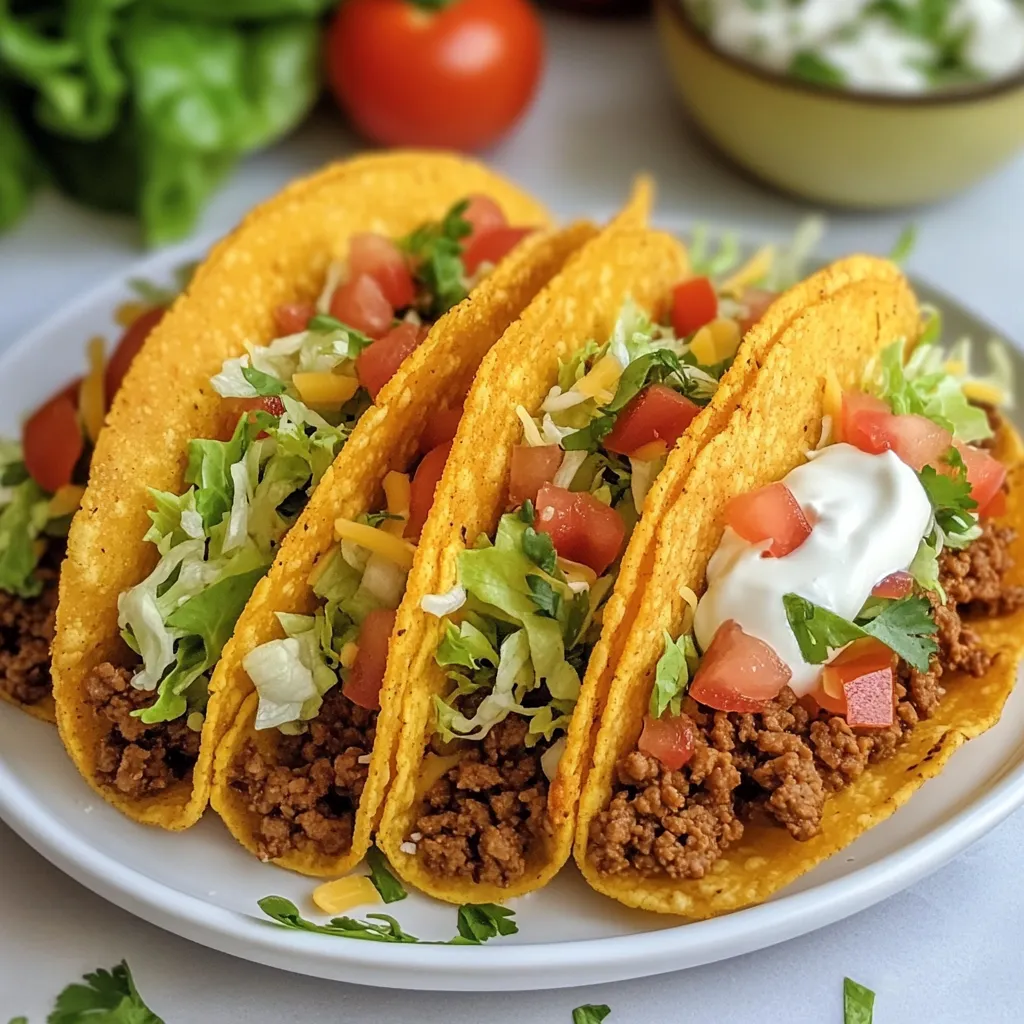
Serve chalupas family style with bowls of extra toppings like sliced jalapeños pickled onions or avocado chunks. For a full meal add Spanish rice or pinto beans on the side. Hot sauce fans will love a drizzle of their favorite salsa just before eating.
Cultural and Historical Context
Chalupas started as a Mexican street food where small fried masa boats sailed through festivals. This version borrows a bit from the American fast food interpretation focusing on a bubbly wheat flour shell and hearty toppings. Making them at home brings together the best of both worlds—crisp bread warm spiced beef and room for creativity.
Recipe FAQs
- → How do I keep chalupa shells crispy?
After frying, drain shells on paper towels and assemble just before serving to maintain their crispiness.
- → Can I use another meat instead of beef?
Yes, ground chicken, turkey, or even seasoned beans all work well for a different filling flavor.
- → Is it possible to bake the shells instead of frying?
While baking yields a different texture, brushing with oil and baking at high heat can mimic some crispness.
- → What toppings go well besides lettuce and tomato?
Try sliced jalapeños, diced onions, avocado, or your favorite salsa for extra flavor and variety.
- → Can these be made ahead of time?
Shells are best fresh, but you can prepare them in advance and reheat in the oven before filling and serving.
- → How do I shape the shells easily?
Fold them gently while warm right after frying, using tongs or a spatula, to create the signature chalupa curve.