 Save
Save
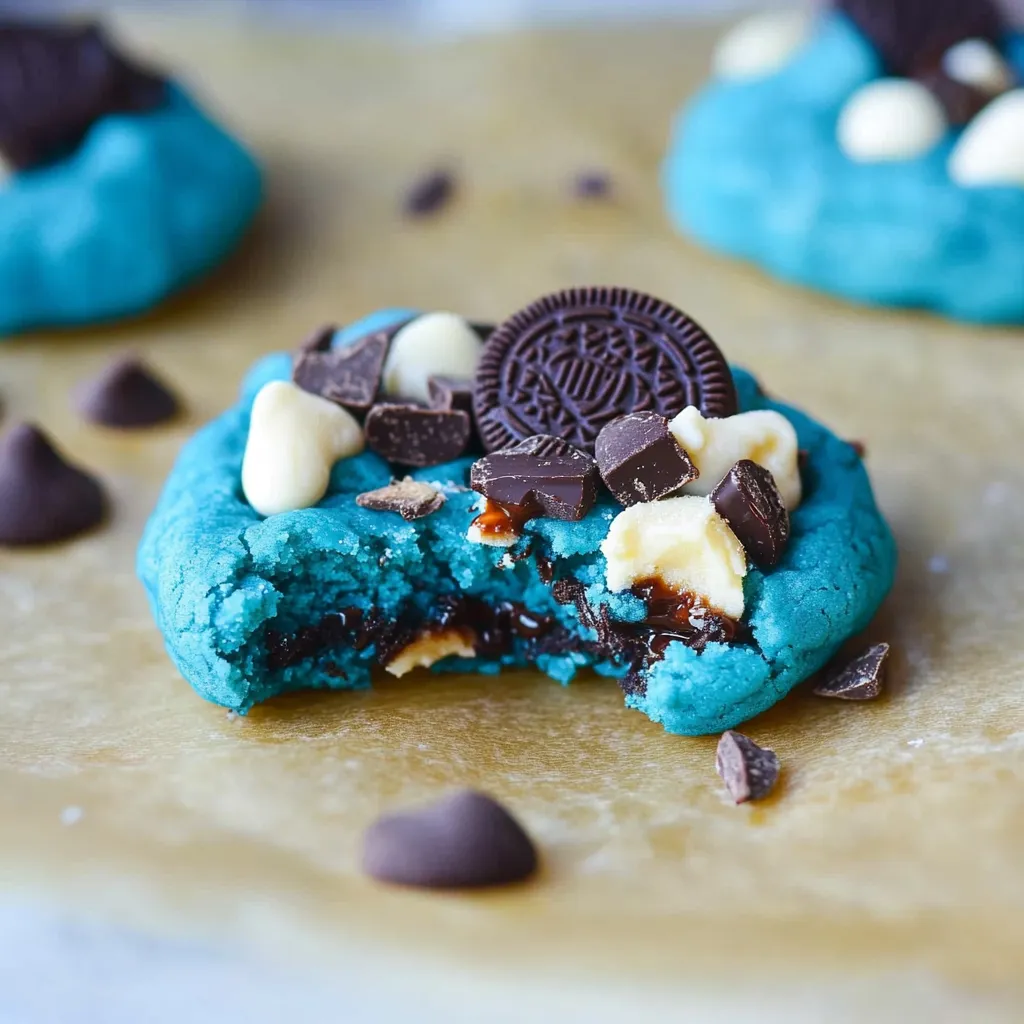
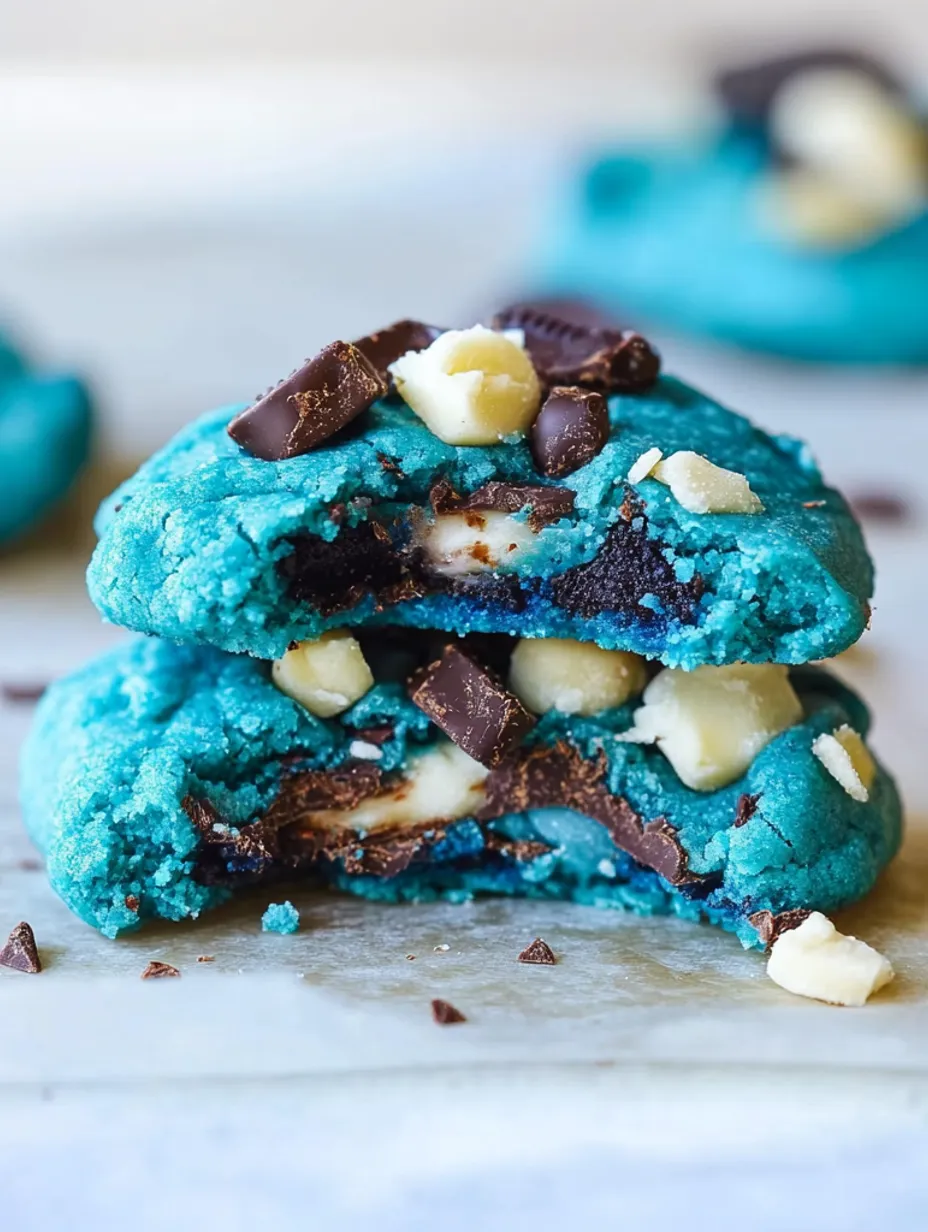
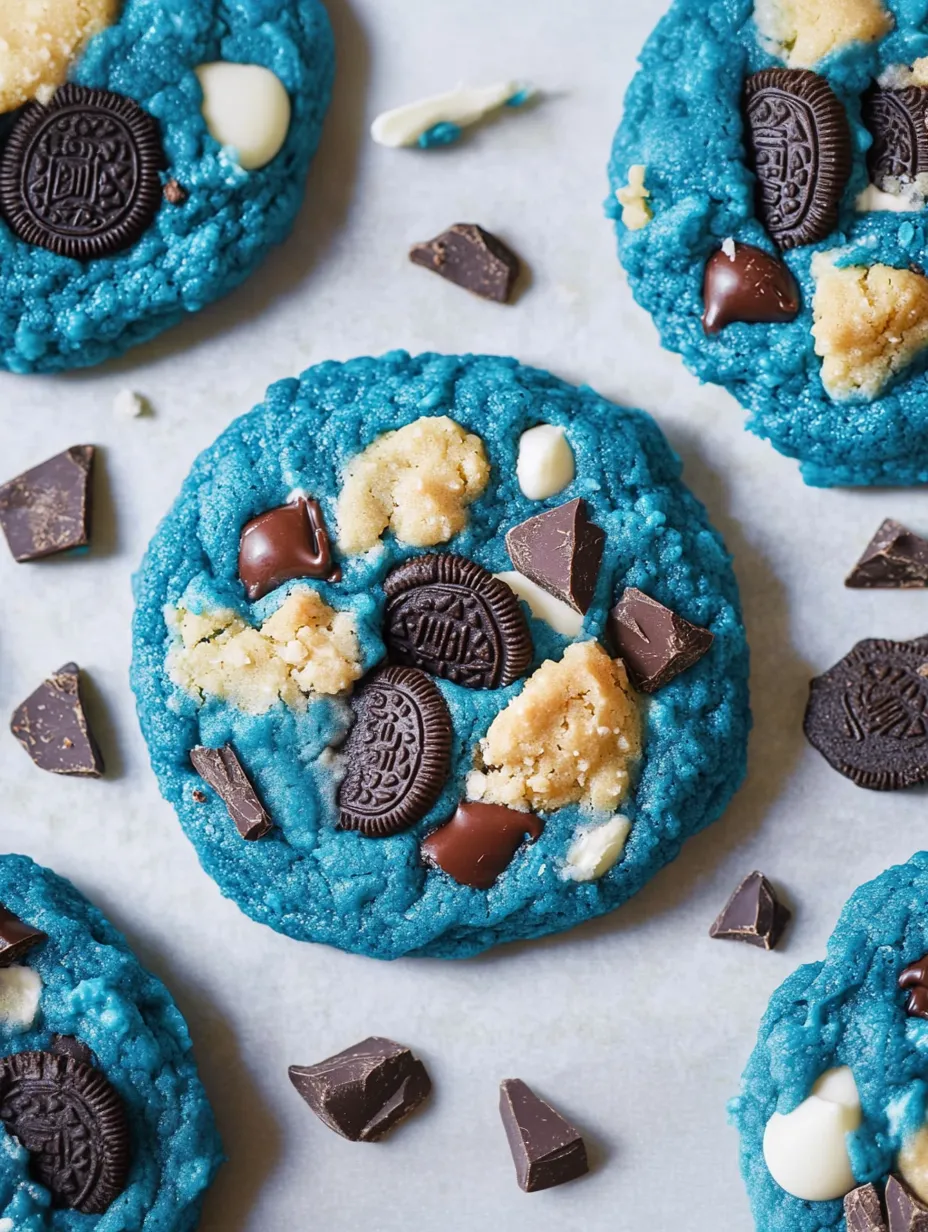
Jump into blue cookie craziness with these stuffed treats that step up the TikTok favorite. These huge cookies boast bright blue dough crammed with chocolate chips, broken-up cookies, and a melty chocolate middle that makes for the perfect monster-sized bite that lives up to their Cookie Monster name.
My first time making these was with my niece after she showed me the trending version on TikTok. She couldn't believe her eyes when they came out of the oven! We've baked them together three more times since then, and she swears they're the "greatest cookies in history" while flashing an adorable blue-tinted grin from eating them straight from the oven.
Essential Cookie Fixings
- Butter gives that wonderful rich base that every good cookie needs—make sure it's nice and soft for better mixing
- Brown sugar brings moisture and a deep flavor from its molasses—it really makes the chocolate pop
- White sugar works with the brown sugar to create those slightly crunchy edges everyone craves
- Eggs hold everything together and help the cookie rise when mixing—don't rush the mixing step
- Vanilla adds that subtle background flavor that makes everything better—real extract works best
- Blue food coloring turns ordinary dough into something magical—go for gel colors for the brightest blue without adding too much liquid
- Chocolate chips in both white and semisweet add flavor contrast and look great
- Broken Oreos bring that special cocoa-cookie crunch that takes these to another level
- Crunchy chocolate chip cookies add more texture variety—those tiny store-bought ones are perfect
- Chocolate discs create the gooey center that makes everyone smile—regular chips won't melt the same way
 Save
Save
Simple Monster Cookie Steps
Sweet Butter BlendFirst, mix your soft butter with both sugars. Let them hang out in your mixer for at least a minute, watching them change from grainy to smooth. This first step really matters for getting cookies with just the right texture—not too fluffy, not too flat.
Airy Blue MixtureDrop in your eggs and vanilla, then let the mixer run for three whole minutes. This extra mixing puts air into your batter so your cookies puff up nicely when baking. Once it looks light and fluffy, add enough blue coloring to get that real Cookie Monster color. I always add just a bit at a time until it looks right—keep in mind it'll get a little lighter once the flour goes in.
Adding Dry StuffStir in your flour, salt, and baking powder just until you can't see flour anymore. Too much mixing now can make tough cookies, so go easy. Your dough should look like blue silk—smooth with an even color.
Loading Up GoodiesCarefully fold in your chocolate chips and cookie pieces until they're spread throughout the dough. This is when these cookies start showing their monster side—packed with treats in every bite.
Hidden TreasureGrab about two spoonfuls of dough and press it flat in your hand. Put 2-3 chocolate discs in the middle, then fold the dough edges up around the chocolate. Add another two spoonfuls on top, pinching the edges to totally cover the chocolate. This secret center creates that drool-worthy melty middle when someone breaks the cookie open.
Finishing TouchPush a few extra cookie chunks and chocolate chips onto each dough ball's top. This makes them look better and shows off the cookie monster vibe right from the start.
Perfect BakingPut these big guys far apart on your cookie sheet—about six per regular sheet. They spread a lot during baking. Cook them until the edges look set but the middles still seem a bit raw, around 10-12 minutes. This gives you that awesome mix of crispy outside and gooey inside.
The first time I made these, I didn't use nearly enough blue coloring, and my kid looked at them and said, "Mom, those aren't monster cookies, they're depressed sky cookies." Point taken! Don't hold back on the color—Cookie Monster isn't light blue, he's bright and bold. Now we add coloring until somebody yells "THAT'S COOKIE MONSTER BLUE!" which has turned into our official measurement.
Tasty Ways To Enjoy
Eat these while they're warm for the best experience, when the chocolate inside is still flowing and amazing. They go great with cold milk (obviously) but also taste fantastic with coffee for grown-ups. For a totally over-the-top treat, put some soft vanilla ice cream between two cookies for a monster ice cream sandwich that'll make everyone's jaw drop.
Fun Twists To Try
Stuff the middle with peanut butter cups instead of chocolate discs if you love peanut butter. During Christmas, try red or green coloring and holiday-themed cookies as mix-ins for festive monster cookies. For birthdays, mix rainbow sprinkles into the dough and use white chocolate centers for a cake-inspired version.
Keeping Them Fresh
These cookies taste best in the first two days, when you can really enjoy the difference between the crisp edges and soft centers. Keep them loosely covered at room temp so they don't get too soft. If you want to save them longer, freeze completely cooled cookies in a sealed container with parchment paper between layers. When you want one, let it thaw at room temp and warm it quickly in the microwave for that just-baked feeling.
 Save
Save
Smart Cookie Tips
- For cookies with perfect circles, use a big cookie cutter or glass to shape each one right after baking
- If you can't find chocolate discs, broken chocolate bars work pretty well too
- Cooling the dough balls in the fridge for 30 minutes before baking helps stop them from spreading too much
My kid's teacher asked me to bring these for the class party after seeing pics on my phone. I worried about twenty children with blue mouths, but she just smiled and said, "We're doing Monster books that week—it fits perfectly!" The cookies were such a hit that parents were asking me for the recipe before school let out. Just know that once you bring these anywhere, you'll forever be known as "the monster cookie parent" from then on!
Recipe FAQs
- → Why do my cookies spread too much?
- Too-soft butter can make them spread! Chill your dough for about 30 minutes before baking to keep them from getting too flat.
- → What blue food dye works the best?
- Gel coloring is super vibrant and won't mess with your dough's texture. Use a little at first, then add more if needed.
- → Can I skip the chocolate center?
- Of course! You can leave out the stuffed center and just make chewy blue cookies with all the mix-ins. They'll still be fantastic!
- → Can I store unbaked dough in the freezer?
- Definitely! Shape into balls, freeze on a tray, then move to a bag. Keep them frozen up to 3 months and bake straight from the freezer with a minute or two added.
- → Why are they called 'Monster' cookies?
- The deep blue color (like the furry guy's) and the crazy mix-ins of Oreo and chocolate make these cookies scream 'Cookie Monster' fun!
- → How do I know they're ready to come out of the oven?
- The edges should be firm, but the middle might look a bit soft. They'll keep cooking on the tray as they cool, giving you that melty center.
