
 Save
Save
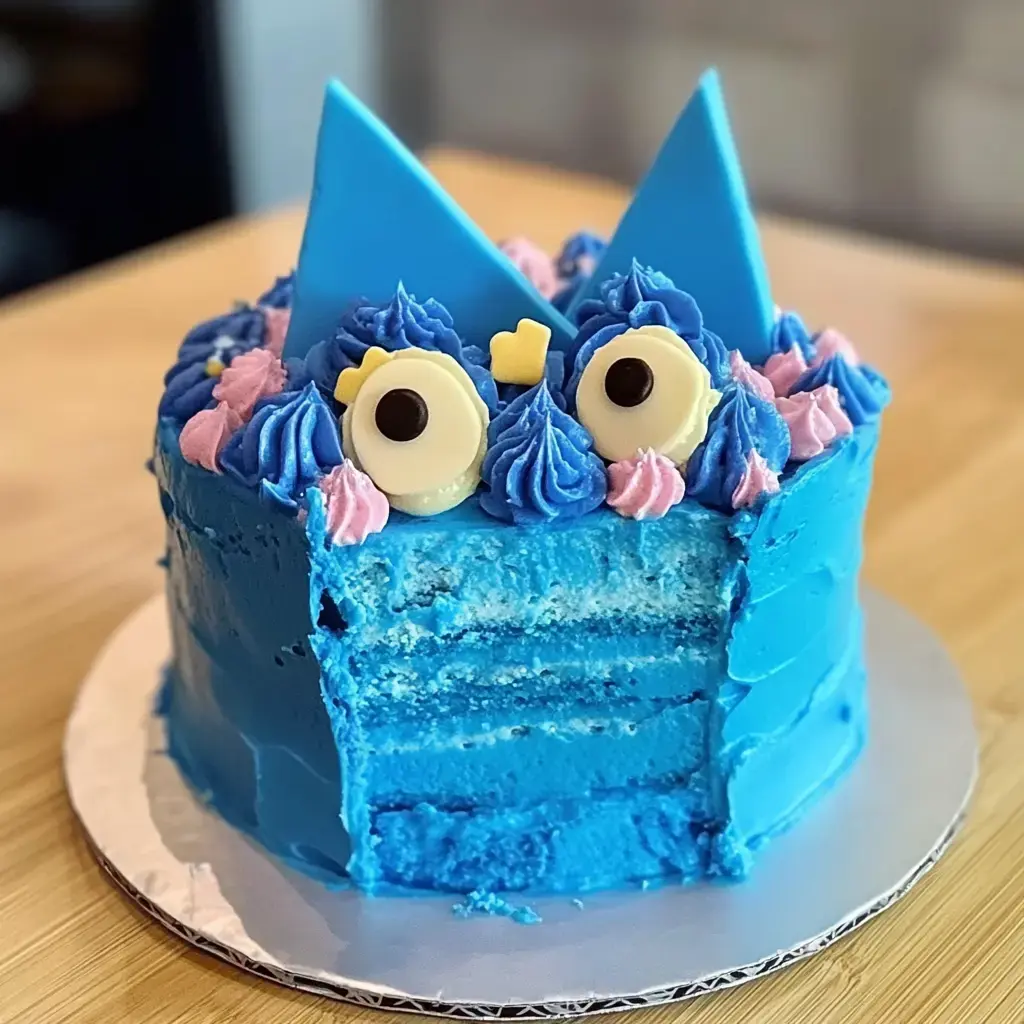
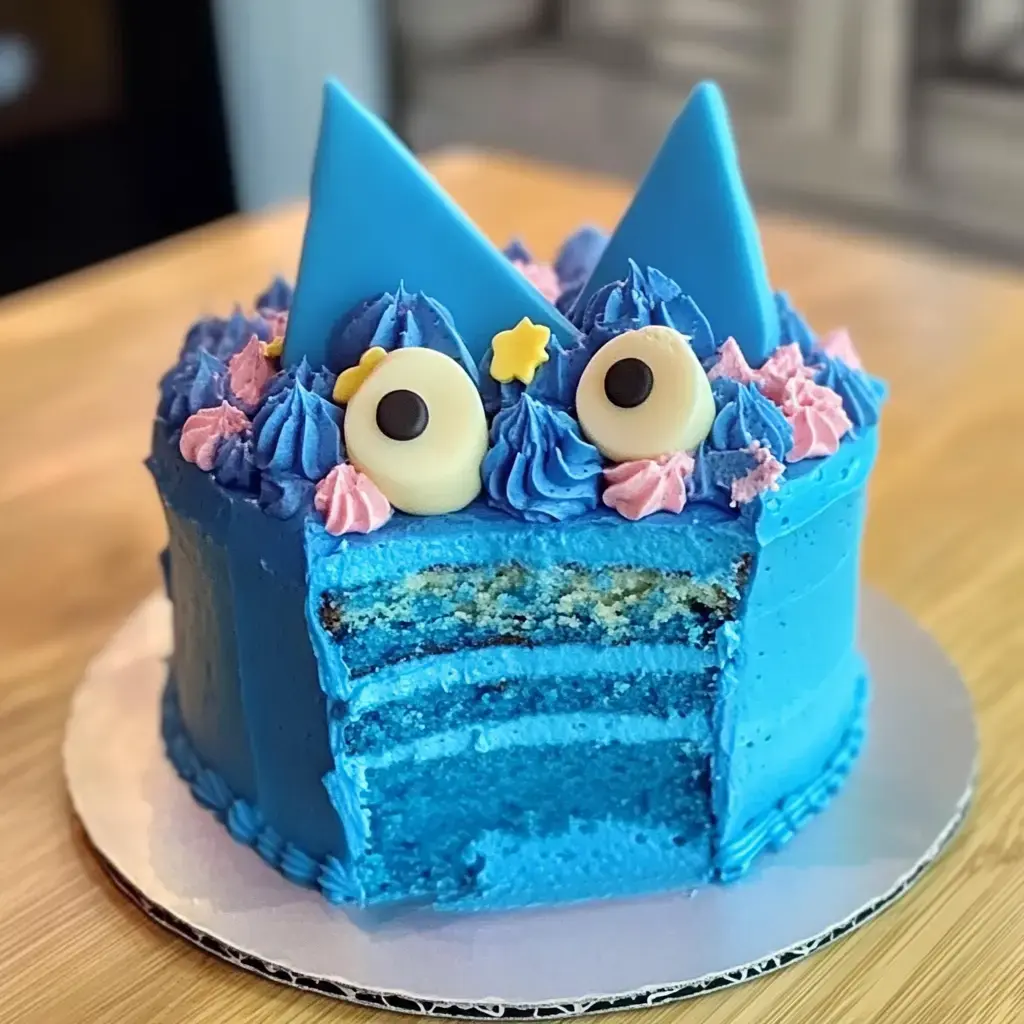
I've fallen in love with creating this cute Bluey dessert for parties. After making it tons of times, I've got the recipe down pat—kids always jump with joy when they see it. Inside, you'll find super spongy confetti cake with my special creamy frosting. Watching children's eyes light up when they spot their blue dog hero turned into something they can eat? That's worth every minute spent in the kitchen.
Why This Dessert Stands Out
There's real joy in whipping up character treats at home. My journey with this Bluey creation started at my little girl's party, and now I get requests from every mom on the block. It mixes everything I adore about baking: letting your imagination run wild, playing with tasty flavors, and seeing families come together around something sweet. And guess what? It's not nearly as hard as you might think.
Stuff You'll Want For Your Bluey Creation
To make the base, pick up a box of confetti cake mix and plan for four circles about 6 or 7 inches across. For your frosting, you'll need 3 cups butter, 6 cups powdered sugar, roughly 4 tablespoons heavy cream, some vanilla, and a pinch of salt. Don't leave out the food coloring—get yellow, brown, blue and black gels. For those cute ears and snout, grab marshmallows and Rice Krispies. Keep some piping bags and tips nearby too. I always reach for Wilton 1A and 10 tips to get things looking just right.
Steps To Build Your Bluey Creation
First off, bake those layers at 350°F until they're just right. While they sit and cool down, beat that buttercream until it looks smooth as silk. After your cakes aren't warm anymore, stack them up with thick frosting between each piece. Stick it in the fridge so it can harden before you put on that first thin layer. Now comes the good stuff. Split your frosting into different containers and add food coloring to get all those Bluey shades just right. Mold those Rice Krispie treats into ears and a snout, cover them with frosting, and stick them carefully on top. Don't rush the detail work. I always tell my little ones that going slow makes for pretty cakes.
Switching Things Up
Moms often ask me about tweaking this for kids who can't eat certain foods. It's totally fine. I've thrown in gluten free flour many times and it works great. You can use almond milk instead of regular or go with dairy free butter for the topping. It still tastes awesome and lets everyone grab a piece of the birthday fun.
 Save
Save
How To Keep It Good
What's cool about this treat is you can work on it in chunks. I often cook the layers a couple days early and toss them in the freezer. You can make the frosting the night before and stick it in the fridge. Just pull it out so it warms up a bit and give it a quick mix before using. Once you're done, the whole thing stays good in the fridge for a few days—though at my place, it's usually gone way before that happens.
Recipe FAQs
- → Can I prepare this cake ahead?
Definitely! You can freeze the layers, keep buttercream in the fridge for up to a month, and the finished cake stays fresh in the fridge for about a week.
- → Why include rice krispie shapes?
They’re solid and great for sculpting Bluey’s ears and snout. They hold their shape better than cake or fondant pieces.
- → How do I match the frosting colors?
Use gel colors and add them bit by bit. Remember, colors deepen the longer they sit, so aim for a slightly lighter shade initially.
- → Can I use other cake sizes?
Yes! This works great as 4 layers of 6 or 7 inches or 3 layers of 8 inches. For the best proportions, go with 6 or 7 inches.
- → How many slices does this make?
A 6-inch or 7-inch layered cake gives you enough for roughly 24 servings.