 Save
Save
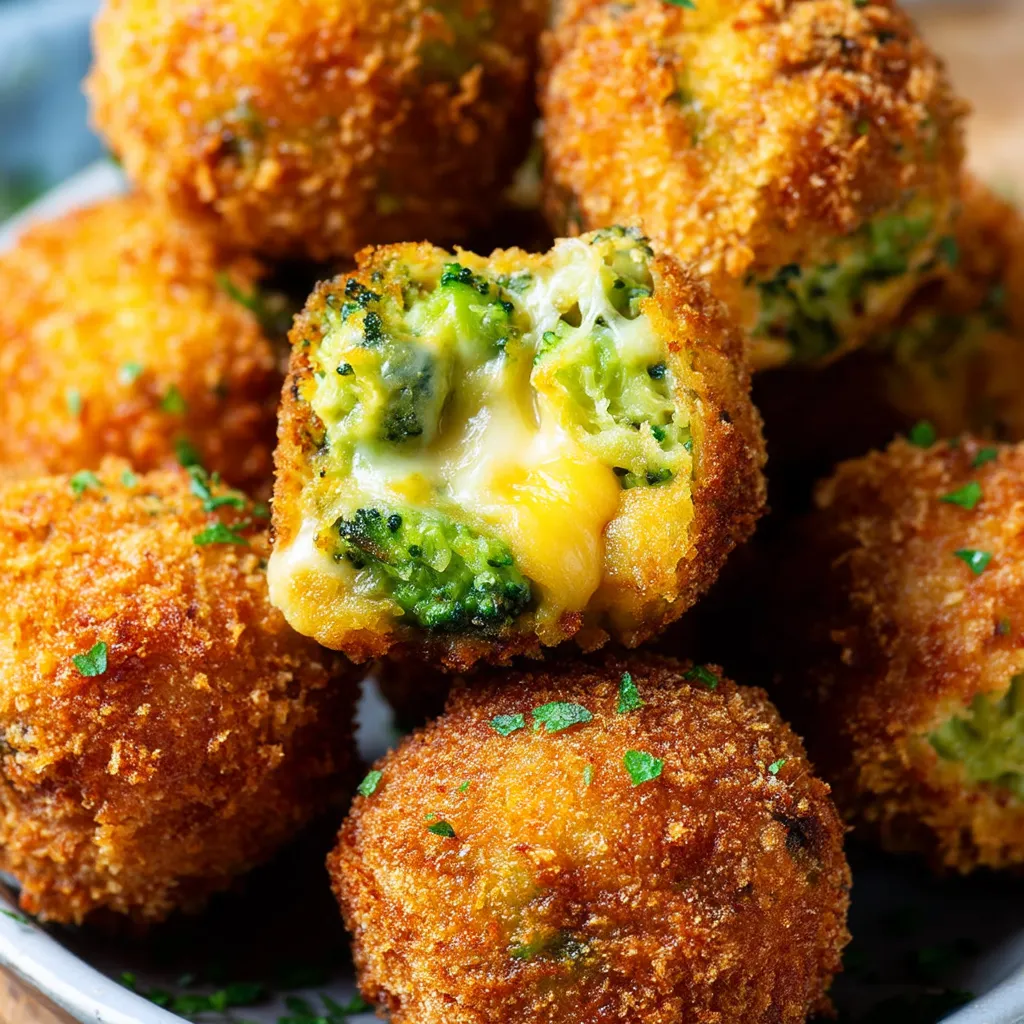
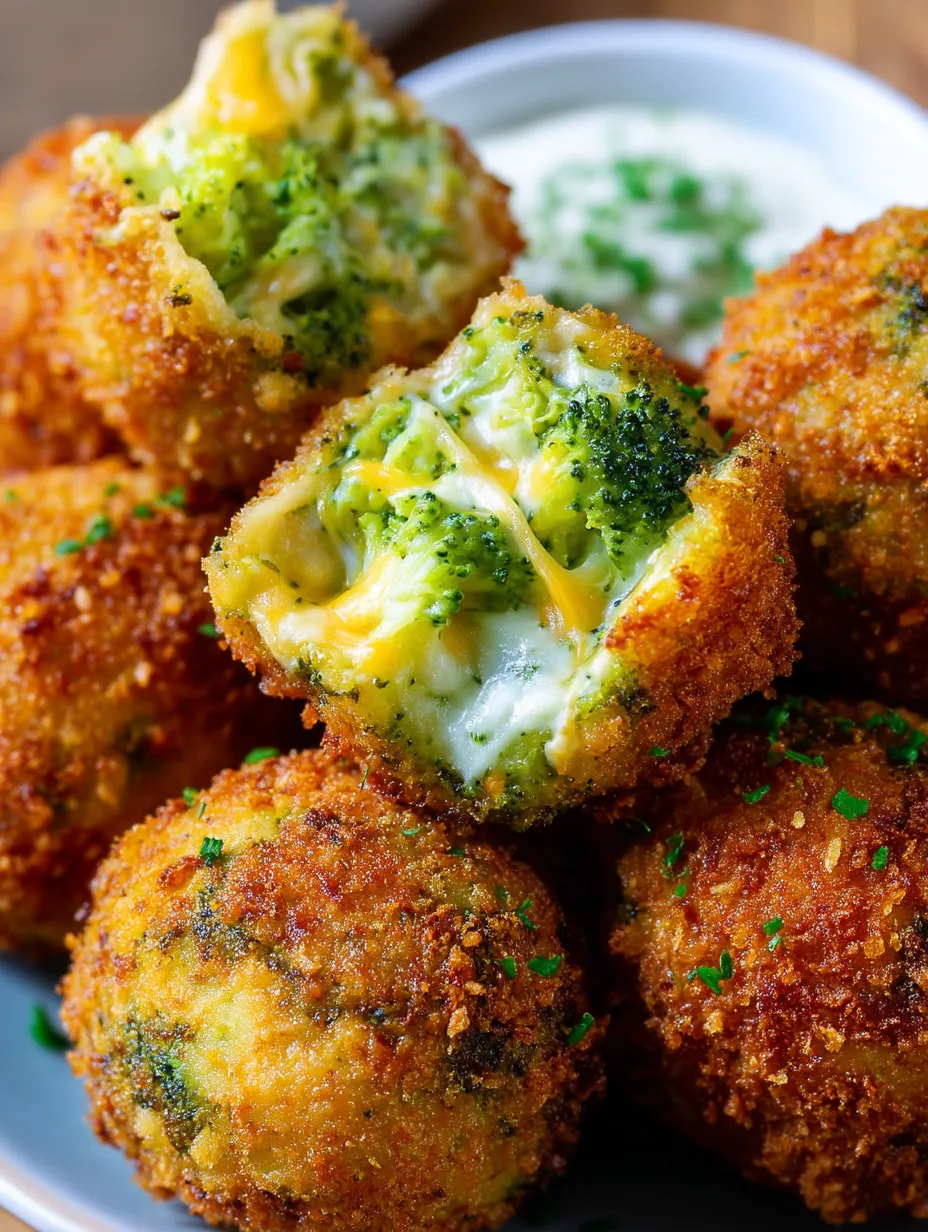
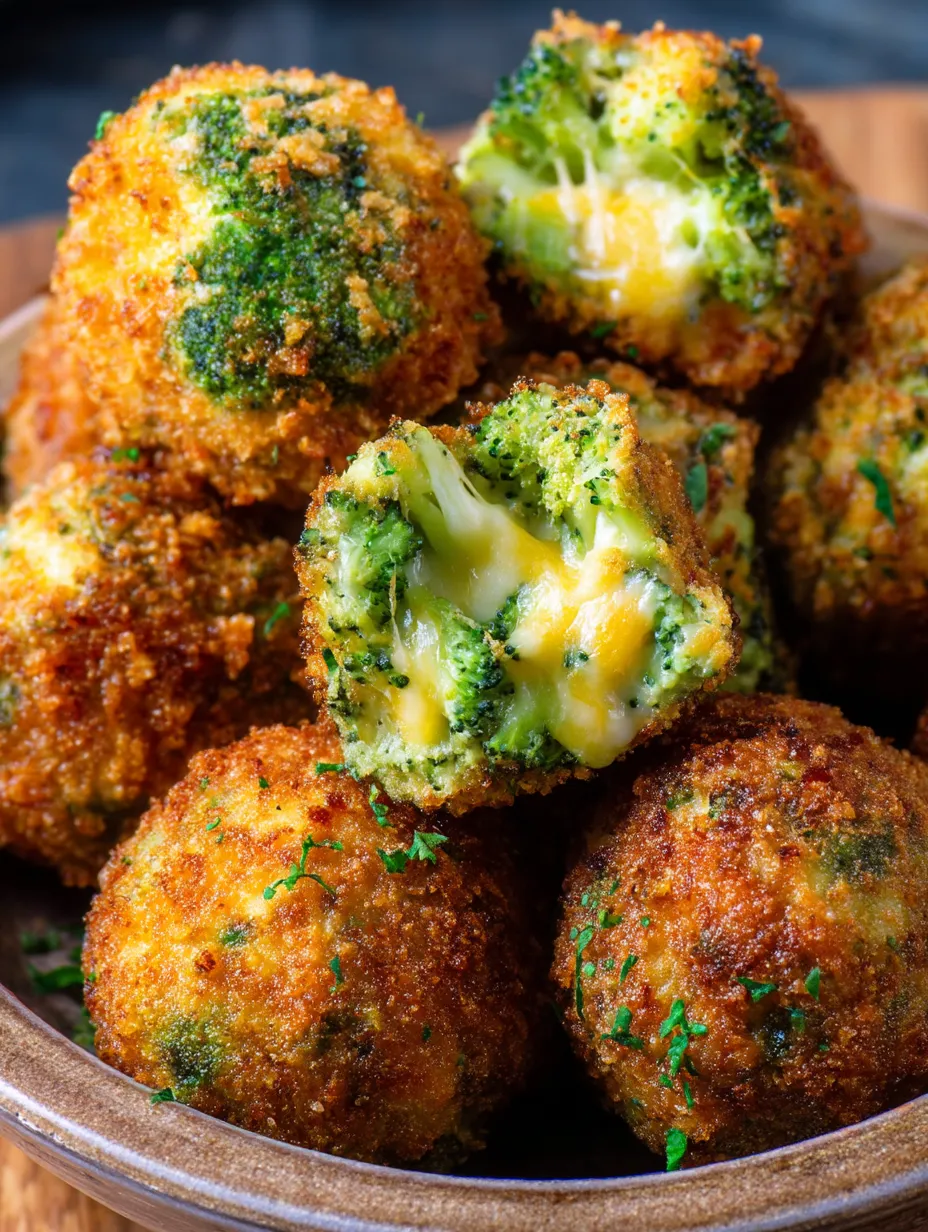
These crunchy and melty broccoli cheese bites turn basic stuff into addictive snacks that vanish from party plates in seconds. The mix of the crispy panko outside with the gooey three-cheese center packed with fresh broccoli makes the ultimate flavor explosion for any get-together.
I whipped these up first during a Super Bowl bash after my boy announced he "couldn't stand anything green," and couldn't believe my eyes when he gobbled up four without noticing they were stuffed with broccoli. They're now a must-have at all our family parties.
What You'll Need
- Fresh broccoli florets: gives that perfect bite and vibrant taste when chopped small
- Colby cheese: adds a smooth mildness that works with the stronger flavors
- Cheddar cheese: delivers that familiar tangy kick and gorgeous orange hue
- Velveeta: brings that signature smooth meltiness that binds everything
- Crushed red pepper flakes: pack just enough kick without being too spicy
- Panko breadcrumbs: make a way crunchier coating than standard breadcrumbs
- Eggs: work as the key glue for both the inside mix and outer layer
- All-purpose flour: makes the egg wash stick right for that perfect outer shell
- Vegetable or canola oil: works best for frying since it can take high heat
How To Make Them
- Cook Your Broccoli:
- Steam florets until barely soft but still crunchy and bright green. Don't overdo it or your filling will get soggy. Let them cool fully before moving on so your cheese doesn't melt too soon.
- Mix Everything Up:
- Cut the cooled broccoli into tiny bits no bigger than 1/4 inch. Small pieces spread better throughout each ball and stop big chunks from breaking them apart. Mix with all your cheeses, red pepper flakes, some panko, and one beaten egg until everything's well blended.
- Shape Into Balls:
- Get your hands messy and roll the mixture into balls about golf ball size using a tablespoon for measuring. If they seem too soft to hold shape, stick them in the fridge for 15 minutes first. They'll feel a bit sticky but should stay together when squeezed.
- Let Them Firm Up:
- Put your shaped balls on a plate and stick them in the fridge at least 30 minutes or overnight. This key step makes the cheese mixture firm and helps with coating while making sure they keep their shape during frying.
- Set Up Your Stations:
- Arrange three bowls - first with flour, second with beaten eggs mixed with a splash of water, third with the leftover panko. Getting this ready beforehand makes coating smoother and less messy.
- Coat Each Ball:
- Take one ball at a time, roll in flour until covered, tap off extra, dunk in egg letting drips fall off, then roll in panko pushing gently so it sticks. The flour helps egg stick while egg helps panko stick for maximum crunch.
- Fry Them Up:
- Heat oil to 375 degrees in a heavy pot with a thermometer for accuracy. Fry in small batches to keep oil hot until they turn deep golden all over, about 2-3 minutes total. Use a slotted spoon to flip them gently for even browning.
- Cool Then Enjoy:
- Move fried balls to paper towels to soak up extra oil. Let cool just 2-3 minutes before eating since the cheese inside will be super hot.
 Save
Save
My top joy with this dish is watching people's surprise when they bite into these little rounds and get that burst of melty cheese inside. Even my broccoli-hating mother-in-law begged for the recipe after trying them at our last Christmas party.
Prep Them Early
These cheese bites are perfect for prepping ahead. You can make them through the breading step and keep them in the fridge up to a day before frying. If you want to save them longer, freeze the breaded balls on a tray until solid, then dump them in a freezer bag for up to 3 months. When you're ready to eat, just fry them straight from frozen, adding a minute or two to the cooking time. They're perfect when surprise guests show up or when you're planning a big bash.
What To Serve With Them
While these cheese balls taste great alone, they're even better with some dipping sauce. Try them with zesty ranch, tomato sauce, or spicy mayo for extra punch. For a bigger spread, put them on a tray with other finger foods like wings, stuffed mushrooms, and fresh veggies. They also make lunch more exciting when paired with soup and salad on days you want something special.
Lighter Options
If you don't want to deep fry, these broccoli cheese balls work with other cooking methods too. Air fryer fans can cook them at 375°F for about 10 minutes, flipping halfway. For baking, put them on parchment paper and cook at 425°F for roughly 15 minutes until golden and hot throughout. They won't get quite as crispy as fried ones, but they'll still taste amazing and give you that wonderful stretchy cheese when you bite in.
 Save
Save
Recipe FAQs
- → Can frozen broccoli be used instead of fresh?
Yep! Just let it thaw completely and blot away any extra water before chopping it up.
- → Can I bake them rather than fry them?
Totally! Set your oven to 400°F, line a tray with parchment, and bake the bites for about 20-25 minutes. Flip them halfway through for even cooking.
- → Can I mix in other ingredients?
For sure! Toss in some cooked bacon pieces, diced jalapeños, or caramelized onions to punch up the flavor.
- → What’s the best frying oil to use?
Go with canola or vegetable oil. Both are neutral-tasting and have a high heat tolerance, which is great for frying.
- → How do I keep the balls together when frying?
Chill them in the fridge for at least a half-hour first. This firms them up so they won't fall apart.
