 Save
Save
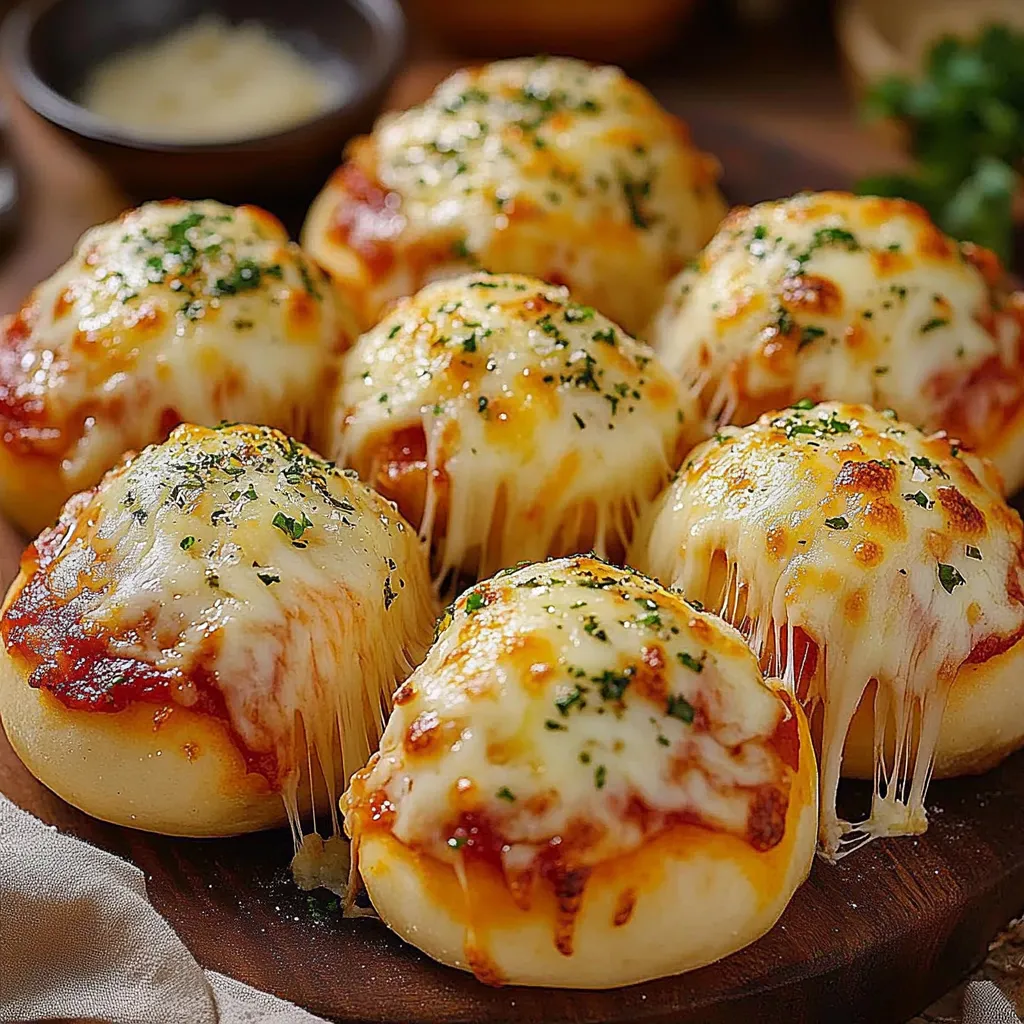
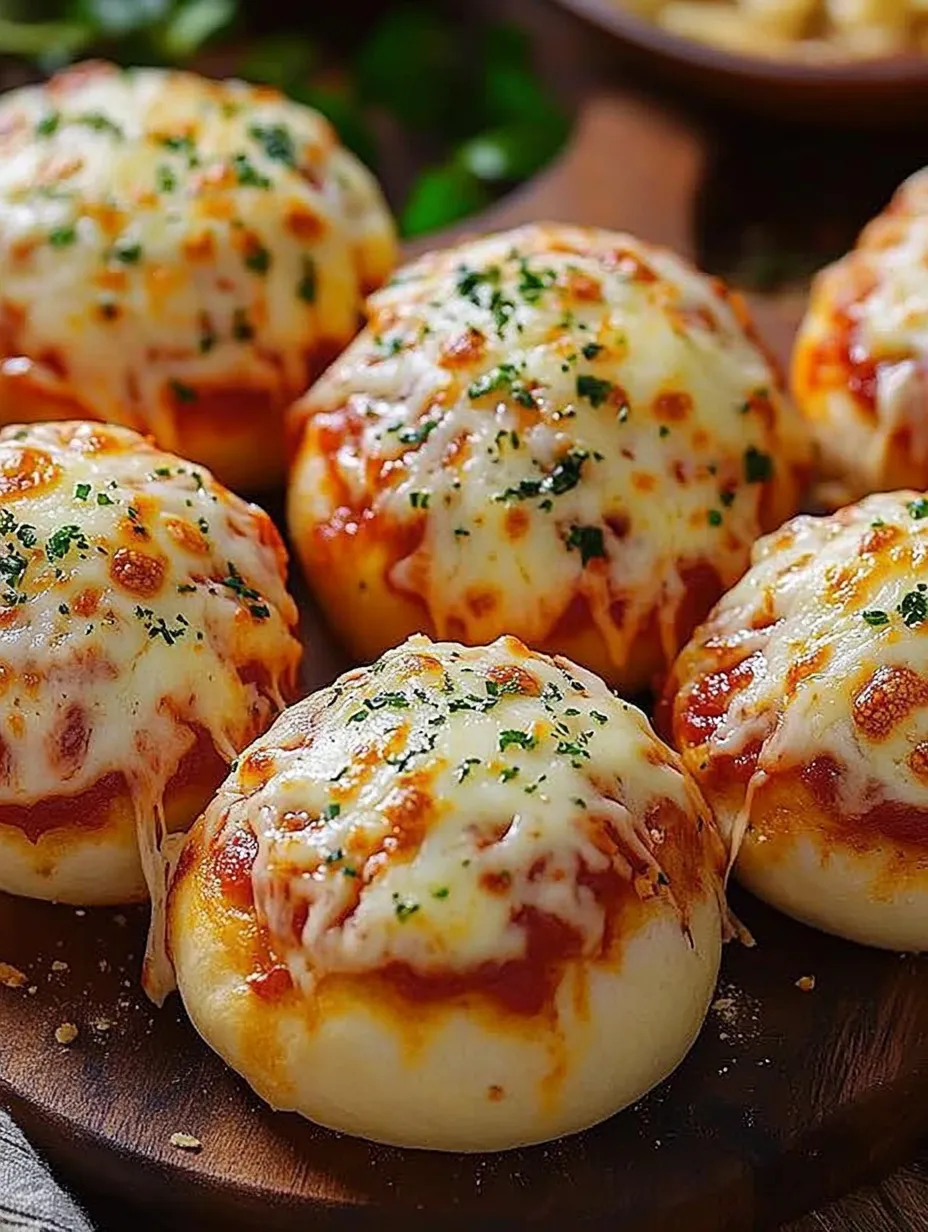
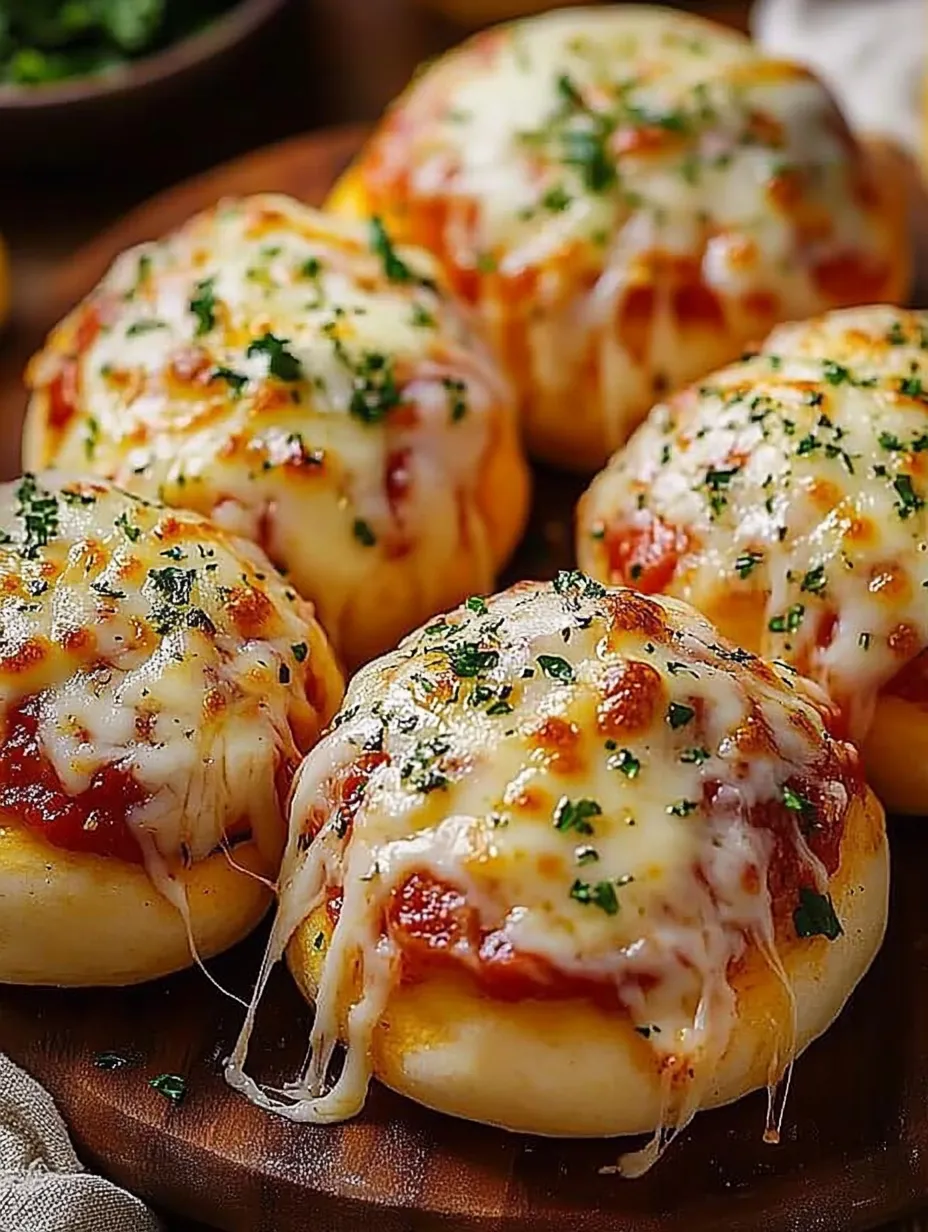
These homemade pizza bombs have become my signature party appetizer since stumbling upon the recipe during game night preparations. The magical combination of flaky biscuit dough wrapped around melted cheese and zesty pepperoni creates irresistible handheld bites that vanish within minutes. Perfect for casual gatherings, they deliver classic pizza flavors in a fun, portable format.
The true test came when serving these to a group of hungry teenagers - the entire batch disappeared before the adults could grab seconds. That moment confirmed these pizza bombs would become a permanent addition to my appetizer rotation.
Key Ingredients
- Refrigerated biscuits - Creates a perfectly fluffy exterior shell
- Pizza sauce - Delivers authentic pizza flavor
- Mozzarella cheese - Provides the essential melty, stretchy center
- Mini pepperoni - Adds classic pizza taste in the perfect size
- Italian seasoning - Brings traditional herb flavoring
 Save
Save
Preparation Method
- Working with the Dough
- Press each biscuit into a 4-inch circle using fingertips, maintaining slightly thicker centers. This prevents filling leakage during baking. A light dusting of flour prevents sticking. Avoid rolling too thin or the filling may break through.
- Adding the Filling
- Use measured amounts - one teaspoon sauce and one tablespoon cheese per bomb. Place filling in the center, leaving ample dough edges for sealing. Chop regular pepperoni into smaller pieces for even distribution.
- Proper Sealing
- Gather edges toward center like a dumpling, pinching firmly to seal. Gently twist gathered dough for extra security. Shape into smooth balls and place seam-side down.
- Finishing Touches
- Brush entire surface with melted butter for even browning and flavor. Sprinkle with Italian seasoning and Parmesan for visual appeal and enhanced taste.
- Baking Instructions
- Check at 12 minutes for golden brown color. Bombs should be well-risen and firm. Space evenly on baking sheet for consistent browning. Muffin tins may require slightly longer baking time.
- Serving Method
- Serve warm while cheese remains melted. Provide extra pizza sauce for dipping. Arrange on a platter with sauce bowl centered, garnish with fresh herbs if desired.
The universal appeal of these pizza bombs crosses all age groups. Even self-proclaimed appetizer skeptics find themselves reaching for seconds, won over by the perfect balance of soft dough, tangy sauce, and melted cheese.
Serving Suggestions
Balance these savory bites with a crisp garden salad for a complete meal. For entertaining, combine with traditional party foods like wings or crudités. They complement game day spreads featuring nachos or dips perfectly. Kids particularly enjoy them paired with fresh vegetable sticks.
Recipe Variations
Experiment with Hawaiian-style fillings using ham and pineapple. Incorporate cream cheese for added richness. Create supreme-style bombs with diced vegetables and olives. A buffalo chicken version with shredded chicken and hot sauce offers a spicy alternative.
 Save
Save
From casual family gatherings to neighborhood events, these pizza bombs consistently prove their worth as a crowd-pleasing appetizer. The combination of familiar flavors in an engaging format makes them universally appealing. They've even become a family cooking activity, creating memories alongside delicious results.
Recipe FAQs
- → Can I prep these ahead and bake later?
- Sure thing! Put the assembled snacks in the fridge (covered) for up to a day and butter them with seasonings just before baking.
- → What other fillings could I try?
- You can experiment with toppings! Chopped mushrooms, olives, ham, cooked sausage, bacon, or bell peppers all work. Just cut them small and don’t overpack.
- → Is refrigerated biscuit dough the only option?
- Nope! You can use fresh pizza or roll dough. Just separate into 8 portions and follow the same steps.
- → Why does cheese sometimes spill out during baking?
- Make sure the dough is sealed all around with no weak spots. Don’t go overboard on the filling, and place them seam-side down on the pan.
- → What’s the best way to warm up leftover snacks?
- Pop them in a 350°F oven for 5-7 minutes for the best texture. Microwaving works too (30-45 seconds), though it might leave the dough a bit chewy.
- → Can I freeze these?
- Absolutely! Freeze the unbaked snacks on a tray, then toss them in a freezer bag. When baking, just add 3-5 extra minutes.
