
 Save
Save
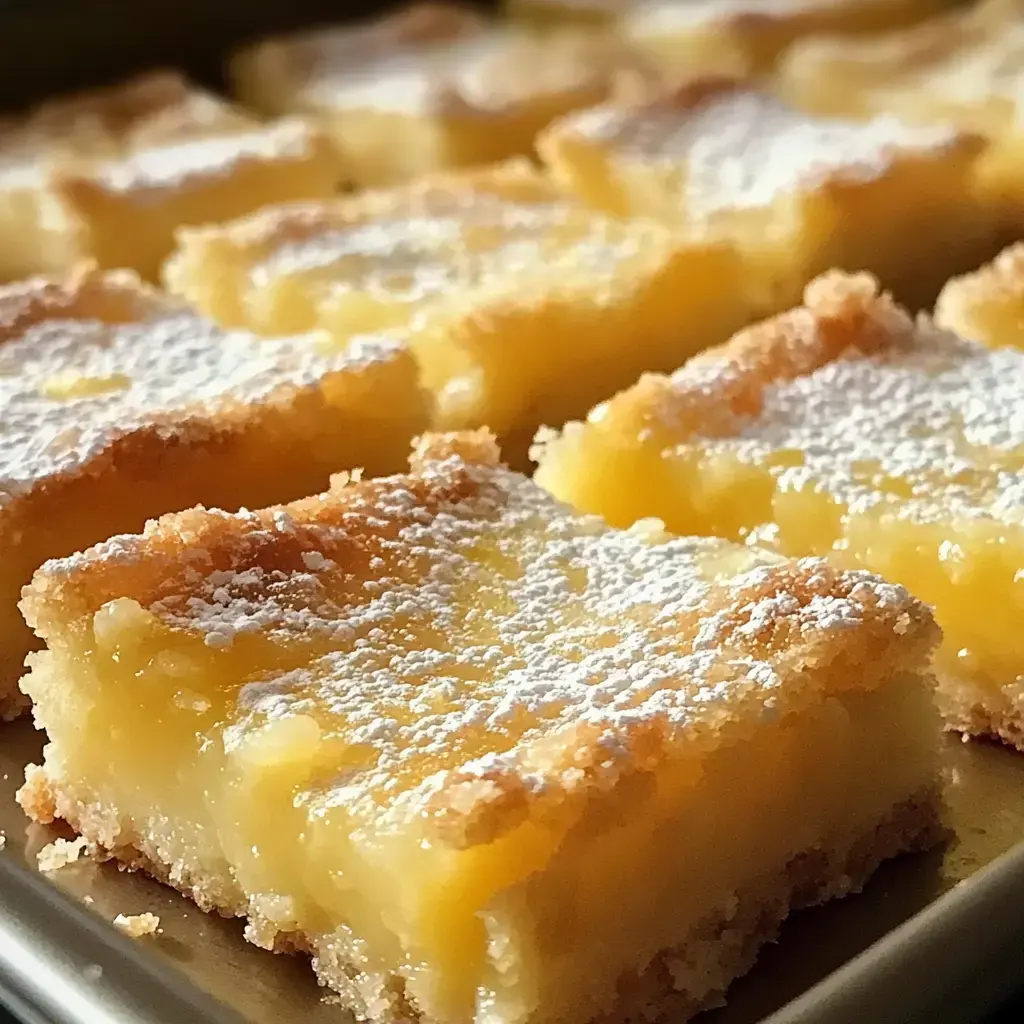
I whipped up these Pineapple Bliss Bars during a gloomy day at home. Longing for beach vibes, I threw together juicy pineapple with a smooth, rich filling and sat it all on a crumbly butter crust. Just one taste and you're whisked away to your own little slice of heaven.
A Delightful Sweet Getaway
These bars bring a touch of sunshine whether it's hot or cold outside. They're always the first to vanish at my backyard parties. When I bite into one, I'm instantly taken back to my favorite beach trip, turning regular days into something magical.
What You'll Need
- Grab 1½ cups of premium flour for the best results.
- You'll want ¾ cup of soft, room temperature sweet butter.
- Mix in 1 cup of standard white sugar for balanced sweetness.
- Don't forget a 20 oz can of crushed pineapple, well drained.
- Add richness with 1 cup of whole-fat sour cream.
- A teaspoon of real vanilla extract makes all the difference.
- Set aside some powdered sugar for that final touch.
Creating the Foundation
It all begins with a killer crust. I combine sugar and flour in my trusty bowl, then work cold butter in until it feels grainy between my fingers. Then I push it into the pan with care. My kids always rush to the kitchen when that wonderful smell starts floating through the house.
The Final Touch
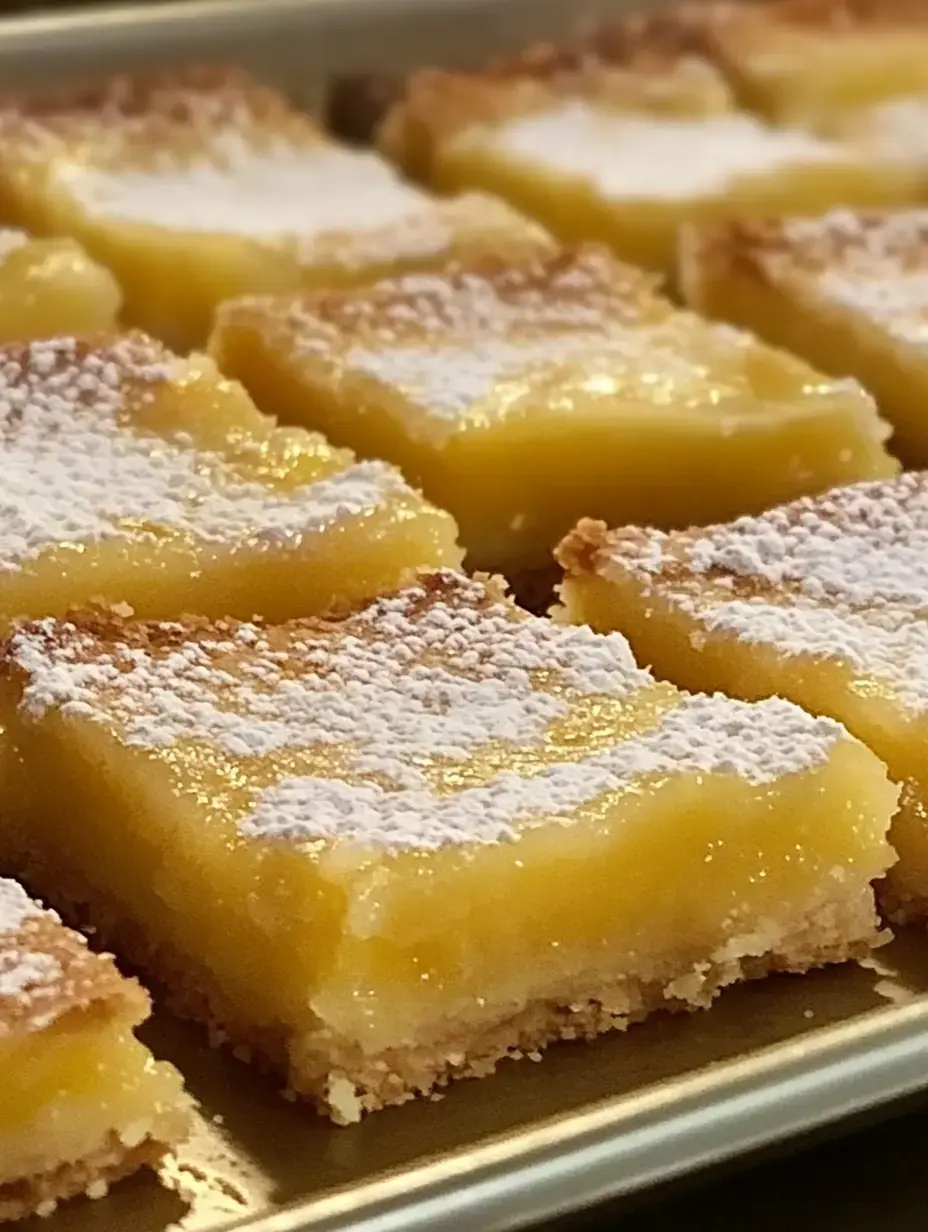
A light coating of powdered sugar transforms these bars into bakery-worthy treats. For guests, I sometimes add fresh mint on top. I can't help smiling when I see that white dusting against the golden-colored bars.
 Save
Save
Taste of Vacation
These bars always remind me of my first trip to Hawaii. There's something magical about the tangy pineapple mixed into that creamy filling. I can't count how many times my neighbors have begged me to share how I make them after trying them at community dinners.
Custom Creations
I love adding coconut flakes or chunks of mango sometimes. My kid prefers when I swap in Greek yogurt for the sour cream to give it extra zip. Feel free to put your own spin on this treat.
Storage Secrets
The flavors in these bars actually get better overnight. Just put them in a sealed container in your fridge and they'll stay good for up to a week. But honestly, they rarely last that long in my house.
Crust Know-How
I've found over time that using cold butter gives you the most delicate crust. Don't press too hard when putting it in the pan. I use the bottom of a glass to smooth it out evenly. These small tricks really pay off.
The Case For Canned Fruit
While fresh pineapple tastes great, the canned crushed stuff gives you the same great outcome every time you bake. Just make sure to drain it thoroughly. I leave mine sitting in a strainer while I work on the base.
 Save
Save
No Gluten Needed
I came up with a special version for my bestie who can't handle gluten by using a gluten free flour mix. They come out just as tasty. Now everyone can dig into these tropical goodies.
Batch Prep Magic
You can freeze these bars with no problem. I wrap each piece separately for quick snacks later on. They're great for unexpected visitors or when you need something sweet late at night.
Plant-Based Options
My plant-loving niece got me to try making these with coconut cream instead of sour cream. The tropical flavor fits right in, and now the whole family can enjoy them together at gatherings.
Switch Things Up
Try tossing in diced mangoes or sprinkling toasted coconut on top. Each twist brings something new to love. Your kitchen can become a playground for all sorts of tropical combinations.
Baking Success Tips
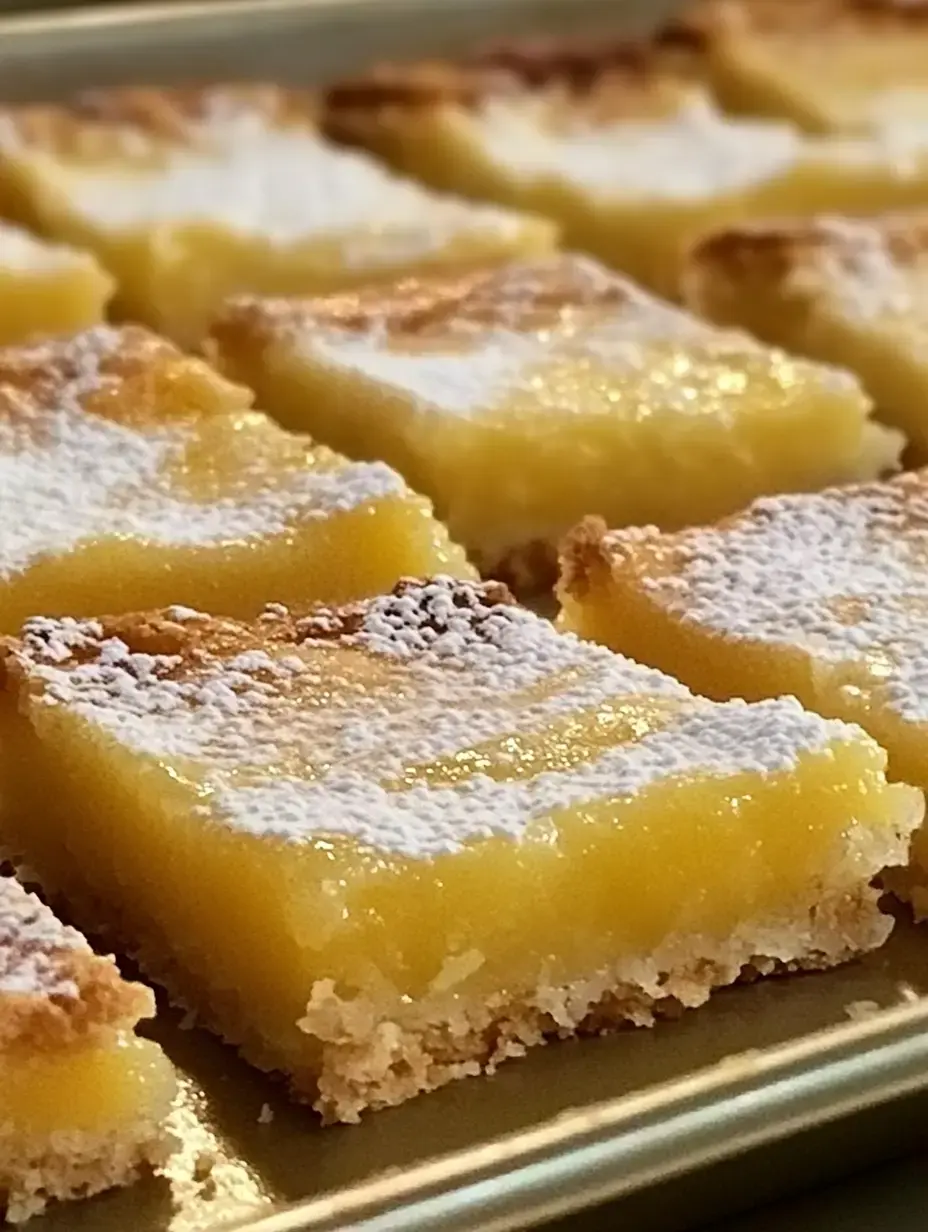
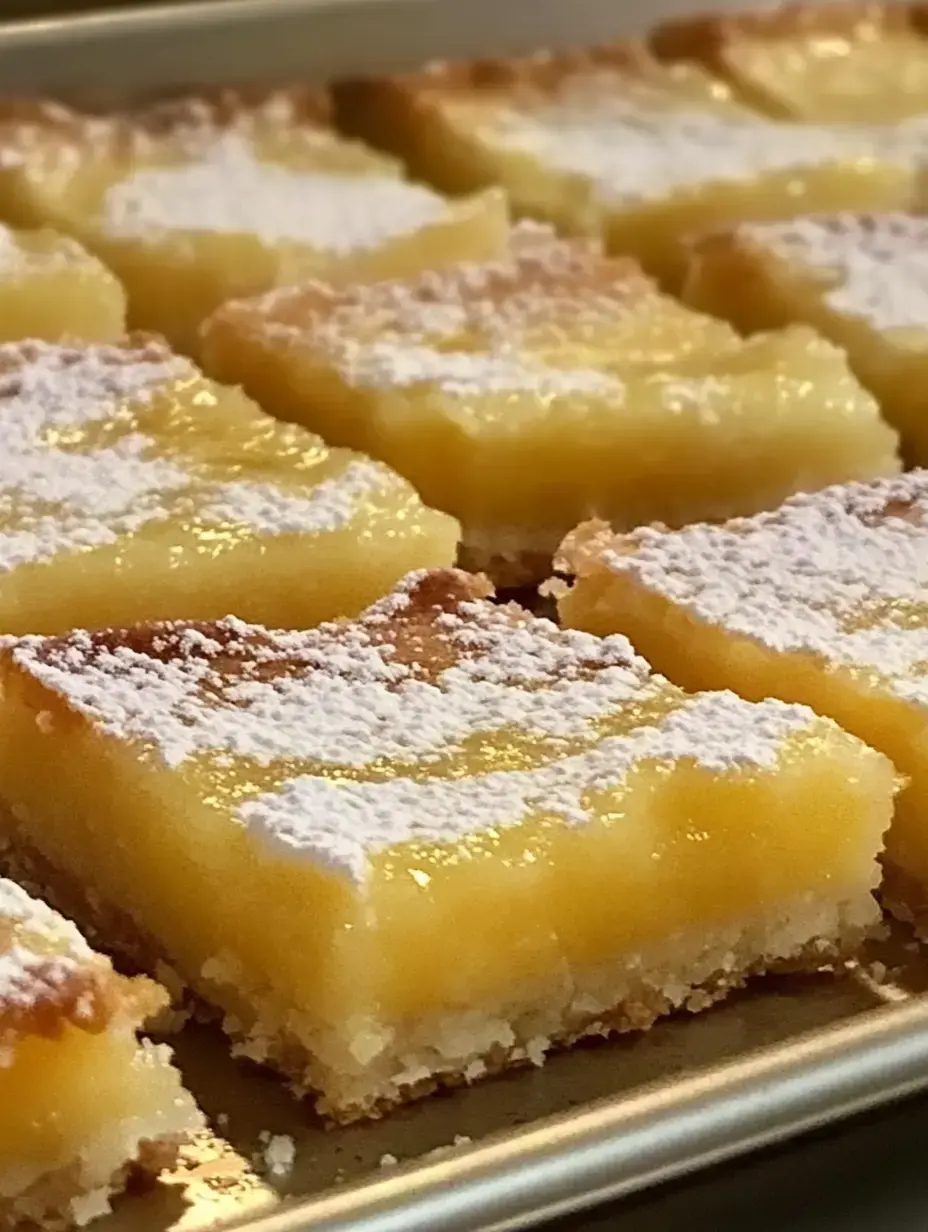
Look for a slight wobble in the middle when they're baking. You want golden edges without browning too much. Let them cool fully in the pan. Taking your time means you'll get perfect bars every single time.
 Save
Save
Ways to Serve
These bars are fantastic on their own but try them with a scoop of vanilla ice cream for an amazing treat. They go great with coffee or a fruity iced tea. I love putting them out during weekend brunches to make everything feel extra fancy.
Fun With Kids
My grandchildren love to help me make these. They take turns stirring and sneaking bits of pineapple when they think I'm not looking. These sweet times together make each batch extra meaningful.
Sensory Delight
Every mouthful offers layers of goodness. The crispy base perfectly supports the smooth filling while bits of pineapple add pops of sunny flavor throughout.
Quick Answers
Fresh pineapple works too if you chop it small and get rid of extra juice. You can make these a day before your party and they'll be perfect. They actually taste better after sitting overnight.
Vacation Vibes Anytime
These Tropical Pineapple Bliss Bars can brighten your day no matter the season. I turn to them whenever we need a little escape. Share them with your favorite people and watch how they light up with each bite.
Recipe FAQs
- → Why should the pineapple be drained?
- If there's too much juice left, it can ruin the crust texture by making it soggy and overly soft.
- → Can I swap for gluten-free flour?
- Absolutely! Replace standard flour with a gluten-free mix to keep it suitable for everyone.
- → What’s the sign it’s baked fully?
- The filling should be firm and no longer wobbly in the center. This typically takes 25-30 minutes.
- → What’s the best way to store them?
- Keep them chilled in the fridge using a sealable container because of the creamy filling.
- → Can fresh pineapple replace canned?
- Canned pineapple is preferred—it has the right consistency and moisture for this recipe.