
 Save
Save
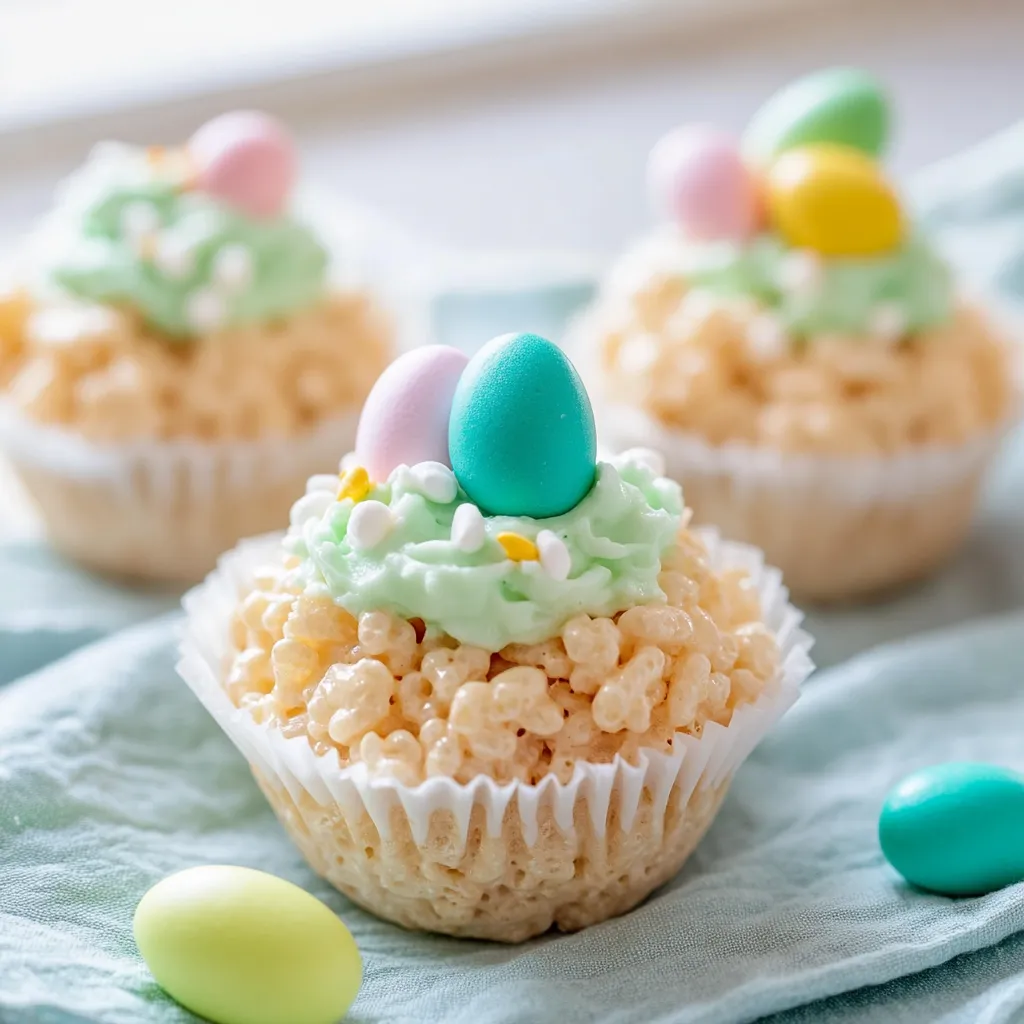
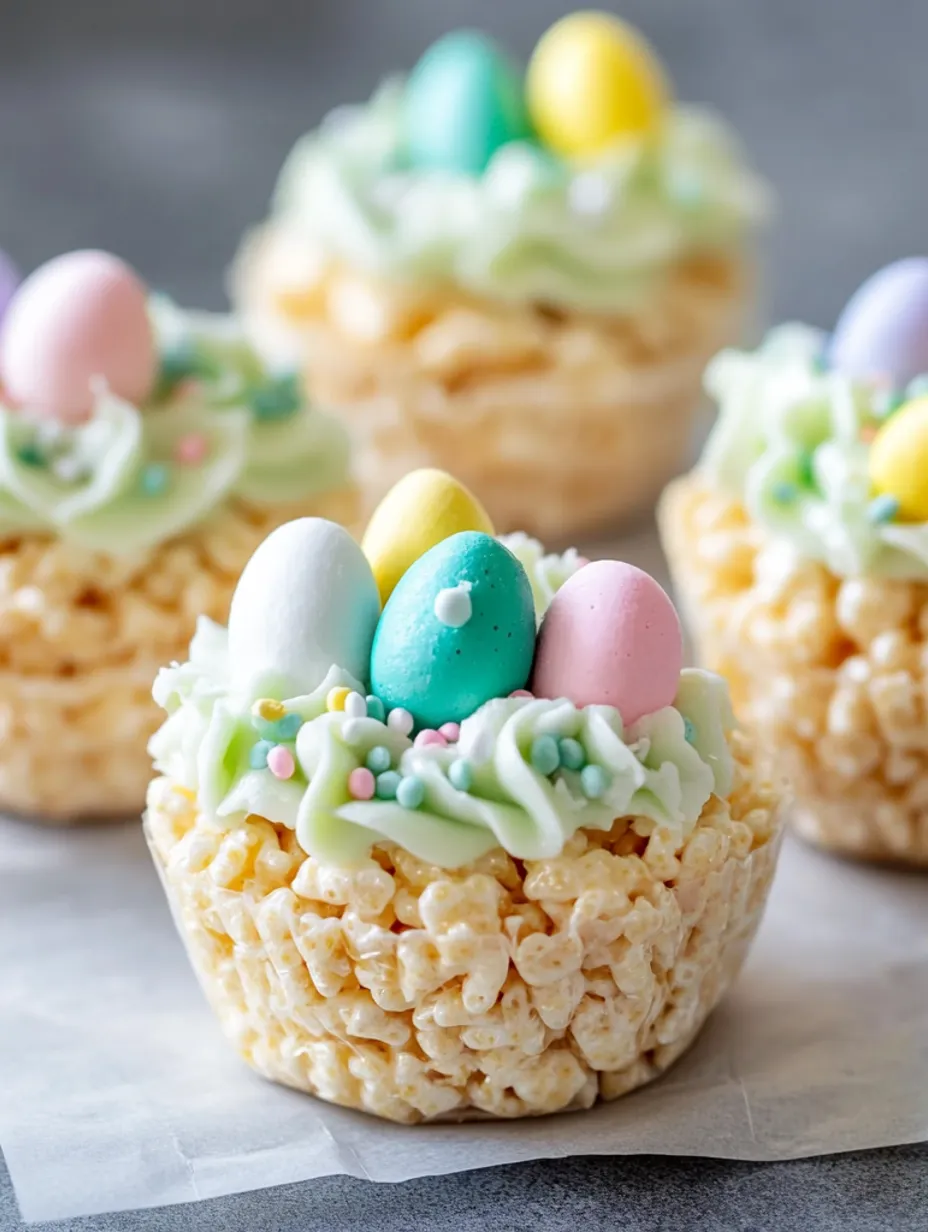
Every Easter, I whip up these Rice Krispie nests that always grab everyone's attention at family get-togethers! The mix of soft marshmallow treats topped with smooth frosting and candy eggs makes such a cute spring dessert that seems fancy but doesn't take much work at all.
Last Easter, my picky sister-in-law even asked how to make them after our family brunch. That's when I knew they were a real winner!
Ingredients List
- Rice Krispies cereal: This makes up our nest structure. Any brand works great, even the cheaper options.
- Marshmallows: They must be fresh - old ones make the treats too hard. Smaller ones melt quicker if you've got them.
- Butter: Gives that yummy base flavor. I go with salted butter for extra taste.
- Powdered sugar: This creates the frosting that looks like "grass" in our nests.
- Green food coloring: The gel type gives brighter colors without making your frosting runny.
- Easter egg candies: I usually grab mini Cadbury eggs, but you can use Robin's eggs, M&Ms, or even small jelly beans!
 Save
Save
Preparation Steps
Making Tasty TreatsFor chewy, soft Rice Krispie treats, don't heat the marshmallows too much. I pop them in the microwave for 30 seconds at a time, giving them a stir between, until they're just melted. Cooking them too long makes them tough.
Forming Your NestsI coat the back of a spoon with cooking spray before pushing the mixture into muffin cups. This stops it from sticking and helps me make that nest shape with a dip in the middle.
Frosting MethodTo make them look like real nests, I use a grass piping tip (#233) for the green frosting. Don't have one? A ziplock bag with a tiny corner cut off works too - just squeeze in circles to look like grass.
Putting It TogetherI wait for the nests to cool totally before adding frosting (around 30 minutes). If you put frosting on warm nests, it might run and lose its shape.
I started making individual nests after years of just doing one big pan of Rice Krispie treats cut into squares. These single nests aren't just cuter, they're way simpler for everyone (especially little kids) to pick up and eat!
Presentation Thoughts
They look great lined up on a tray for Easter meals. Sometimes I put them on green paper "grass" to make them extra festive. When I'm doing a full dessert spread, I surround them with other spring treats like pastel macarons or decorated cookies.
Custom Variations
You can swap in Cocoa Krispies for brown nests. Try adding a tiny bit of peppermint extract to your frosting for freshness. Instead of frosting, drizzle melted colored white chocolate over the nests. Mix a spoonful of sprinkles into your Rice Krispie mixture for a fun confetti look.
Keeping Them Fresh
They stay good in a sealed container for about 2 days. When I stack them, I put parchment paper between layers. If I'm planning ahead, I make the plain nests and freeze them, then thaw and add frosting on the day we'll eat them.
 Save
Save
Expert Advice
- Dampen your hands a bit to make shaping the treats easier
- Try a tiny bit of almond extract in the frosting for amazing flavor
- Using mini muffin papers makes taking them out and serving much simpler
These Easter Rice Krispie nests have become such a tradition that my children start talking about them as soon as Easter candy appears in stores! There's something special about the classic Rice Krispie flavor combined with the fun spring look that makes everyone want them. And they're easy enough that even my youngest can help make them, building holiday memories that last much longer than the treats do!
Recipe FAQs
- → Can I prepare Krispie nests in advance?
- Sure thing! Make them 1-2 days prior. Keep them sealed in a container. Add frosting and candies right before serving for best texture.
- → What eggs work best for topping?
- Smaller candies like Cadbury mini eggs, jelly beans, or pastel M&Ms work well. Anything tiny fits perfectly in the nests.
- → Is store-bought frosting okay to use?
- Of course! Grab a pre-made white frosting, mix in green coloring, and you’re good to go. It’s super quick and gets the job done.
- → How do I create the nest shape?
- Press the warm Krispie mix into the pan, push slightly up the edges, and form a dip in the center with your fingers or the back of a spoon.
- → What tip works to make frosting grass?
- A multi-hole tip, like Wilton #233, is fantastic. Don’t have one? A small round tip works too. Just make lots of piped lines for texture!