
 Save
Save
Mixing away in my kitchen with fresh lemons scattered around and butter warming up nearby, I can't help but remember my first shot at these bars - a complete mess that weirdly turned into something I couldn't stop making. These days, after way too many tries and plenty of mistakes, these lemon bars are what I whip up whenever I want something that feels like bottled sunshine.
Key Ingredients
- Real Lemons: Skip the bottle stuff
- Quality Butter: Watch the temp
- Authentic Vanilla: Nothing artificial
- Just-Cracked Eggs: Not cold from fridge
- Good Timing: Don't rush things
 Save
Save
Base Fundamentals
The shortbread bottom is where most folks mess up. When I made my first batch, I waited until the crust cooled completely before adding the filling and ended up with the whole thing flipped backwards. Now I get it - when you do things matters so much.
Lemon Secrets
After making about fifty batches of these treats (my family keeps track because they always want more), I've figured out that what really matters is what happens between the steps - like making sure the base is just the right warmth when you pour the filling on it, or waiting that extra bit before cutting so you get those picture-perfect squares.
Creating Structure
Through tons of tasty experiments:
Let butter sit out properly
Get lemon zest before squeezing
Look for golden edges on crust
Add filling while crust is warm
Give cooling time its due
Last Christmas, even my super picky aunt asked how I made them - and when someone who makes vanilla from scratch wants your recipe, you know you've nailed it.
Temp Tips
Your kitchen gives away all the clues:
Everything should be room temp
Hot crust grabs the filling better
Cold bars cut without crumbling
Refrigerate until firm
Take them out briefly before eating
Fun Variations
I've picked up some tricks along the way:
Throw in extra zest for zing
Try Meyer lemons when you can find them
Switch up your dusting powders
Go thicker or thinner on the base
Try different shaped pans
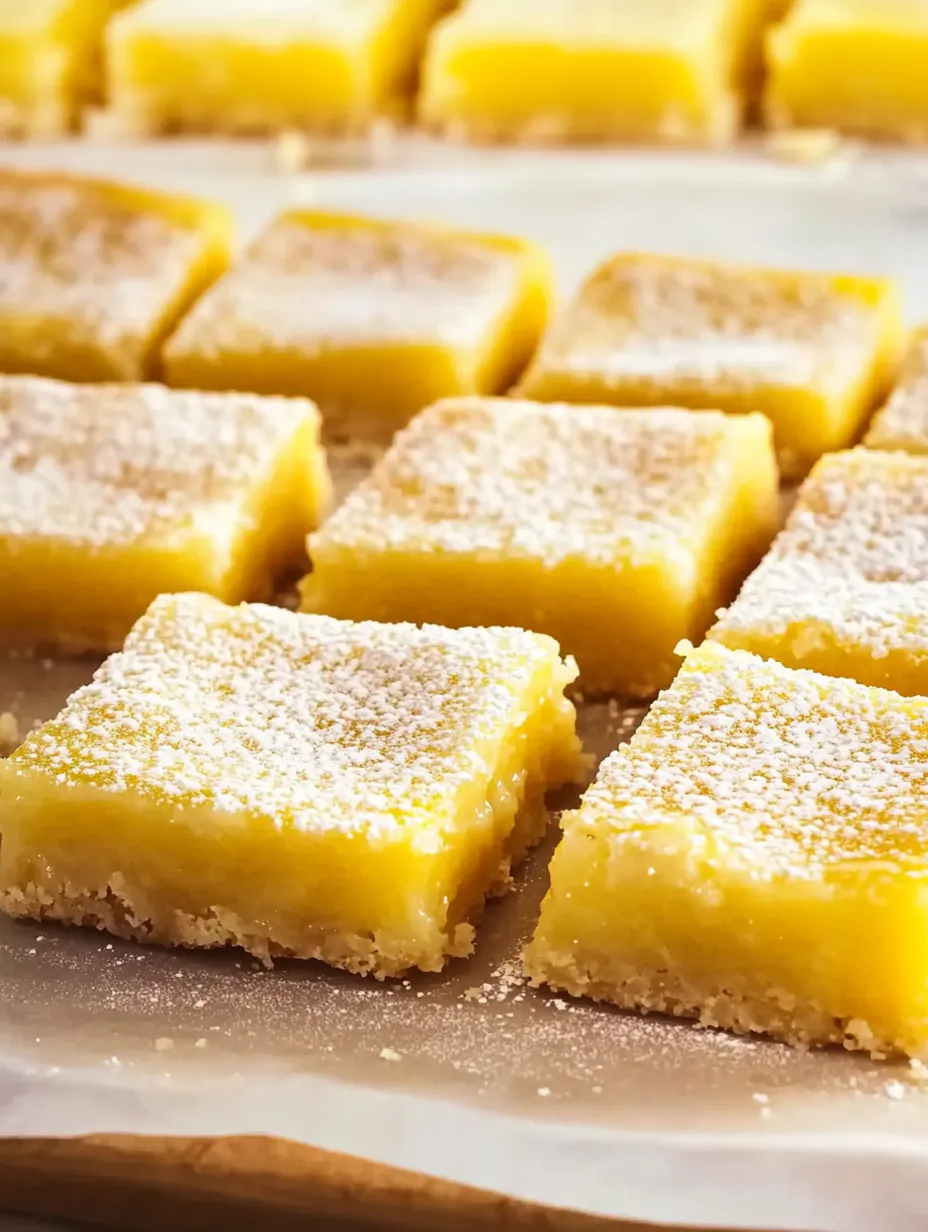
Keeping And Serving Tips
Trust me, these bars have their own little quirks - they need their chill time, but eat them too cold and you'll miss all the flavor notes. After countless potlucks and bake sales, I've figured out exactly what works:
Let them hang out in the fridge overnight
Take them out about 45 minutes before eating
Slice with a warm knife, cleaning between cuts
Don't stack them on top of each other
Keep them away from foods with strong smells
 Save
Save
Presentation Tricks
From years of showing them off:
Add powdered sugar just before serving
Toss on some berries for a pop of color
Show them off on white dishes
Add a sprig of fresh mint
Hide the extras (you'll thank me)
Just last week, I brought these to a dinner where someone said they "don't care for lemony desserts" - then watched them gobble up three bars and beg for instructions to make at home. Sometimes the best fans start as skeptics.
Final Thoughts
These lemon bars have grown into something bigger than just another sweet treat - they're my go-to for springtime gatherings, winter doldrums, and anytime someone needs a bit of brightness in their day. They show that sometimes the simplest mix - butter, lemons, sugar - makes the most wonderful things.
Whether you're baking a batch for a big group or just because you feel like it, remember that fantastic lemon bars come from taking your time. Let everything warm up to room temp, don't skimp on the cooling period, and always grab fresh lemons.
And maybe think about making extra - they'll vanish faster than you'd believe.
Recipe FAQs
- → Why is warm crust important?
- It stops the filling from sliding around and helps it stick better to the crust.
- → How long should bars chill?
- At least 2 hours, but overnight works great if you want tidy slices.
- → Can they be prepped ahead of time?
- Totally! They stay fresh in the fridge for a few days.
- → Any tips for neat cutting?
- Use a warm, sharp knife and wipe it clean between each slice.
- → Why line the pan with parchment?
- It makes lifting the bars out so much simpler and avoids sticking issues.