
 Save
Save
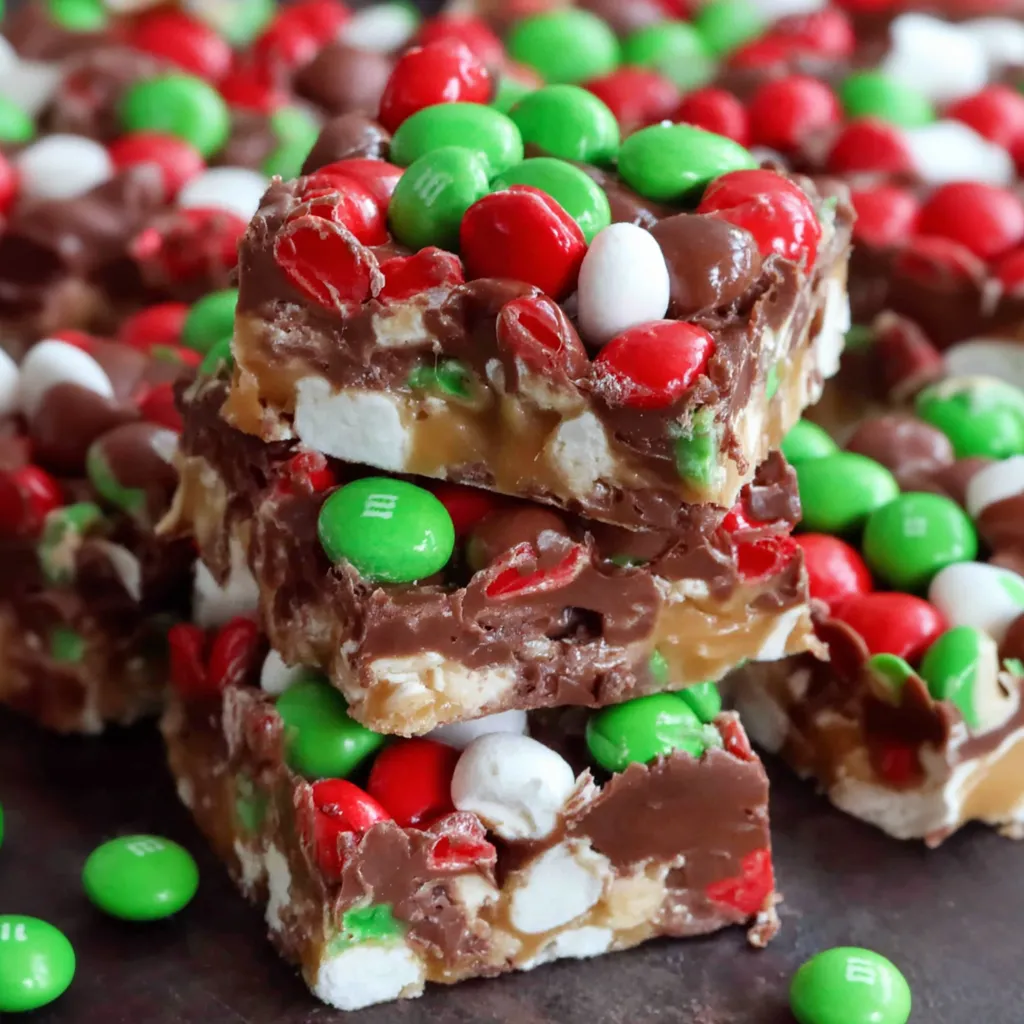
M&M's Marshmallow Dream Bars are the ultimate quick treat when you want something festive sweet and effortless. With melty chocolate and butterscotch chips, creamy peanut butter and pillowy marshmallows, these bars come together in just minutes and always disappear even faster. I bring them out for holiday parties and last-minute gatherings—they never fail to surprise with how easy and delicious they are.
I first whipped up these bars when I was in a time crunch for a potluck and they were a hit—the M&Ms always make them extra fun and colorful.
Ingredients
- Semi sweet chocolate chips: add rich chocolate flavor aim for a high quality brand for best melting results
- Butterscotch chips: give a nostalgic buttery note look for chips with real butterfat for a creamier melt
- Creamy peanut butter: brings everything together choose a no stir kind for even mixing
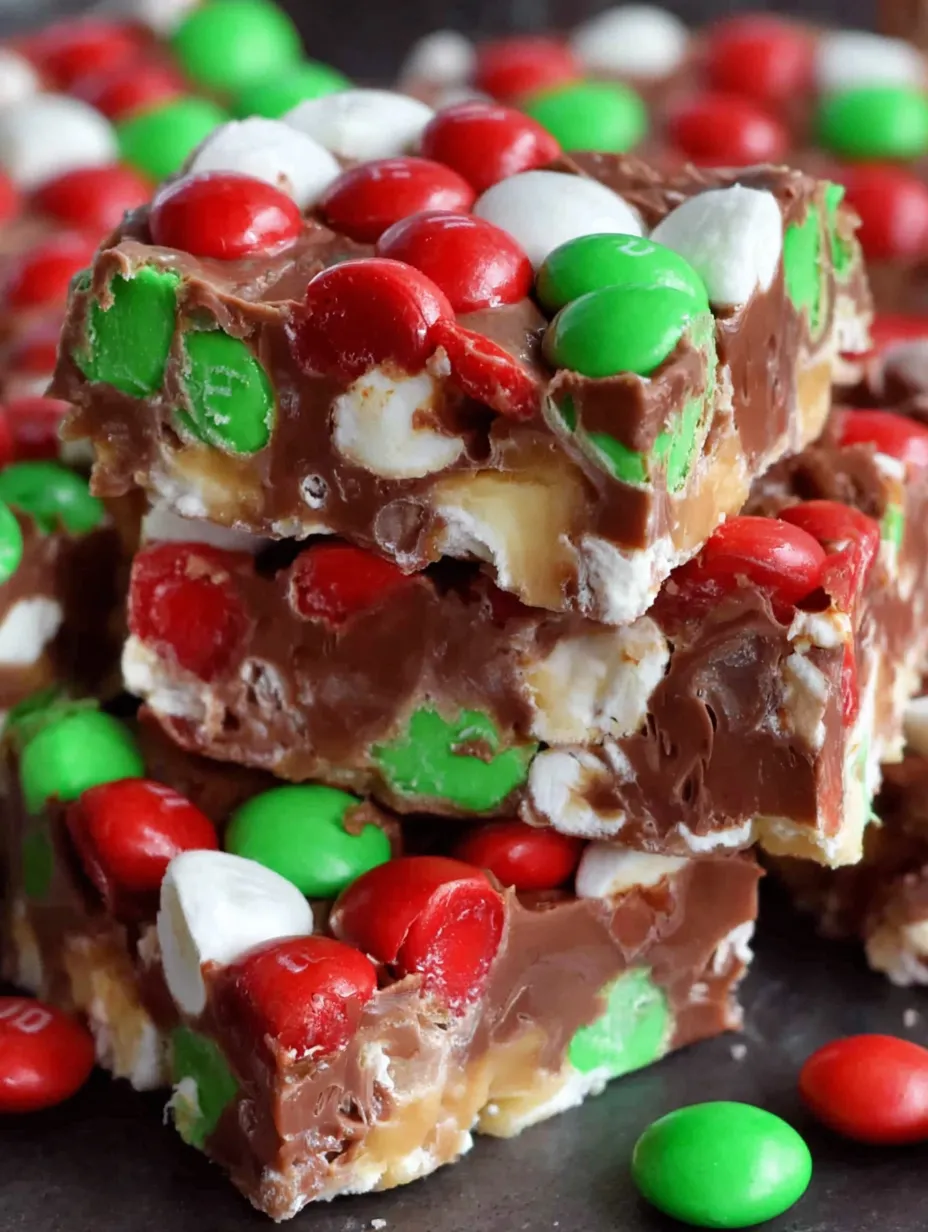
- Mini marshmallows: create the signature fluffy soft texture fresh ones work best
- M and Ms: sprinkle on color crunch and that craveable candy shell choose the classic variety or seasonal colors for a festive twist
Step-by-Step Instructions
- Prepare the Pan:
- Line a 9 by 13 inch baking dish with nonstick foil gently pressing it into the edges. This makes removing and cutting the bars seamless later.
- Melt the Chips and Peanut Butter:
- Combine chocolate chips butterscotch chips and peanut butter in a large microwave safe bowl. Heat on high for thirty second intervals stirring thoroughly each time until everything is smooth and shiny. Watch carefully to avoid scorching.
- Fold in Marshmallows:
- Working quickly add all the marshmallows and stir until every bit is coated in the chocolate mixture. The key is to move fast so the mixture stays warm and easy to mix.
- Spread and Top with M and Ms:
- Pour the sticky mixture into your lined pan and spread evenly right into the corners. Scatter the M and Ms over the top and gently press them in so they stick.
- Chill to Set:
- Transfer the pan to the fridge and let the bars firm up for about two hours. This sets everything and makes slicing clean and easy.
- Cut and Serve:
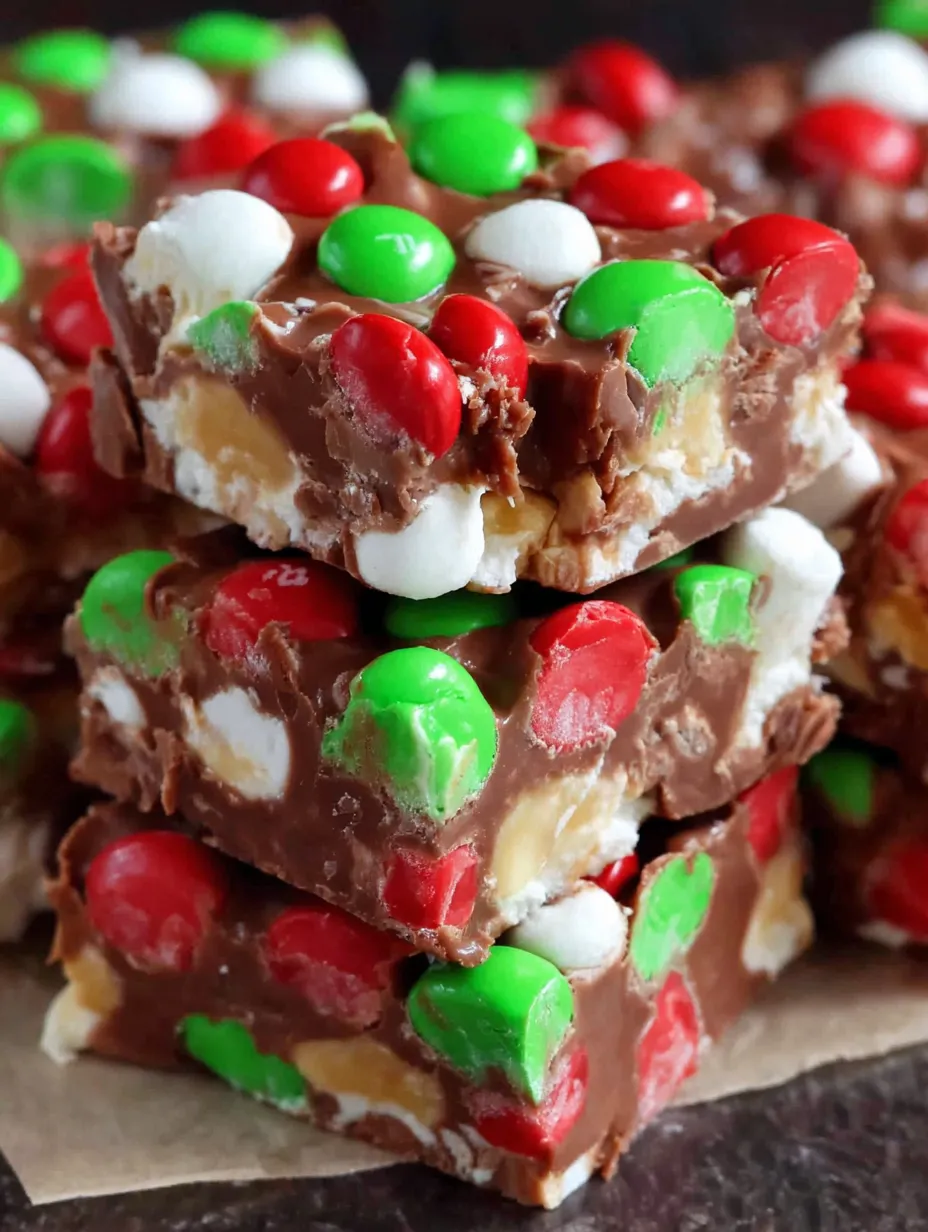
- Once completely set lift out with foil and cut into neat bars. Serve chilled for the best bite.
 Save
Save
My favorite part is always scooping in the marshmallows and seeing them melt just enough to stay gooey but not lose their shape. The holiday I made a double batch for my nieces and nephews they did not even last till the end of the day.
Storage Tips
Keep your dream bars in an airtight container in the fridge for optimal freshness. They will stay chewy for up to a week though they never last that long in my house. If stacking use parchment between layers to prevent sticking.
Ingredient Substitutions
No butterscotch chips on hand swap in white chocolate chips for a different twist. You can use almond butter or sunflower seed butter if peanut butter is an issue but the creamy kind is always best. For less sugar try using dark chocolate chips.
 Save
Save
Serving Suggestions
Slice the bars into bigger squares for a crowd or smaller bite size pieces for a party platter. I sometimes sprinkle a pinch of flaky sea salt on top for a sweet salty touch. These bars are also great for lunchbox surprises or after school treats.
Why These Bars Are a Holiday Classic
M and Ms Marshmallow Dream Bars capture everything fun and nostalgic about holiday baking. The splash of color from the candies makes them look festive without any fuss. I always see the biggest smiles from both kids and grownups when these show up at family gatherings.
Recipe FAQs
- → Can I use other types of chocolate chips?
Absolutely! Milk or dark chocolate chips can substitute for semi-sweet, depending on your flavor preference.
- → Is a microwave required for melting?
No, a saucepan over low heat works well—just stir constantly to avoid scorching the mixture.
- → How long do these bars keep?
Store in an airtight container for up to 5 days at room temperature, or refrigerate for longer freshness.
- → Can I add extra mix-ins?
Feel free to include chopped nuts, pretzel pieces, or use seasonal candies to customize your bars.
- → Why press the M&Ms on top?
Pressing helps them adhere to the surface and creates a vibrant, eye-catching finish for each bar.
- → Do I have to chill them before serving?
Yes, chilling allows the bars to set properly, making them easier to slice and serve neatly.