
 Save
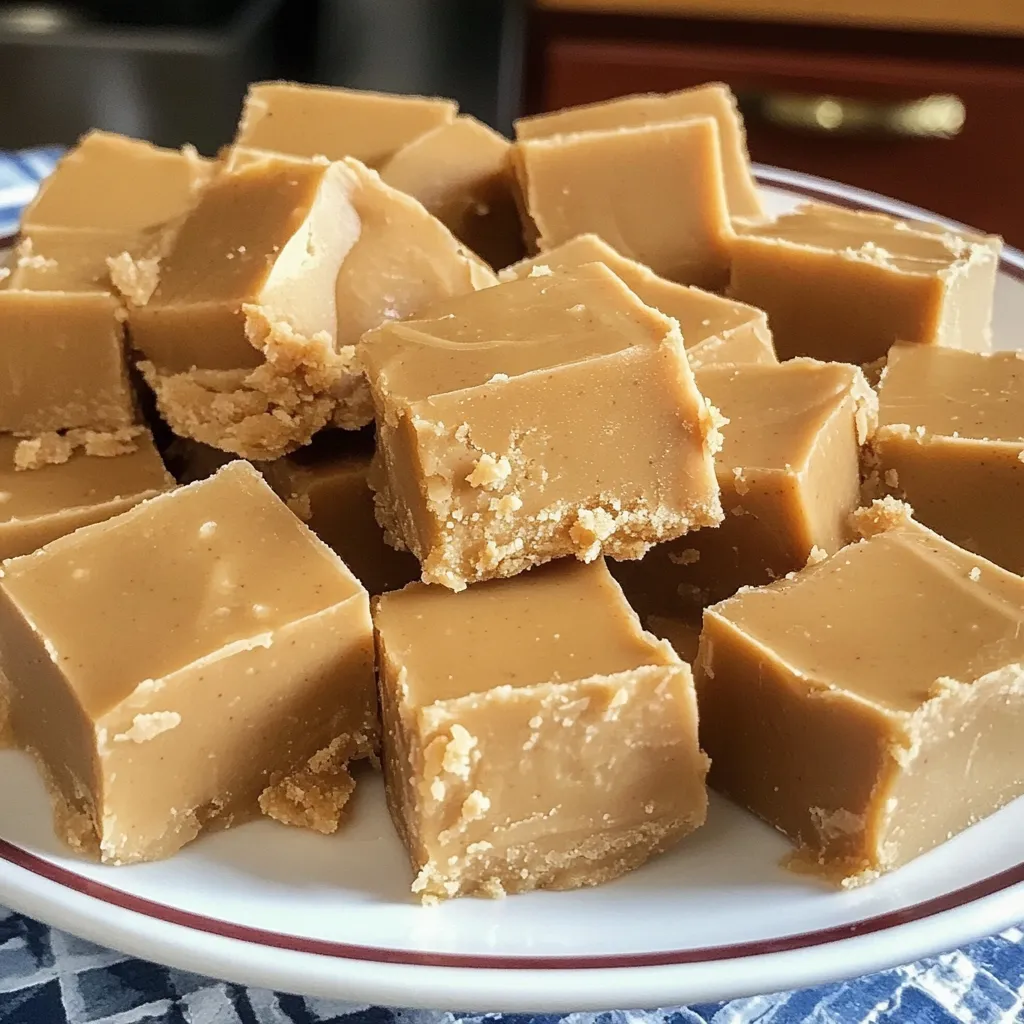
There is something deeply comforting about a tray of old-fashioned peanut butter fudge cooling on the kitchen counter The recipe comes together with classic pantry staples and captures that unmistakable homemade sweetness and creaminess that reminds me of holidays and special childhood gatherings It is an easy stovetop method that creates slices perfect for sharing or gifting
The first time I made this fudge it was during a snowy December weekend and ever since my family requests it for every winter celebration The aroma and anticipation during cooling make it a true kitchen event
Ingredients
- Granulated sugar: adds sweetness and helps structure the fudge Use a fresh unopened bag for best results
- Evaporated milk: creates a creamy base with less water than regular milk Go for name brand or fullfat for a richer texture
- Unsalted butter: brings richness and softens the overall bite Opt for real butter not margarine
- Creamy peanut butter: is the star Use a classic smooth variety for consistency Avoid natural peanut butter unless you are comfortable troubleshooting texture
- Vanilla extract: rounds out the flavor and adds warmth Choose pure vanilla for the best result
- Salt: balances out the sweetness and makes every ingredient pop A pinch goes a long way
- Optional addins: Chopped roasted peanuts mini marshmallows chocolate chips or flaky salt Give your fudge a unique twist Pick freshly roasted nuts or highquality chocolate for addins
StepbyStep Instructions
- Prepare the Pan:
- Line your baking pan with parchment paper extending a bit over the edges Press gently to fit and butter it lightly for easy removal
- Measure Ingredients First:
- Measure out peanut butter butter vanilla and salt before you start cooking The fudge sets rapidly so you will want everything ready
- Combine Sugar and Evaporated Milk:
- In a heavybottomed saucepan stir together sugar and evaporated milk Cook over medium heat stirring until the sugar fully dissolves
- Bring to a Boil:
- Let the sugar mixture come to a bubbly boil then reduce stirring Attach a candy thermometer if you have one and watch closely until it reaches between two hundred thirty four and two hundred thirty six degrees F
- Remove From Heat:
- Take the pan off the burner as soon as the thermometer reaches temperature This prevents overcooking
- Add Butter Peanut Butter Vanilla and Salt:
- Drop in the butter peanut butter vanilla and salt Immediately begin stirring so the heat melts everything together smoothly
- Stir Until Smooth and Glossy:
- Vigorously stir the mixture until it is smooth thick and glossy It will start losing some shine as it cools
- Fold in Optional Mixins:
- If you want to customize fold in your choice of nuts marshmallows or chocolate chips quickly before the fudge begins to set
- Pour and Smooth in Pan:
- Pour the hot mixture into the prepared pan and smooth the top promptly Avoid overworking the surface so your squares remain creamy not crumbly
- Let Cool Thoroughly:
- Allow the fudge to cool at room temperature undisturbed for two to three hours or until completely firm Avoid refrigerating it while hot for the smoothest results
- Cut Into Squares:
- Use the parchment to lift the fudge from the pan Slice into bite size squares with a sharp knife wiping the blade between cuts for neat edges
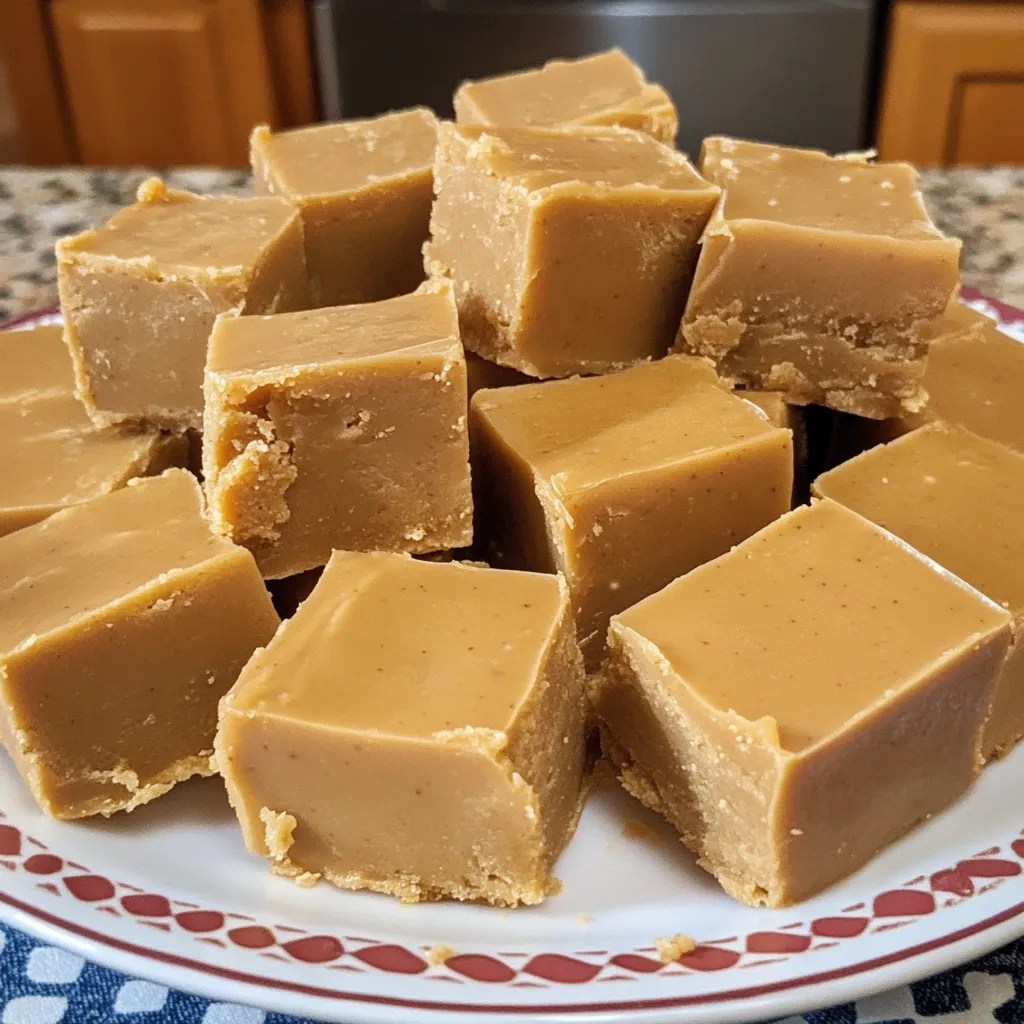
This recipe always reminds me of the year my grandmother and I cut and wrapped fudge squares in wax paper for Christmas Eve treat boxes Rich creamy peanut butter flavor paired with the right amount of salt makes every piece irresistible
Storage Tips
Store fudge in an airtight container with parchment paper between layers to prevent sticking If you want to keep it longer than a week refrigerate it but let it come to room temperature before serving for the creamiest texture For even longer storage wrap tightly and freeze for up to three months
Ingredient Substitutions
If you prefer a chunkier bite swap in crunchy peanut butter Add a half cup of chopped toasted nuts for extra crunch You can use mini marshmallows or swirl in a little melted chocolate for fun flavor contrasts For a dairyfree version try plantbased butter and unsweetened condensed coconut milk though texture may vary
Serving Suggestions
A little goes a long way Serve fudge pieces alongside coffee tea or hot cocoa It also makes a great partner for holiday cookie trays Try pairing it with brownies or peanut clusters for a festive dessert assortment For parties place squares in paper candy cups
Cultural and Historical Context
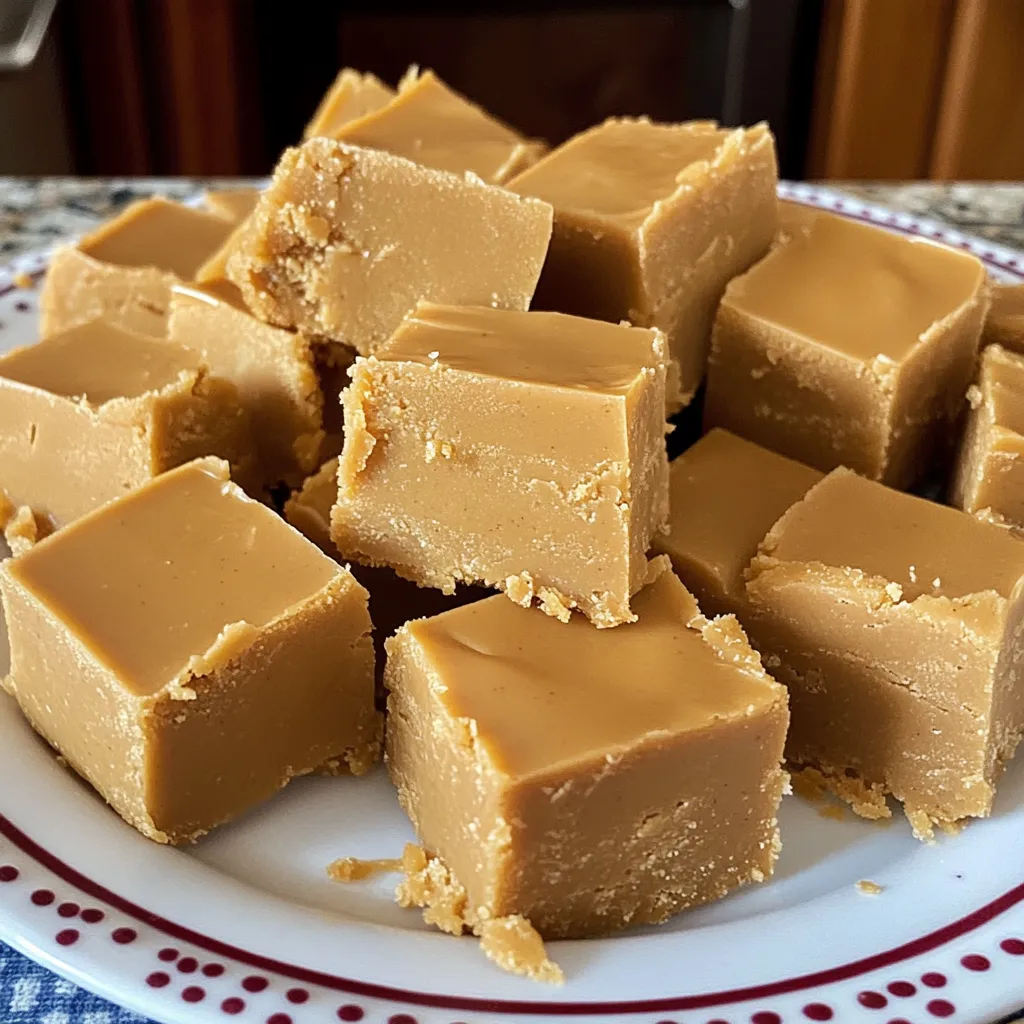
Oldfashioned peanut butter fudge carries a sense of nostalgia in many American kitchens Homemade fudge was a popular treat for church socials community events and holiday gatherings before storebought candies became widespread Cooking candy on the stovetop tapping into traditions of patience precision and sharing
Recipe FAQs
- → What gives peanut butter fudge its creamy texture?
Traditional creamy texture comes from cooking sugar and evaporated milk to the soft-ball stage, then mixing with smooth peanut butter and butter.
- → Can I use crunchy peanut butter for this fudge?
Yes, crunchy peanut butter or chopped nuts can be added for extra texture, giving small pieces of peanut throughout each bite.
- → Why do I need a candy thermometer?
A candy thermometer provides accuracy. The mixture needs to reach 234–236°F to set with the right firmness without becoming dry.
- → How should peanut butter fudge be stored?
Keep fudge in an airtight container with parchment between layers. Store at cool room temperature or refrigerate for longer freshness.
- → Can peanut butter fudge be frozen?
Yes, fudge freezes well. Place squares in a sealed container, separating layers with parchment, and thaw in the fridge before serving.
- → What mix-ins or toppings work best?
Chopped roasted peanuts, mini marshmallows, chocolate chips, or a sprinkle of flaky salt add great flavors and textures to each square.
- → Why might fudge turn grainy or crumbly?
Overcooking, overbeating after cooling starts, or sugar that isn't fully dissolved cause a Dry or grainy result. Stir only as needed.