
 Save
Save
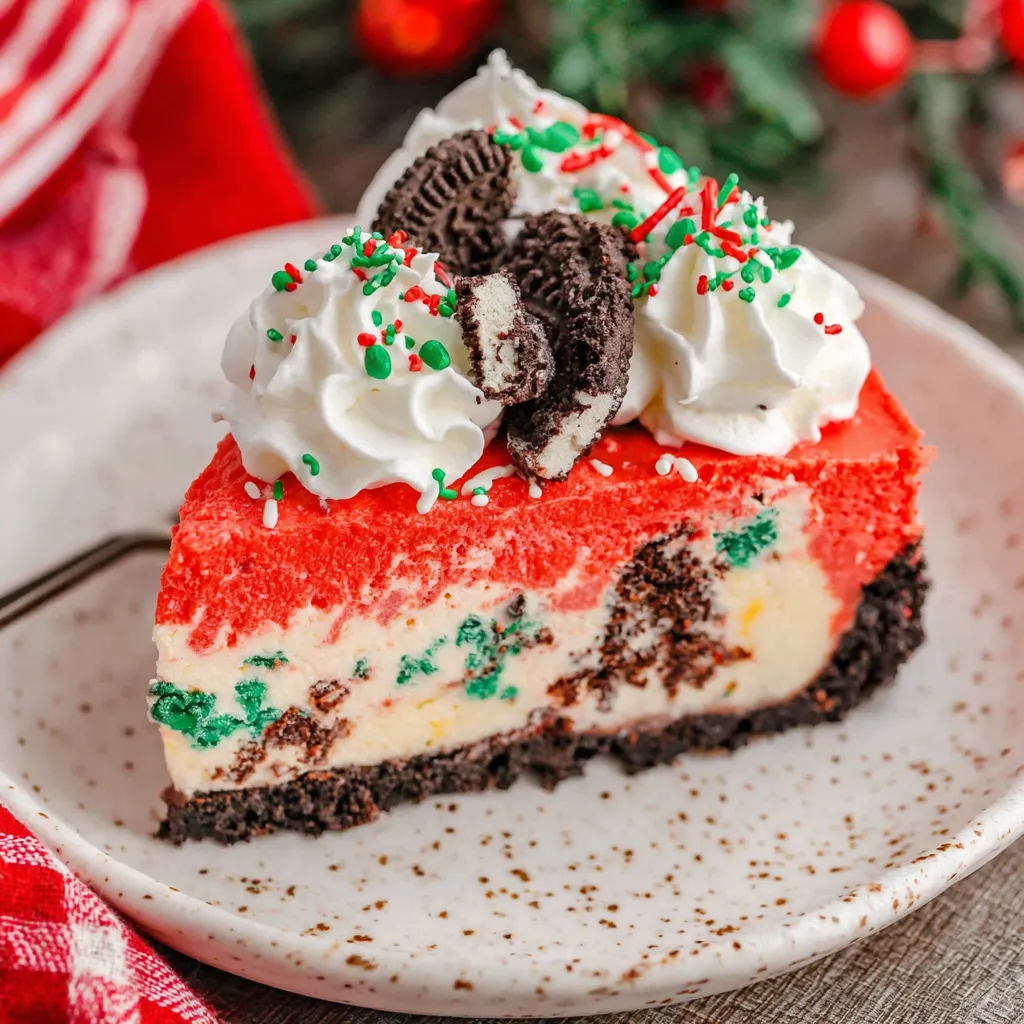
This red velvet cheesecake brings together the rich flavors of red velvet cake and the creamy indulgence of cheesecake to create a stunning, festive dessert perfect for holidays or special occasions. It features tender red velvet cake layers encasing a silky no-bake cheesecake filling enhanced with white chocolate, all topped with a light cream cheese frosting. Though it looks impressive, the recipe is straightforward and make-ahead friendly, making it a stress-free choice for wow-worthy dessert moments.
I first made this during a holiday gathering and it quickly became a tradition. Each slice melts in your mouth and the red velvet crumb finish adds a beautiful festive touch that guests admire every time.
Ingredients
- All-purpose flour: provides structure be sure to spoon and level for light, tender cake
- Unsweetened cocoa powder: key for classic subtle chocolate flavor in red velvet
- Buttermilk: reacts with baking soda and vinegar to create that velvety crumb homemade sour milk works great too
- Distilled white vinegar: brightens flavors and helps with cake texture without adding unwanted sourness
- Red food coloring: essential for that signature vibrant red hue of red velvet
- Unsalted butter: for controlling salt levels and creamy texture
- Granulated sugar: sweetness to balance richness
- Cream cheese (full fat): the star of the cheesecake filling and frosting for that signature tang and creaminess
- Heavy whipping cream: whipped to add lightness and structure to the no-bake cheesecake filling
- White chocolate (chopped): melts smoothly into the filling adding subtle sweetness and silkiness
- Unflavored gelatin: stabilizes the cheesecake without eggs for smooth firm filling
- Powdered sugar: creates a smooth, sweet, and spreadable frosting
- Vanilla extract: enhances all the flavors with warm aromatic notes
- Salt: balances sweetness and lifts all flavors
Step-by-Step Instructions
- Sift and Combine Dry Ingredients:
- Whisk together flour, baking soda, and salt in a bowl to ensure even distribution. This creates a well-aerated base for the cake and prevents lumps.
- Mix Wet Ingredients Separately:
- In a liquid measuring cup, whisk together buttermilk, eggs at room temperature, distilled white vinegar, and vanilla extract. These ingredients add moisture, acidity for the chemical reaction, and flavor for depth.
- Prepare Cocoa Paste:
- Combine the unsweetened cocoa powder with red food coloring in a small bowl until smooth to distribute the color evenly throughout the batter.
- Cream Butter and Sugar:
- Using a stand mixer fitted with the paddle attachment, beat softened unsalted butter with granulated sugar on medium-high speed for about 3 to 4 minutes until pale and fluffy. This aeration is critical for a light cake texture.
- Alternate Adding Dry and Wet Ingredients:
- Reduce mixer speed to low. Add the dry flour mixture in three parts alternated with the buttermilk mixture, scraping down the bowl each time to ensure thorough incorporation. Then add the cocoa and food coloring paste and beat until just combined to avoid overmixing.
- Bake Cake Layers:
- Divide batter evenly into two 9-inch round cake pans lined with parchment. Smooth tops and bake at 350F (175C) for about 25 minutes or until a toothpick inserted in the center comes out clean. Rotate pans halfway through baking for even cooking.
- Cool and Level Cakes:
- Let cakes cool in pans for 10 minutes before transferring to a wire rack to cool completely for about 2 hours. Use a serrated knife to level tops evenly. Reserve crumbs from leveling for garnish.
- Prepare Gelatin and Melt White Chocolate:
- Sprinkle gelatin over half a cup of heavy cream in a small saucepan. Allow blooming for 5 minutes, then warm gently over low heat until bubbling at edges. Stir in chopped white chocolate until melted smooth. Cool slightly.
- Whip Cream:
- In a clean bowl with a whisk attachment, whip remaining heavy cream until stiff peaks form. This adds air and lightness essential for the no-bake cheesecake texture.
- Beat Cream Cheese and Sugar:
- Using the paddle attachment, beat softened cream cheese with granulated sugar on medium-high speed for about 3 minutes until light and fluffy. This ensures a smooth filling without lumps.
- Combine Cheesecake Mixture:
- Reduce mixer speed to medium-low and add lemon juice and the slightly cooled white chocolate mixture to the cream cheese. Mix until just combined. Gently fold in the whipped cream with a spatula to maintain airiness.
- Assemble Cake:
- Place one red velvet cake round cut side up in a parchment-lined 9-inch springform pan. Spread cheesecake filling evenly on top, smoothing the surface. Place second cake round cut side down atop filling. Cover with plastic wrap and refrigerate for at least 6 hours to set.
- Make Frosting:
- Beat softened unsalted butter and powdered sugar on medium-high speed until fluffy, about 2 minutes. Add softened cream cheese one piece at a time, then beat in vanilla extract and a pinch of salt until fully combined and smooth.
- Crumb Coat:
- Run a thin knife around the cake edge to loosen from pans, remove pan sides, transfer cake to serving plate. Spread about half a cup or more of frosting in a thin layer over cake top and sides to seal in crumbs. Freeze cake for 30 minutes.
- Final Frost and Garnish:
- Apply remaining frosting evenly over cake top and sides. Press reserved red velvet cake crumbs gently onto the sides to create a festive finish.
 Save
Save
Storage Tips
Store the assembled red velvet cheesecake wrapped tightly in plastic wrap or in a cake storage container in the refrigerator for up to five days. This keeps it moist and fresh. Avoid leaving it uncovered to prevent drying out.
Ingredient Substitutions
You can substitute the buttermilk with homemade sour milk by mixing lemon juice or white vinegar with regular milk and letting it sit before using. If white chocolate is unavailable, you can try white chocolate chips finely chopped but melt carefully to avoid seizing. Use full fat cream cheese for best texture and flavor, lower fat versions tend to make the cheesecake less creamy.
Serving Suggestions
This cake is beautiful served on its own but pairs wonderfully with a side of fresh berries or a dollop of lightly sweetened whipped cream for a contrast of freshness. Add a drizzle of raspberry coulis or chocolate ganache for extra decadence during holiday meals.
 Save
Save
Cultural and Historical Context
Red velvet cake has roots dating back before synthetic food colorings, when the signature red hue resulted from chemical reactions between natural cocoa, buttermilk, and vinegar. Today, this dessert updates that tradition by combining the velvety cake with smooth cheesecake in a modern twist beloved across celebrations.
Recipe FAQs
- → What makes the red velvet cake layers tender?
The combination of buttermilk, vinegar, and baking soda creates a chemical reaction that develops a soft, fine crumb. Using room temperature eggs and careful mixing ensures the batter remains light and fluffy for tender layers.
- → How is the no-bake cheesecake filling stabilized without eggs?
Unflavored gelatin is used to provide structure to the cheesecake filling. When melted and combined with the cream cheese mixture, it helps the filling set firmly while retaining a silky texture.
- → Can the cake be made ahead of time?
Yes, both the cake layers and frosting can be prepared in advance. Cakes store well wrapped in the refrigerator or freezer, and frosting keeps for a couple of days chilled. Assembling and chilling the layered dessert ahead enhances flavor and eases serving.
- → What is the role of white chocolate in the filling?
White chocolate adds a subtle sweetness and richness, complementing the tang of cream cheese and balancing the cocoa notes from the cake layers for a more indulgent, mellow flavor.
- → How should the cake be stored to maintain freshness?
Wrap the assembled cake tightly with plastic wrap or place in a cake container, then refrigerate up to five days. For longer storage, the layers or fully assembled cake can be frozen with appropriate wrapping to preserve texture and taste.
- → What alternatives are there if a springform pan isn't available?
Use a cake collar fashioned from parchment paper around the bottom cake layer to contain the filling. This method provides support during chilling and helps maintain the shape of the dessert.