
 Save
Save
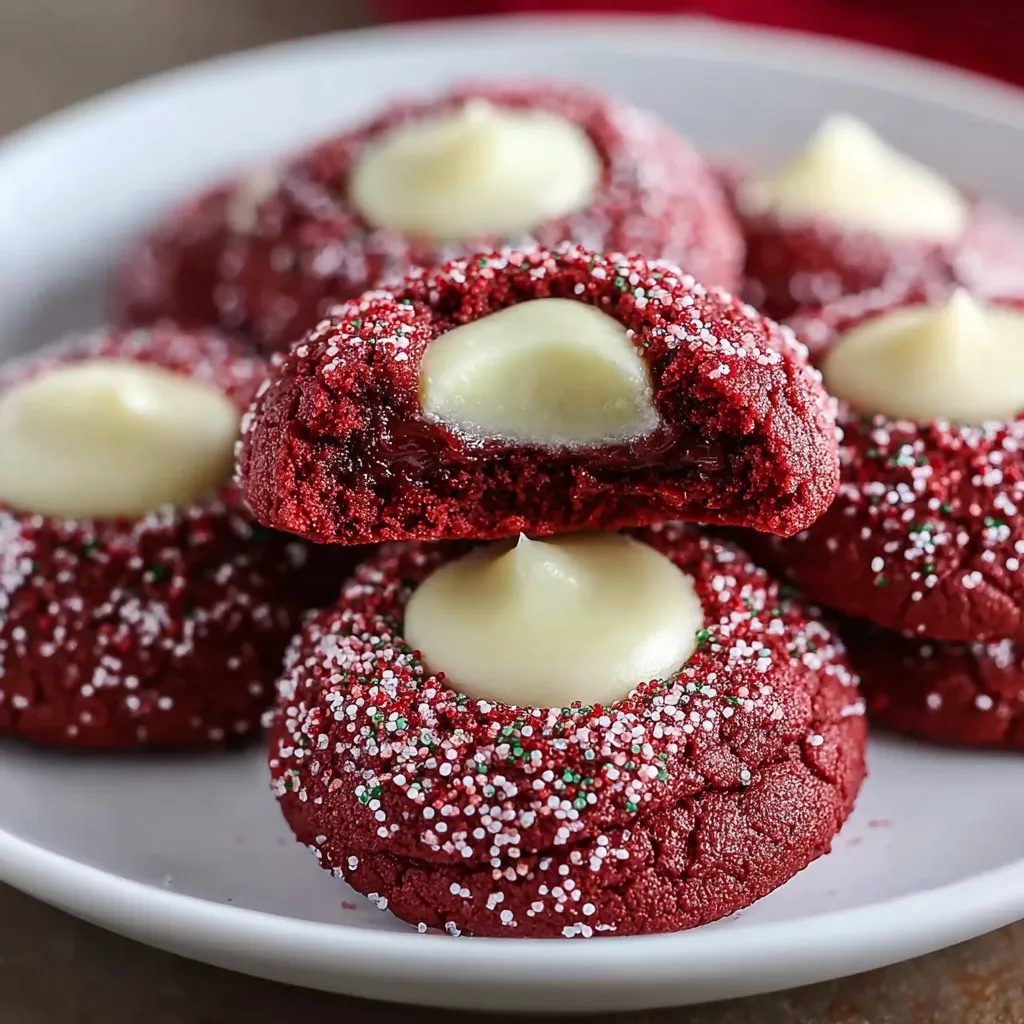
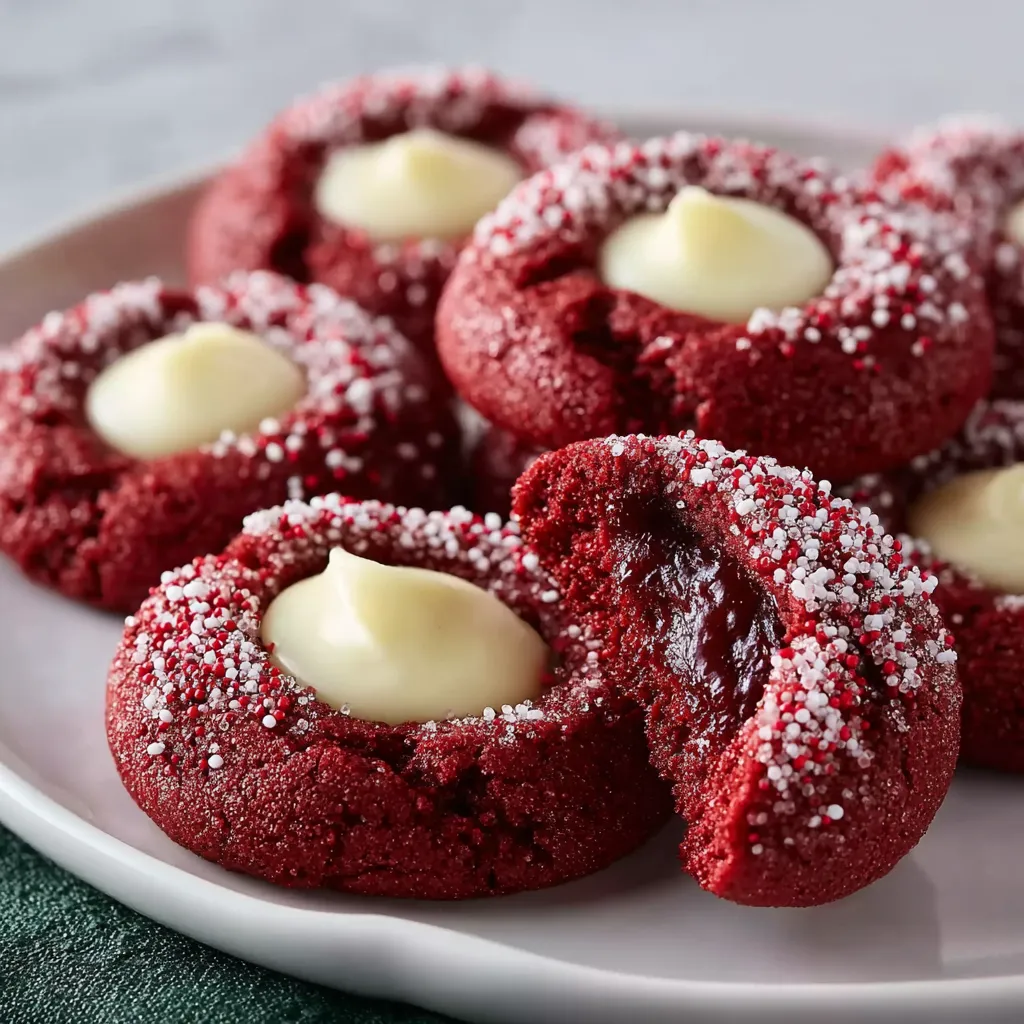
These red velvet thumbprint cookies filled with cream cheese frosting bring a festive twist to classic treats. The combination of tender cocoa-infused cookies and creamy tangy filling makes them irresistible for any holiday or special occasion. I have found these cookies to be a crowd favorite, especially when serving friends who appreciate a balance of sweetness and a touch of rich cream cheese.
Ingredients
- All-purpose flour: for structure and tenderness use fresh flour to ensure a soft crumb
- Unsweetened cocoa powder: adds a subtle chocolate note that deepens the red velvet flavor
- Baking powder: helps the cookies rise slightly and keeps them from becoming dense
- Kosher salt: balances sweetness and enhances flavor use a good quality salt for best results
- Salted butter: at room temperature for creamy texture and fuller flavor
- Light brown sugar: provides moisture and a hint of caramel flavor
- Granulated sugar: contributes sweetness and helps create a slight crispness on the cookie surface
- Large egg: binds ingredients and adds richness
- Vanilla extract: enhances overall flavor pure extract is preferred
- Red gel food coloring: gives the vibrant red hue without altering dough texture
- Cream cheese: at room temperature for smooth, fluffy frosting filling
- Powdered sugar: sweetens and thickens the cream cheese filling for perfect spreading
Step-by-Step Instructions
- Whisk the dry ingredients together:
- Combine flour all-purpose cocoa powder baking powder and salt in a medium bowl. Mix thoroughly to distribute evenly then set the bowl aside
- Cream the butter and sugars:
- In a large bowl use a mixer on medium speed to beat the salted butter granulated sugar and brown sugar until the mixture is light in color and fluffy this usually takes about three to five minutes scraping down the sides as needed
- Incorporate the egg vanilla and food coloring:
- Add the egg and vanilla extract to the butter and sugar mixture mixing well until fully combined then add the red gel food coloring beating until the dough is evenly tinted a vibrant red
- Add the dry ingredients:
- Reduce the mixer speed to low and gradually add the flour mixture into the wet ingredients continue mixing until just combined to avoid overworking the dough
- Chill the dough:
- Cover the bowl and place the dough in the refrigerator for about 20 minutes until it firms up making it easier to handle
- Preheat oven and prepare baking sheets:
- Set the oven to 350 degrees Fahrenheit and line two baking sheets with parchment paper to prevent sticking and allow even baking
- Shape and sugar coat the dough balls:
- Scoop tablespoon-sized portions of dough roll into balls then roll each in granulated sugar coating completely arrange them on the baking sheets two inches apart
- Create thumbprint indentations and chill again:
- Press the center of each dough ball gently with your thumb to create a well for the filling refrigerate the shaped cookies until firm about 20 minutes
- Bake the cookies:
- Bake for 12 to 14 minutes rotating the pans halfway through so they bake evenly until the bottoms turn light golden brown and the cookies are set
- Cool the cookies:
- Let the cookies sit five minutes on the baking sheets before transferring to wire racks to cool completely
- Prepare and add the cream cheese filling:
- Beat the cream cheese and powdered sugar in a large bowl using a mixer on medium speed until smooth and creamy then fill each thumbprint indentation with a teaspoon of the frosting either by piping or spooning
 Save
Save
Storage Tips
Store the cookies in an airtight container at room temperature for up to three days but keep the cream cheese filling refrigerated separately for freshness You can freeze baked cookies without filling for up to two months wrap tightly in plastic wrap then place in a freezer-safe container To serve frozen cookies simply thaw at room temperature and fill with cream cheese frosting as usual
Ingredient Substitutions
You can try using pastry flour for a more tender cookie but the texture may be slightly lighter If you prefer unsalted butter substitute but reduce added salt slightly to keep balance For a natural color alternative use beet powder or juice though this may affect moisture content Cream cheese can be replaced with mascarpone for an equally creamy but slightly sweeter filling
Serving Suggestions
 Save
Save
These cookies pair beautifully with a hot cup of coffee or a spiced holiday tea Sprinkle a little finely chopped nuts like pecans on top of the cream cheese before it sets for added texture Serve them chilled for a refreshing treat or bring them to room temperature for a softer bite
Recipe FAQs
- → What makes these cookies red velvet?
The rich red color comes from red gel food coloring combined with unsweetened cocoa powder, which adds a subtle chocolate undertone.
- → Why is the dough chilled before baking?
Chilling firms up the dough, making it easier to shape and helping the cookies hold their thumbprint indentations during baking.
- → How do you achieve the soft texture in these cookies?
Using room temperature butter beaten with sugars creates a light, fluffy base, while careful mixing and precise baking time ensure tenderness.
- → Can I substitute the cream cheese filling?
While the cream cheese and powdered sugar blend provides a classic creamy finish, alternatives like mascarpone or sweetened ricotta could be used for variation.
- → What’s the best way to store these thumbprint cookies?
Store them in an airtight container at room temperature for up to three days or refrigerate if you prefer a firmer filling texture.