 Save
Save
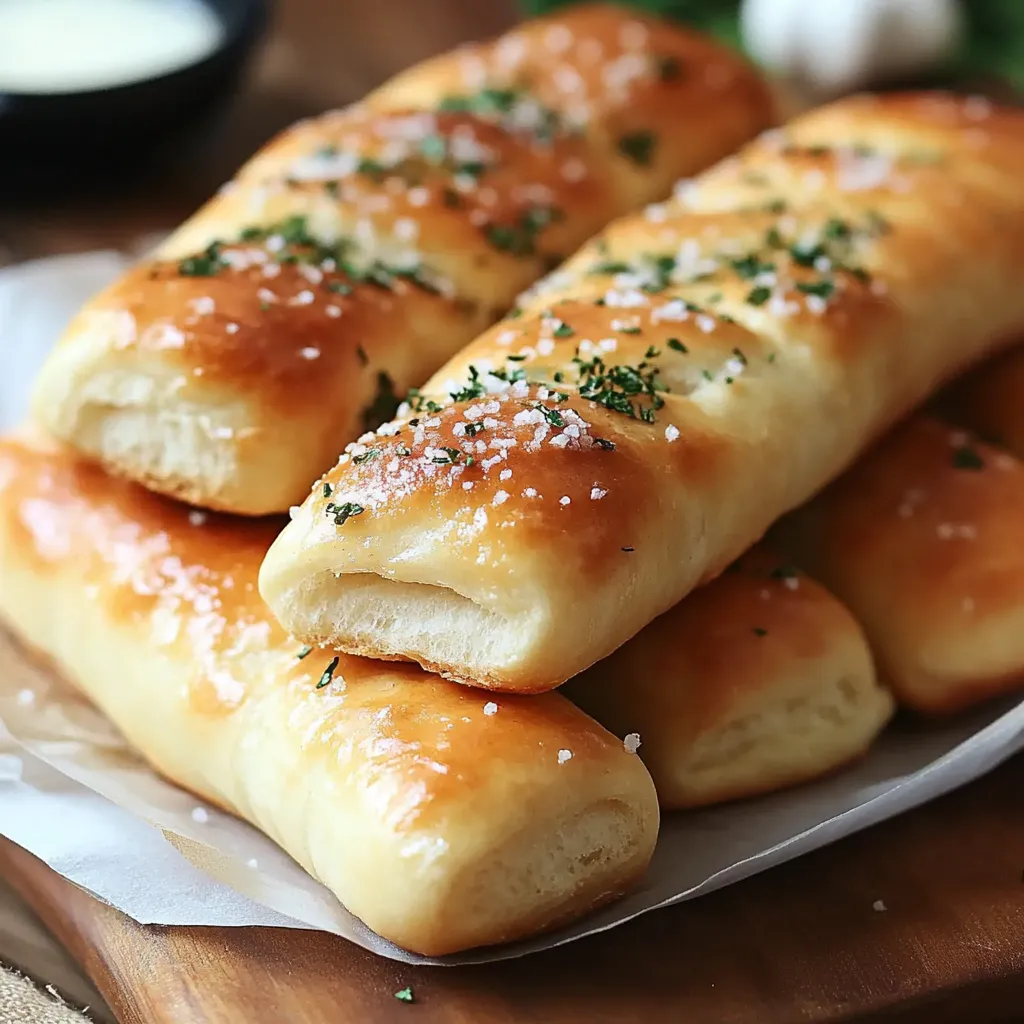
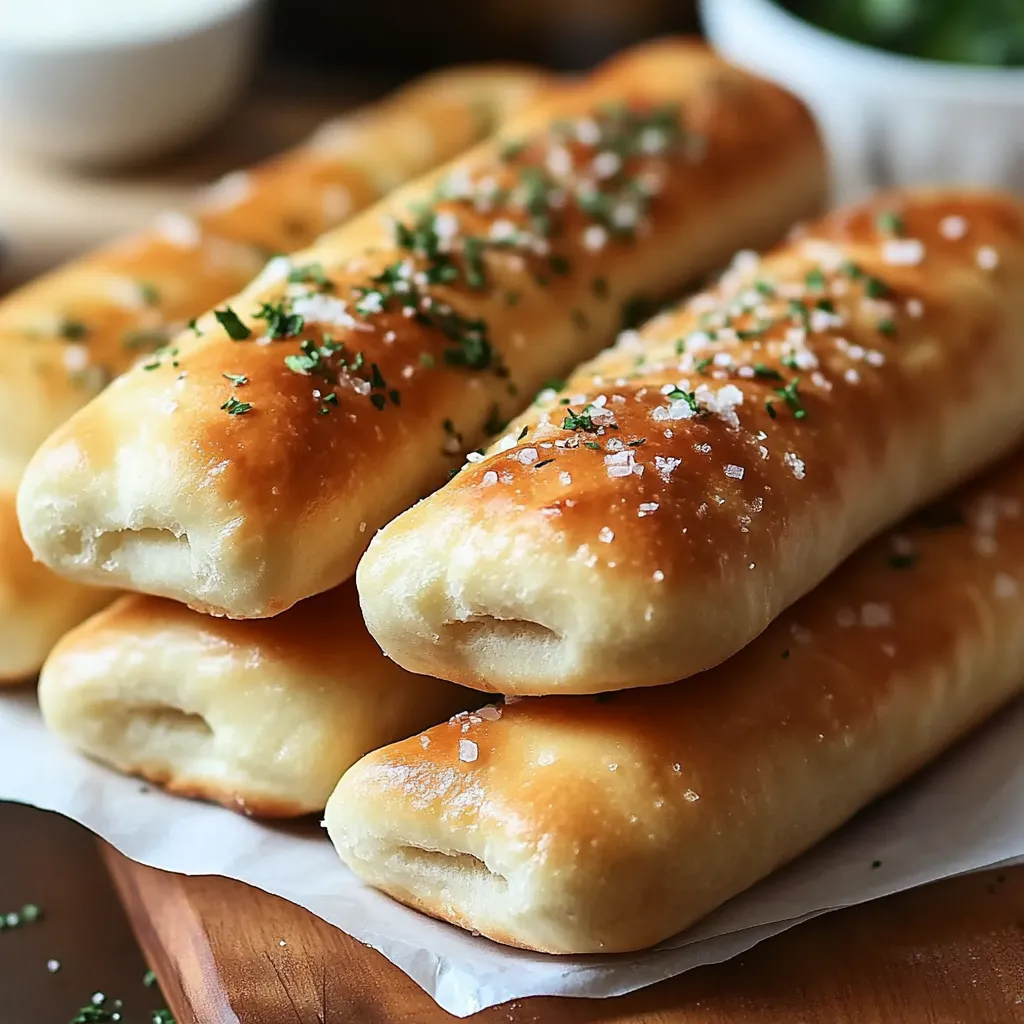
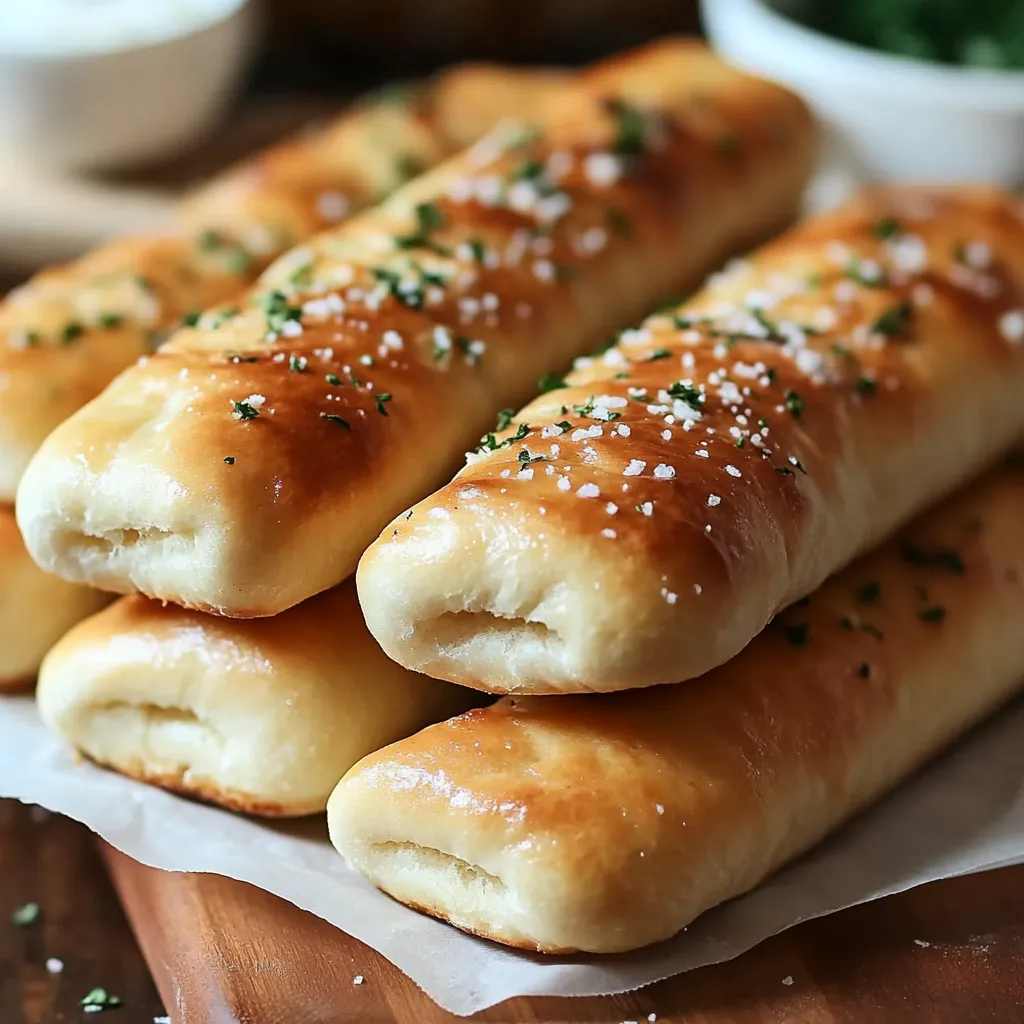
When these soft, pillowy garlic breadsticks come out of your oven, your kitchen fills with an amazing smell that'll make your mouth water. They're just like the ones at Olive Garden but made right in your own home – buttery on the inside with a golden, seasoned crust that's simply delicious. Making them yourself isn't just about copying a restaurant favorite – it's about getting the hang of bread making while creating a cozy, warm feeling throughout your house.
Every Sunday dinner, my kids beg me to make these breadsticks. I'll never forget the first batch I made – seeing my children's eyes light up as they pulled apart the warm, garlicky bread made all that kneading and waiting totally worth it.
Top-Notch Ingredients
- Active dry yeast: Must be woken up in warm water (110°F) – it should feel like comfortable bath water for best results
- All-purpose flour: Gives just the right texture; try to get unbleached kinds for better taste and color
- Unsalted butter: Lets you decide how salty your breadsticks will be; splurge on good European butter for extra richness
- Garlic powder: Makes sure every bite has garlic flavor; grab a fresh container if yours has been sitting around too long
- Fine sea salt: Brings out all the flavors; don't substitute chunky salt as it won't mix in properly
Breadstick Making Steps
- Waking Up The Yeast:
- Mix warm water with yeast and sugar, then wait for the exciting moment when it gets foamy and bubbles up.
- Mixing The Dough:
- Blend flour, soft butter, and salt with your yeast mixture, then knead until everything feels smooth and stretchy.
- Letting It Grow:
- Put your dough somewhere warm with no drafts and watch it puff up to twice its size as the yeast does its thing.
- Creating The Shapes:
- Cut the dough into pieces and roll each one into a rope, then lay them out carefully on your baking tray.
- Second Puffing:
- Give your shaped breadsticks time to get fluffy and light before they go in the oven.
- Baking To Perfection:
- Cook until they turn golden, then slather them with garlic butter while they're still hot.
 Save
Save
I've learned that the second rise really makes all the difference. When I first started making these, I'd get impatient and rush this part, but taking your time here gives you that famous Olive Garden fluffiness. My grandma from Italy always told me bread needs time to develop its character, and I've found she was absolutely right with these breadsticks.
Tasty Pairing Ideas
Make your breadstick experience even better by serving them with a bowl of rich marinara sauce for dipping. These tasty bread wands go great with everything from a crisp Caesar salad to a hot bowl of minestrone soup. They also shine as appetizers when paired with herb-whipped butter or a dish of olive oil for dipping.
Exciting Variations
Take your breadsticks to the next level by mixing fresh rosemary or thyme into the dough. For cheese lovers, add grated Parmesan both in the dough and sprinkled on top. Want some heat? Mix red pepper flakes into your garlic butter or try sprinkling everything bagel mix on the breadsticks before they go in the oven.
Storage Tips
Keep your fresh breadsticks in a paper bag for up to two days to maintain their texture without getting soggy. If they're a day old, pop them in a 350°F oven for 3-5 minutes to make them taste fresh again. For longer storage, you can freeze the shaped but unbaked breadsticks, then thaw and bake them whenever you want.
After many batches and tweaks, these breadsticks have become my go-to contribution at family get-togethers. There's something special about taking a fresh batch out of the oven, watching steam rise as you brush on garlic butter, and seeing everyone gather around, drawn in by the smell. They're not just bread – they're little happiness sticks that turn ordinary meals into something special.
 Save
Save
Recipe FAQs
- → Is it possible to freeze them?
- Sure, freeze after baking but before adding butter. Heat them up in the oven and brush on the butter right before serving.
- → Why won’t my dough rise?
- Make sure your yeast is good and your water is warm enough (about 110°F). If it's too cold or hot, the yeast won't work.
- → Can I prep the dough ahead?
- Absolutely. Refrigerate it overnight after the first rise, then bring it to room temperature before shaping.
- → How should I keep leftovers fresh?
- Store them airtight for two days. To refresh, pop them in the oven for five minutes.
- → Would instant yeast work?
- It does! Use the same amount, but skip proofing and mix it right into the dry ingredients.
