 Save
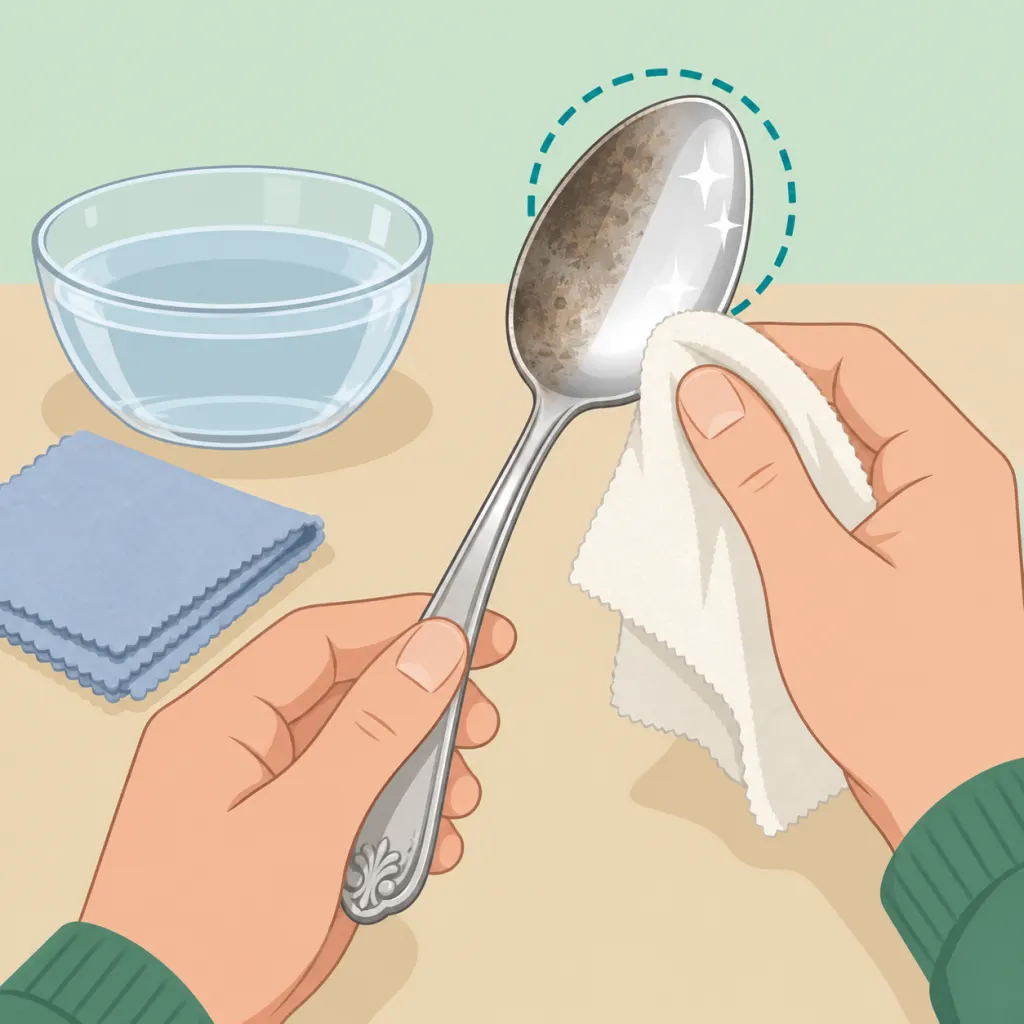
Silver tarnish is common, but the right cleaning method depends on the object. A plain sterling spoon can usually handle more cleaning than a silver-plated tray, a hollow-handled knife, or an heirloom with inlay. This guide shows you how to clean tarnished silver gently while reducing scratches and repeat tarnish.
Step 1: Examine the silver before you clean
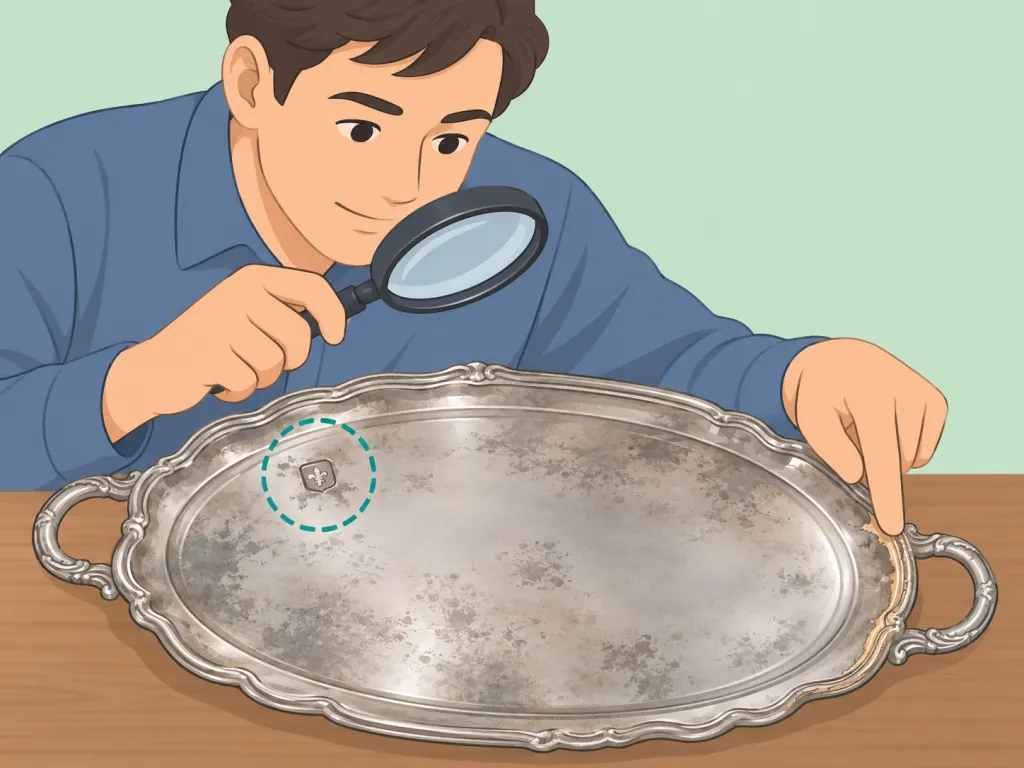
Look for hallmarks, plating loss, loose parts, hollow handles, glued-on felt, wood, stones, gilding, or dark decorative inlay. The Canadian Conservation Institute advises checking construction first because immersed cleaning can harm composite pieces. If the item is valuable, very old, or already worn through to another metal, stop at gentle dusting and ask a qualified conservator.
Step 2: Remove loose dust and grime first
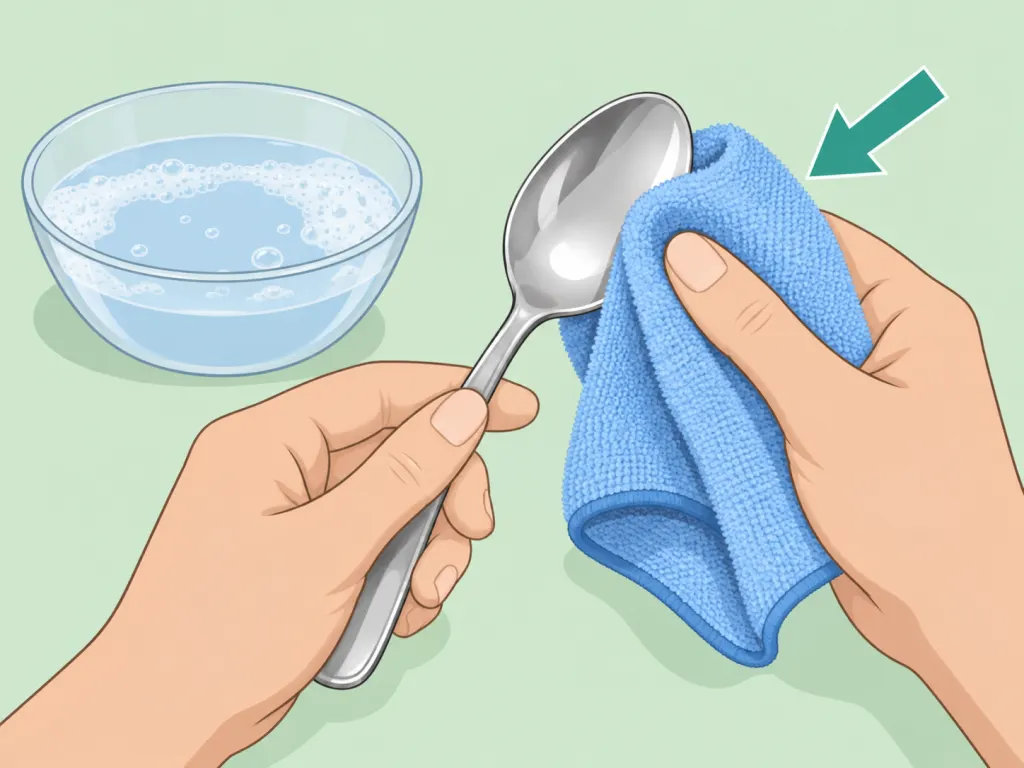
Wipe the piece with a clean microfiber cloth, then wash plain silver with a small amount of mild dish soap in warm water if it has no water-sensitive parts. Conservation guidance recommends cleaning away surface residue before tarnish removal so hard particles do not scratch the silver during polishing. Rinse well and dry with a soft cloth before moving on.
Step 3: Choose the gentlest method that fits the piece
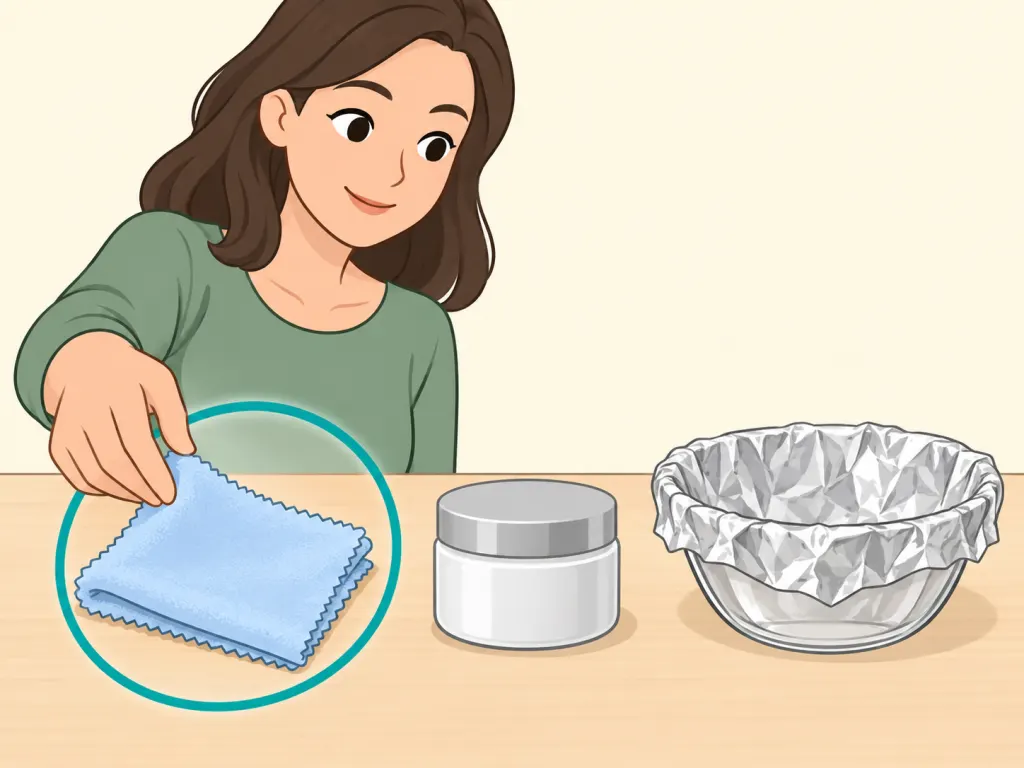
Use a silver polishing cloth for light tarnish, a silver-specific polish for heavier tarnish on sturdy areas, or a foil bath only for plain pieces that can be immersed. Avoid all-purpose metal polishes, since the Canadian Conservation Institute says they are more abrasive than silver polishes. The goal is to remove tarnish without taking away more silver than necessary.
Step 4: Buff light tarnish with a silver polishing cloth
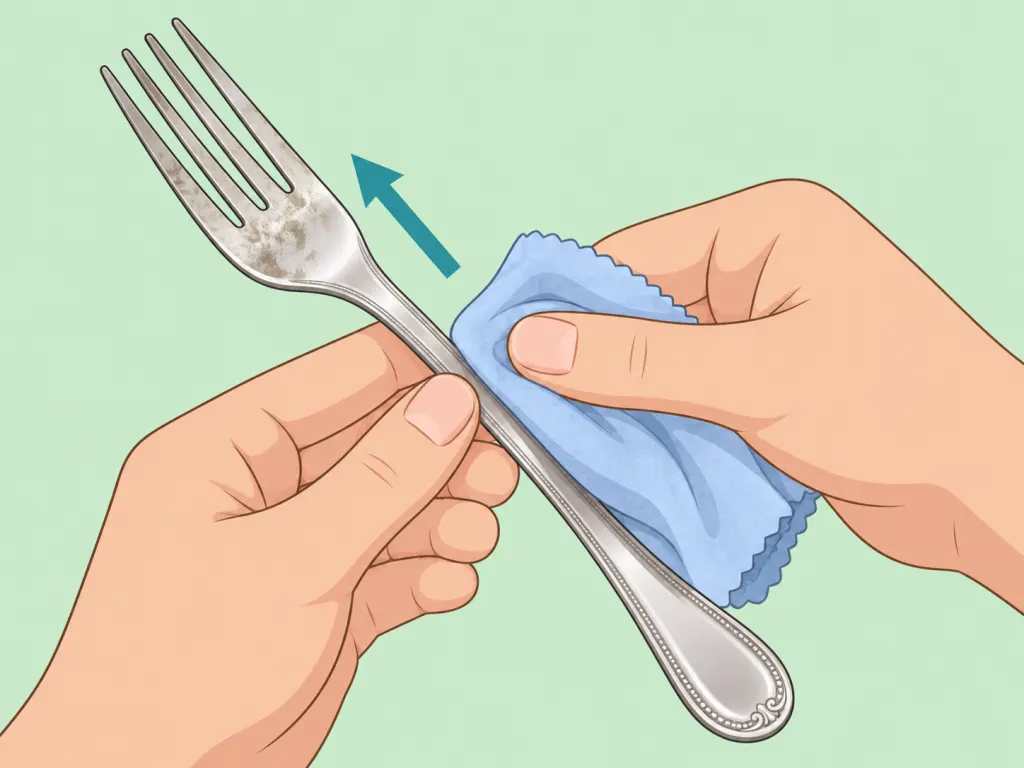
Rub gently in straight strokes, turning the cloth as it darkens so you are not grinding loosened tarnish back into the surface. Silver polishing cloths are useful for light tarnish because they contain less abrasive material than many liquid or paste products. Work slowly around engraving so raised details do not get over-polished.
Line a heatproof glass or enamel bowl with aluminum foil, add very hot water, and stir in baking soda until dissolved; Johns Hopkins describes this as an electrochemical method that moves tarnish from silver with help from aluminum. New Mexico State University gives a similar home-cleaning method for silver using foil, water, baking soda, and salt, but notes it should not be used on jewelry or hollow-handled flatware. Keep the silver touching the foil, soak only until the tarnish loosens, then remove it promptly.
Step 6: Rinse away every trace of cleaner
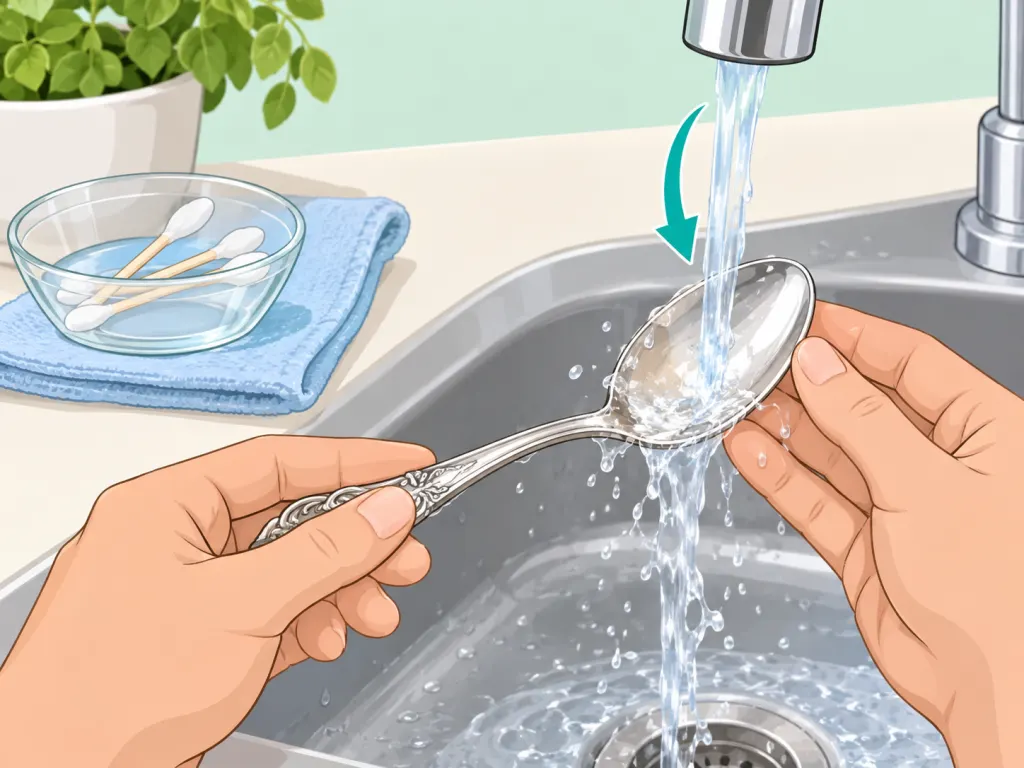
Rinse the silver thoroughly with clean water after polishing or using a foil bath. The Canadian Conservation Institute recommends removing residues because leftover cleaning material can remain in crevices and affect the surface later. For detailed pieces, use a damp cotton swab to lift residue from grooves.
Step 7: Dry the silver completely
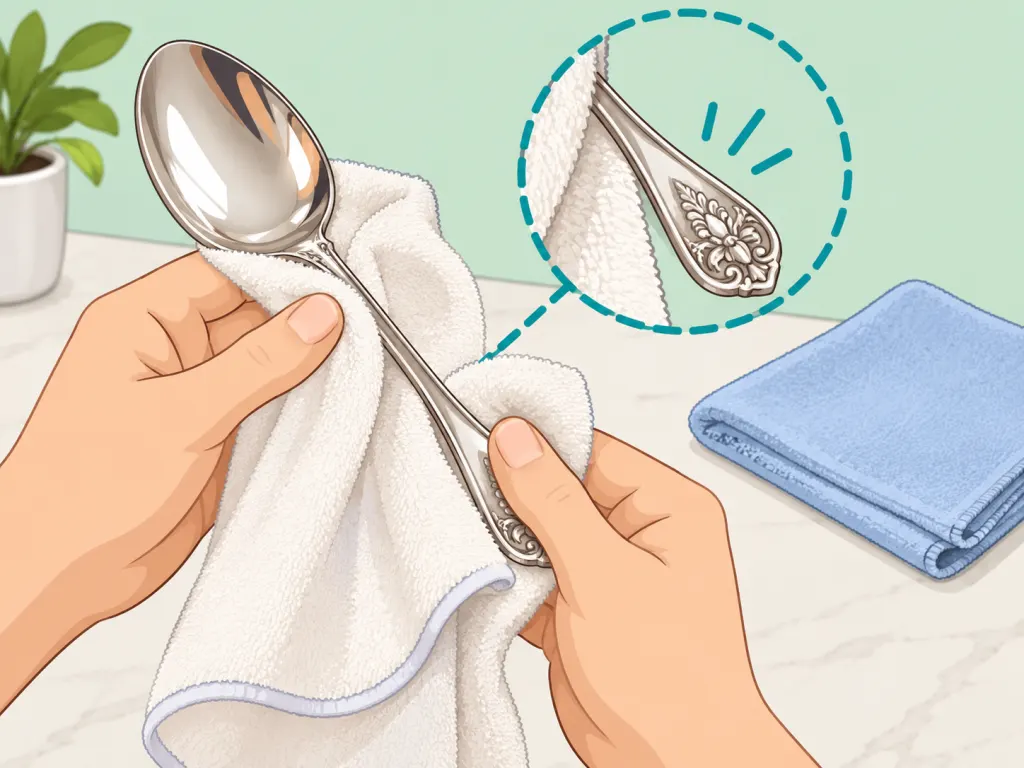
Pat the piece dry with a soft towel, then buff lightly with a fresh dry cloth until no moisture remains in seams, feet, or decorative details. The Canadian Conservation Institute notes that tarnish develops faster as humidity rises, so storing damp silver works against the shine you just restored. Let complex pieces air-dry on a towel before putting them away.
Step 8: Store silver to slow future tarnish
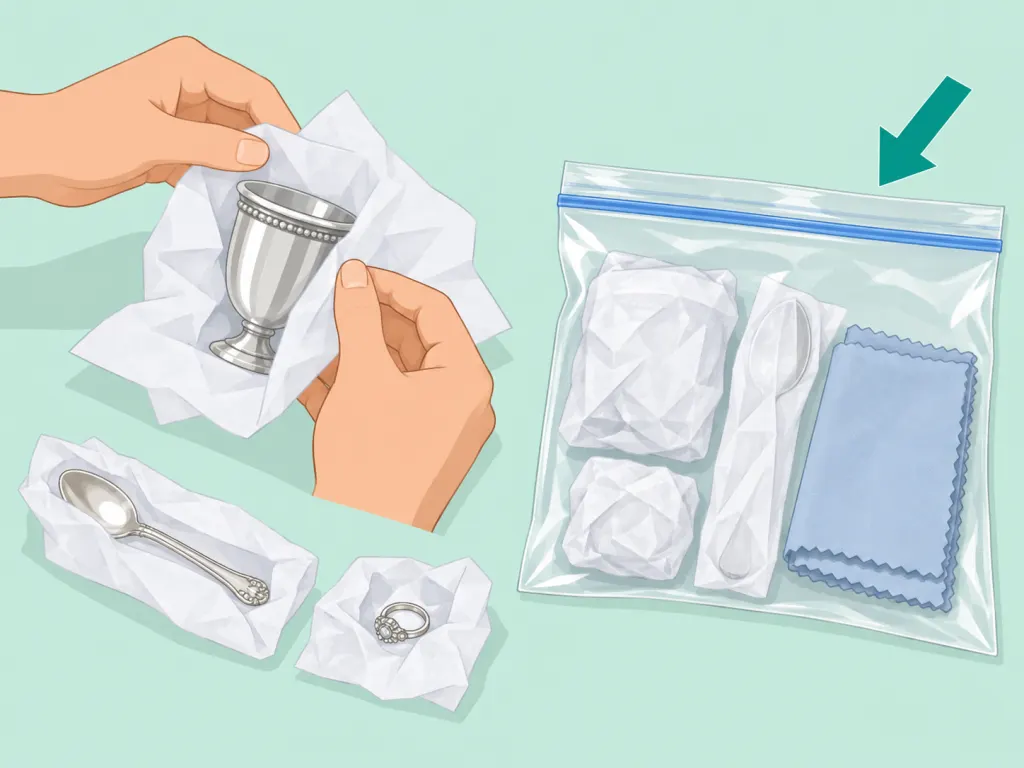
Wrap each clean, dry piece in acid-free tissue or tarnish-inhibiting cloth, then place it in a sealed polyethylene bag or covered storage box. The Carlos Museum at Emory University recommends avoiding wood and acidic paper because they can contribute to tarnish. Keep silver away from rubber bands, dusty shelves, and damp storage areas.
Wrap-Up
The bottom line: clean silver only as much as needed, start with soap and a soft cloth, and reserve foil baths or polish for pieces that can handle them. Careful rinsing, drying, and storage help the shine last much longer.
Frequently Asked Questions
- → Why does silver tarnish?
Silver tarnishes when sulfur-containing gases in the air react with the surface and form a dark silver sulfide layer, according to the Canadian Conservation Institute.
- → Can I clean silver-plated items the same way as sterling silver?
Be more cautious with silver plate. The Canadian Conservation Institute notes that tarnish-removal methods can be damaging because the silver layer is thin.
- → Is the aluminum foil method good for every silver item?
No. Use it only on plain pieces that can be fully rinsed and dried, since conservation guidance warns against immersing objects with sealed hollow parts, wood, felt, or other attached materials.
- → Should silver look perfectly bright after cleaning?
Not always. Deep engraving and older pieces may look better with a little shadow left in the details, and aggressive cleaning can remove tiny amounts of silver along with tarnish.
- → How often should I polish silver?
Polish only when the tarnish bothers you or the piece is being displayed or used. Conservation sources advise avoiding frequent polishing because repeated abrasion gradually removes surface material.
- → How can I keep silver from tarnishing again quickly?
Store silver clean and dry in a sealed polyethylene bag, tarnish-inhibiting cloth, or acid-free wrap. The Canadian Conservation Institute also recommends reducing dust and sulfur-containing materials near polished silver.
References
This content was developed and refined using reliable sources.
- https://www.canada.ca/en/conservation-institute/services/conservation-preservation-publications/canadian-conservation-institute-notes/care-silver.html
- https://www.canada.ca/en/conservation-institute/services/preventive-conservation/guidelines-collections/metal-objects/understanding-silver-tarnish.html
- https://www.canada.ca/en/conservation-institute/services/preventive-conservation/guidelines-collections/metal-objects.html
- https://pages.jh.edu/news_info/news/home98/dec98/foil.html
- https://pubs.nmsu.edu/_g/G315/index.html
- https://carlos.emory.edu/silver-objects