 Save
A stained oven is usually a mix of baked-on grease, spilled food, and residue that needs time to soften before it will wipe away. This guide shows a gentle, practical way to clean the oven interior without scratching it or leaving cleaner behind. It also covers basic chemical-safety steps so you can clean with good ventilation and avoid mixing products.
Step 1: Let the oven cool completely
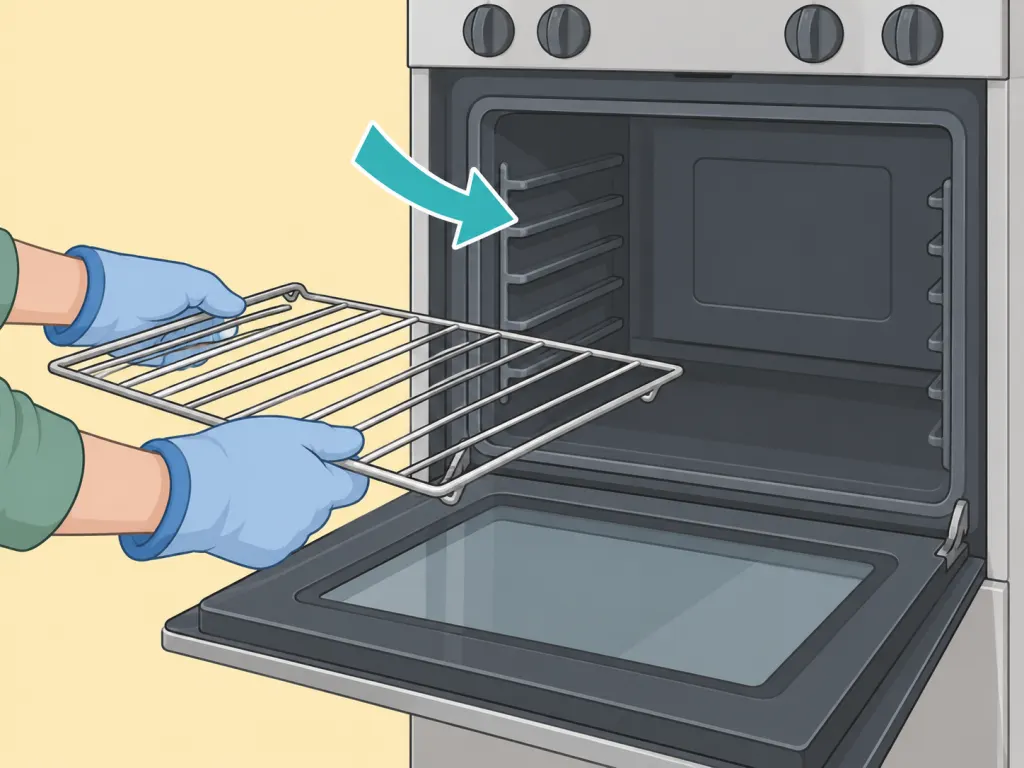
Turn the oven off and wait until every interior surface is cool to the touch before cleaning. Remove the racks, trays, and loose foil or liners so you can reach the stained areas clearly. If your oven has a self-cleaning or steam-cleaning feature, check the appliance manual before using it, since instructions vary by model.
Step 2: Ventilate the kitchen and read cleaner labels
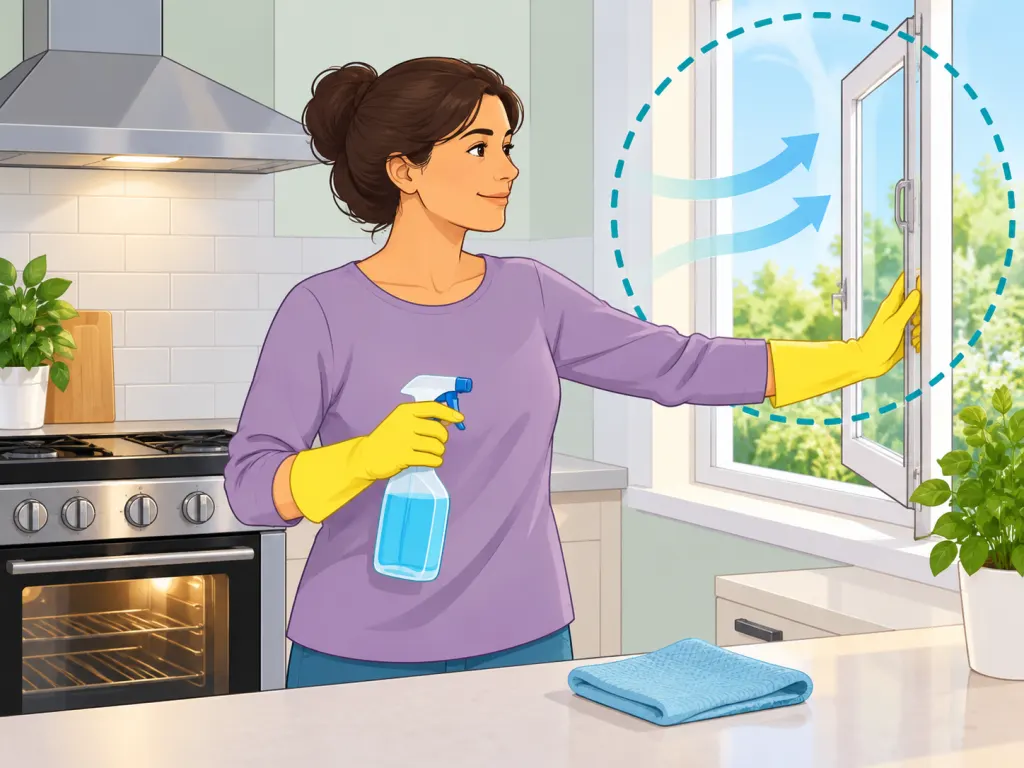
Open a window or turn on a kitchen exhaust fan before using any cleaning product, because the EPA says increasing ventilation during and after cleaning can reduce exposure to cleaning products and byproducts. Read labels first, wear gloves or eye protection if the product calls for it, and keep children and pets away while you work.
Step 3: Remove loose crumbs and burnt bits
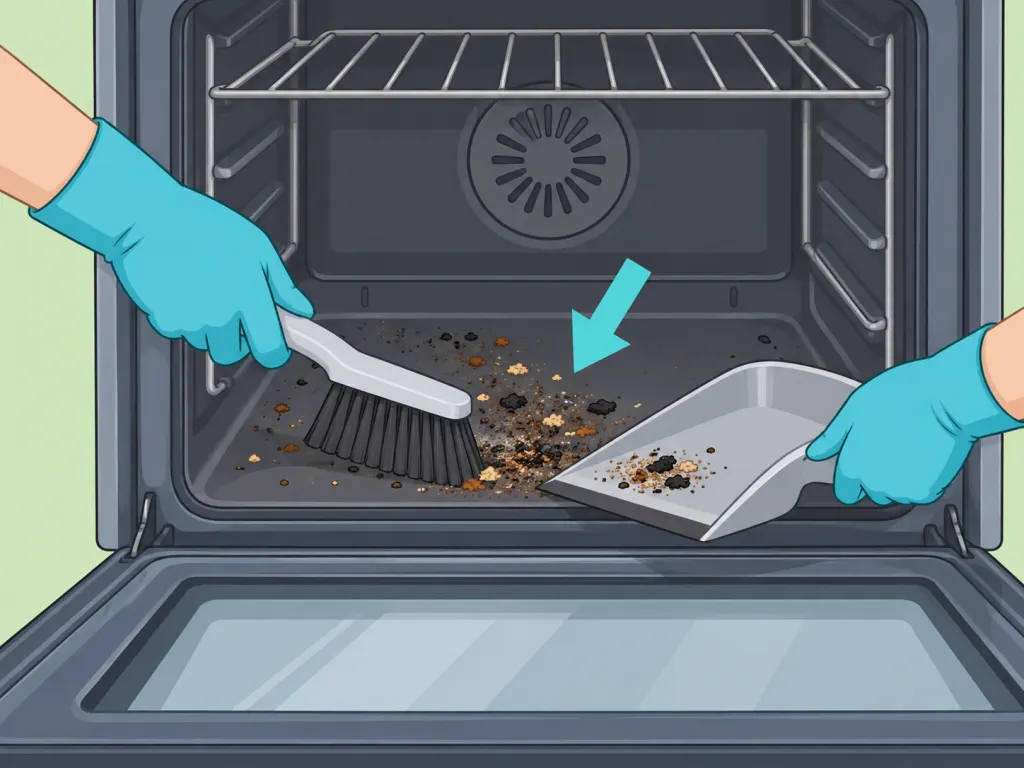
Brush dry crumbs and loose charred food into a dustpan or onto a paper towel before adding moisture. University of Minnesota Extension explains that dry cleaning removes debris first, which makes later wet cleaning more effective.
Step 4: Spread a baking soda paste over the stains
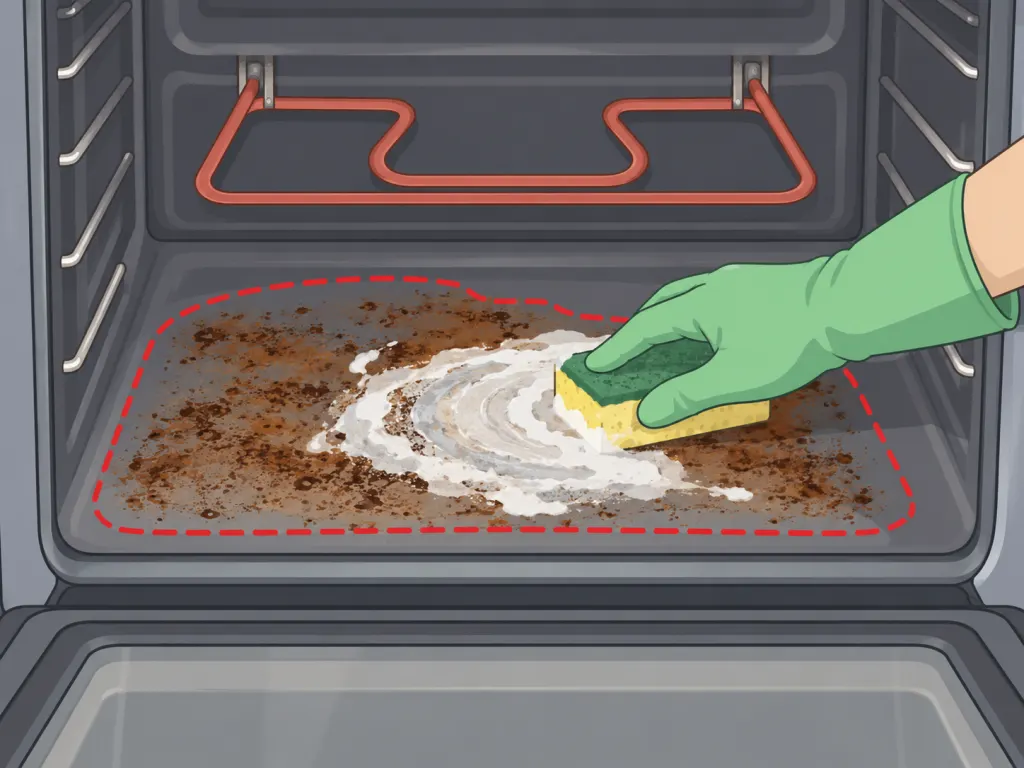
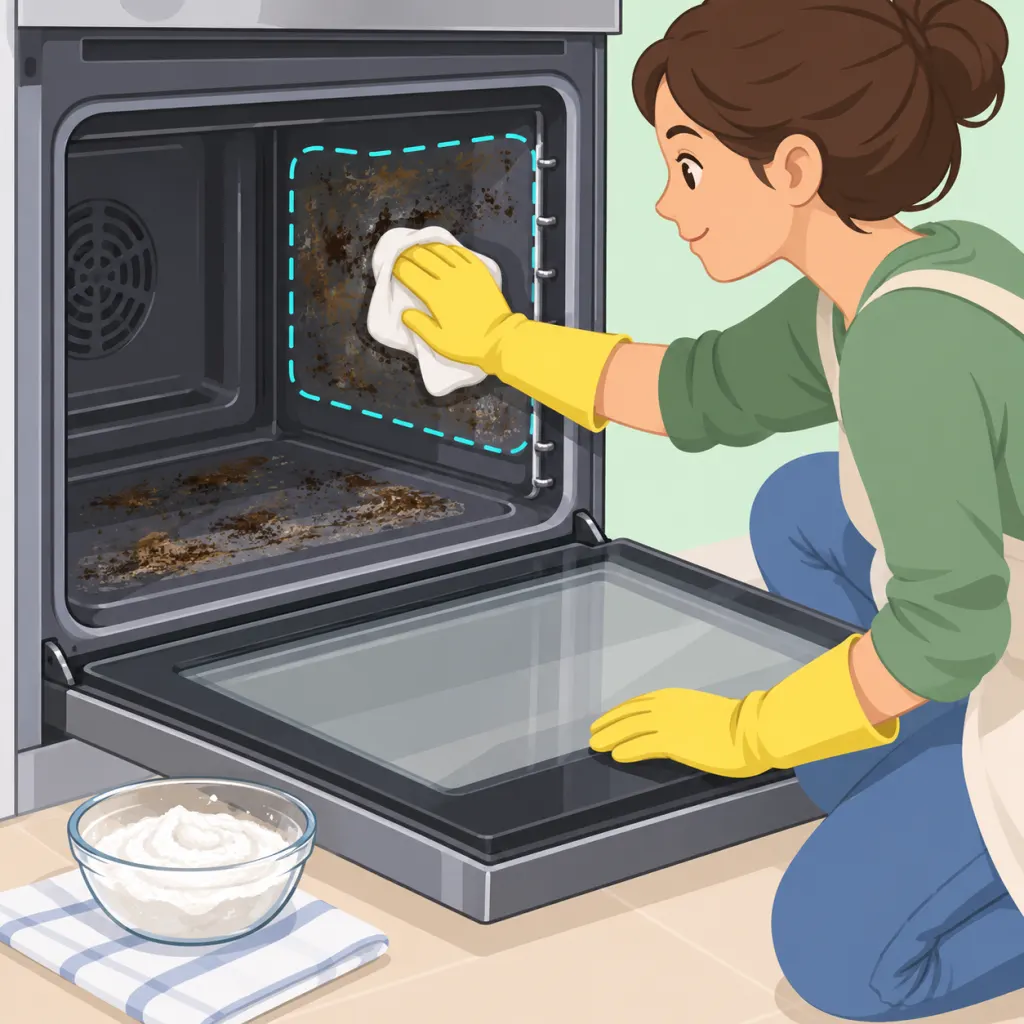
Mix baking soda with just enough water to make a spreadable paste, then coat the stained oven floor and walls while avoiding heating elements, fans, vents, and gas openings. Utah State University Extension notes that baking soda can act as a gentle, non-abrasive cleanser for ovens and other household surfaces.
Leave the paste on the stained areas for at least 20 to 30 minutes, or longer for thick baked-on spots. Keeping the paste in place gives the mild cleaner and moisture time to loosen grease and hardened food so you do not have to scrub as aggressively.
Step 6: Scrub and scrape with non-metal tools
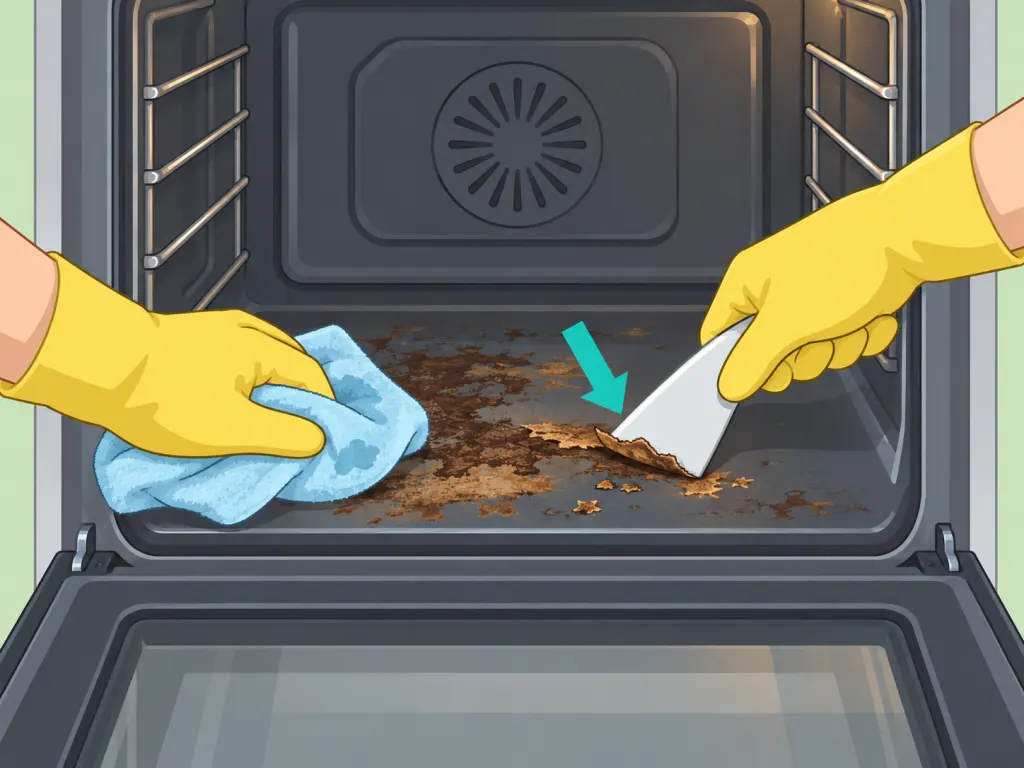
Use a damp cloth, thin non-scratch scouring pad, or plastic scraper to lift the softened residue. For dried residue in an oven or on a stovetop, University of Minnesota Extension recommends a rigid scraper suitable for food-contact surfaces; avoid worn or sharp tools that could shed pieces or scratch the surface.
Step 7: Rinse until all cleaner residue is gone
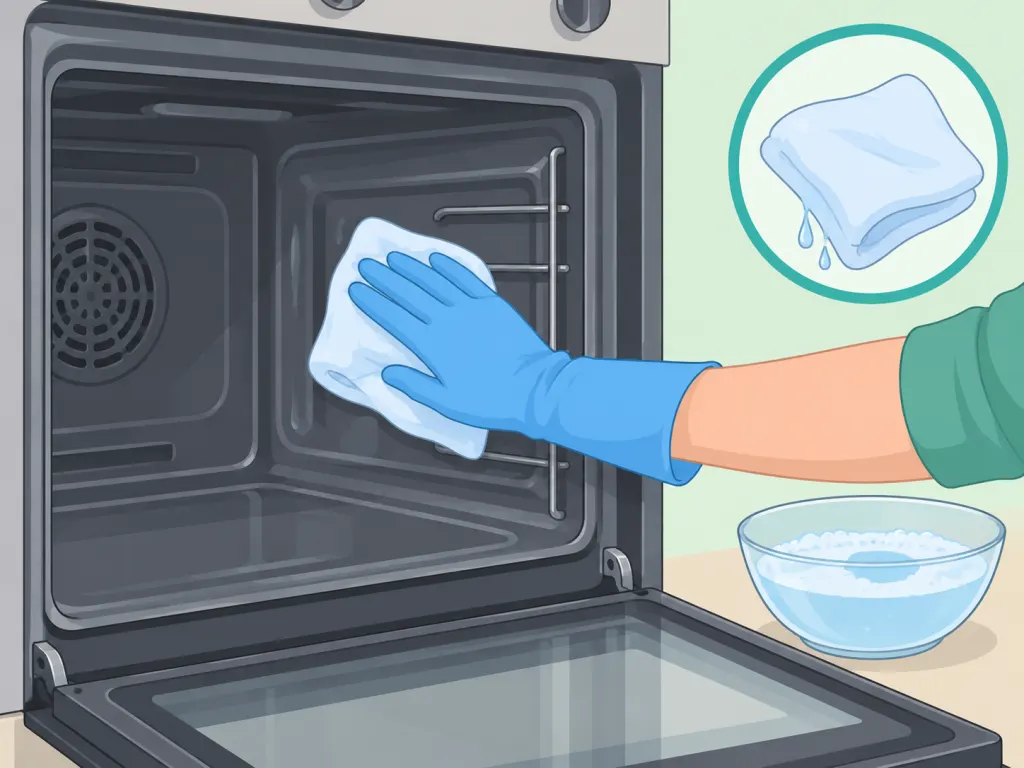
Wipe the oven interior with clean, warm water, rinsing the cloth often. The CDC explains that ordinary cleaning uses water, soap, and scrubbing to remove dirt and impurities, so a mild dish-soap wipe can help with greasy areas before a final clean-water rinse.
Step 8: Dry the oven and replace the racks
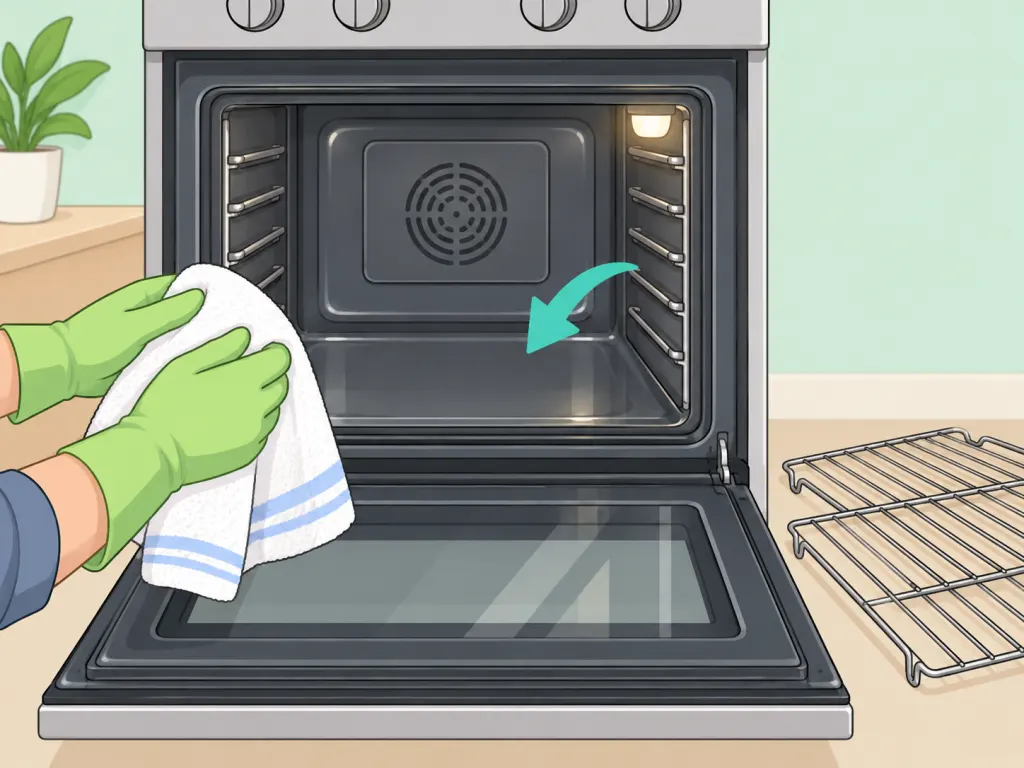
Dry the interior with a clean towel, then leave the door open until the oven is fully aired out. The EPA advises that household products that can release pollutants should be used with fresh air and ventilation, so do not cook until cleaner odor and visible residue are gone. Wash, rinse, and dry the racks before sliding them back in.
Step 9: Get help if fumes or splashes cause symptoms
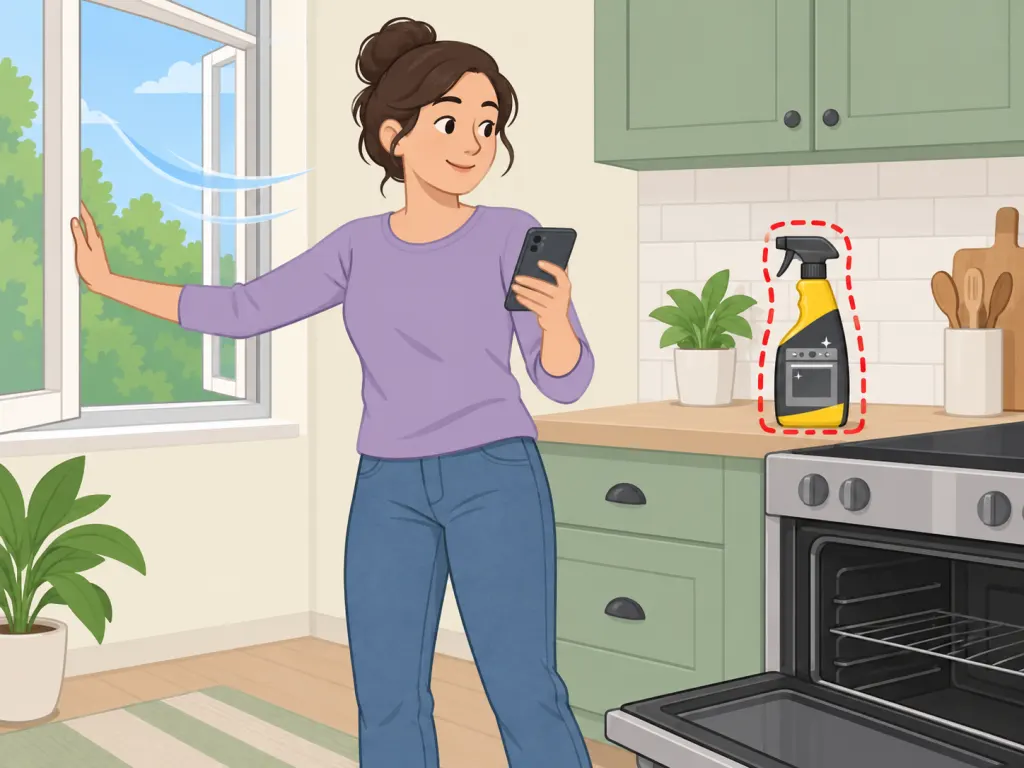
Move to fresh air right away if a cleaner makes you cough, feel short of breath, or feel burning in your eyes, nose, throat, or skin. If ammonia or another cleaner is involved, the CDC says to get away from the area, get clean, and get help; in the United States, you can call Poison Control at 1-800-222-1222 or seek medical attention for serious or persistent symptoms.
Wrap-Up
The bottom line: cool the oven first, loosen stains with a mild paste, scrape only with a suitable plastic scraper, rinse until no residue remains, and use commercial cleaners only according to their labels.
Frequently Asked Questions
- → Can I clean oven stains with baking soda?
- Yes. Utah State University Extension says baking soda can be used as a gentle, non-abrasive cleanser on ovens, so it is a good first choice for many baked-on stains.
- → Should I use vinegar and baking soda together?
- You can use vinegar as a separate acidic cleaner, but do not rely on a dramatic fizz to do the scrubbing for you. For oven stains, a baking soda paste usually works best when it is left on the stain, then scrubbed and rinsed.
- → Can I use bleach inside an oven?
- Bleach is not usually needed for ordinary oven stains. The CDC advises never mixing household bleach with other cleaners or disinfectants, so avoid combining it with oven cleaner, vinegar, ammonia, or homemade pastes.
- → What should I avoid using on the oven interior?
- Avoid metal tools that can gouge the surface, abrasive powders not approved for your oven, and any cleaner your oven manual says not to use. Use a plastic scraper or thin scouring pad only if it is suitable for the surface.
- → How do I know the oven is rinsed enough?
- Wipe with clean, damp cloths until the cloth comes away without gritty paste, brown residue, or cleaner smell. Then dry the interior with a clean towel and leave the door open for extra airing.
- → When should I use a commercial oven cleaner?
- Use one only for heavy stains that do not respond to gentle cleaning, and follow the product label exactly. The EPA advises using cleaning products according to label directions, with ventilation and any protective equipment the label calls for.
References
This content was developed and refined using reliable sources.
- https://extension.usu.edu/archive/home-cleaning-chemicals
- https://extension.umn.edu/food/preparing/cooking-at-home/sanitizing-equipment-and-food-contact-surfaces
- https://www.epa.gov/indoor-air-quality-iaq/ventilation-important-indoor-air-quality-when-cleaning-andor-sanitizing
- https://www.epa.gov/indoor-air-quality-iaq/care-your-air-guide-indoor-air-quality
- https://www.cdc.gov/hygiene/about/cleaning-and-disinfecting-with-bleach.html
- https://www.cdc.gov/chemical-emergencies/chemical-fact-sheets/ammonia.html