 Save
Dust builds up on fan grilles and blades over time, reducing airflow and scattering particles around the room every time the fan runs. Disassembling a fan is time-consuming and not always practical, but you can remove the majority of that buildup without unscrewing a single part. This guide walks through each step of a thorough no-disassembly fan clean, from safe setup to the final wipe-down.
Step 1: Unplug the fan and move it to a well-ventilated spot
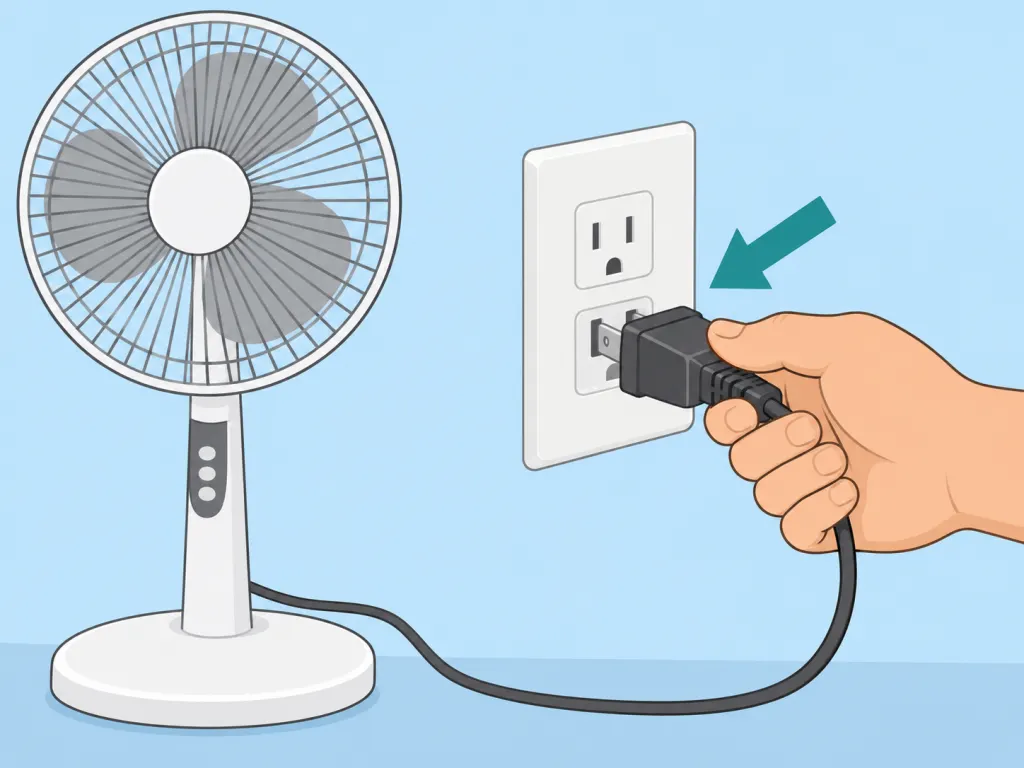
Before touching the fan, disconnect it from the wall outlet. The U.S. Consumer Product Safety Commission advises keeping fan cords clear and the unit secure at all times, the same care applies before any cleaning work. Carry the fan to a porch, garage, or a spot near an open window so loosened dust does not settle back into the living area.
Step 2: Vacuum the grille with a soft brush attachment
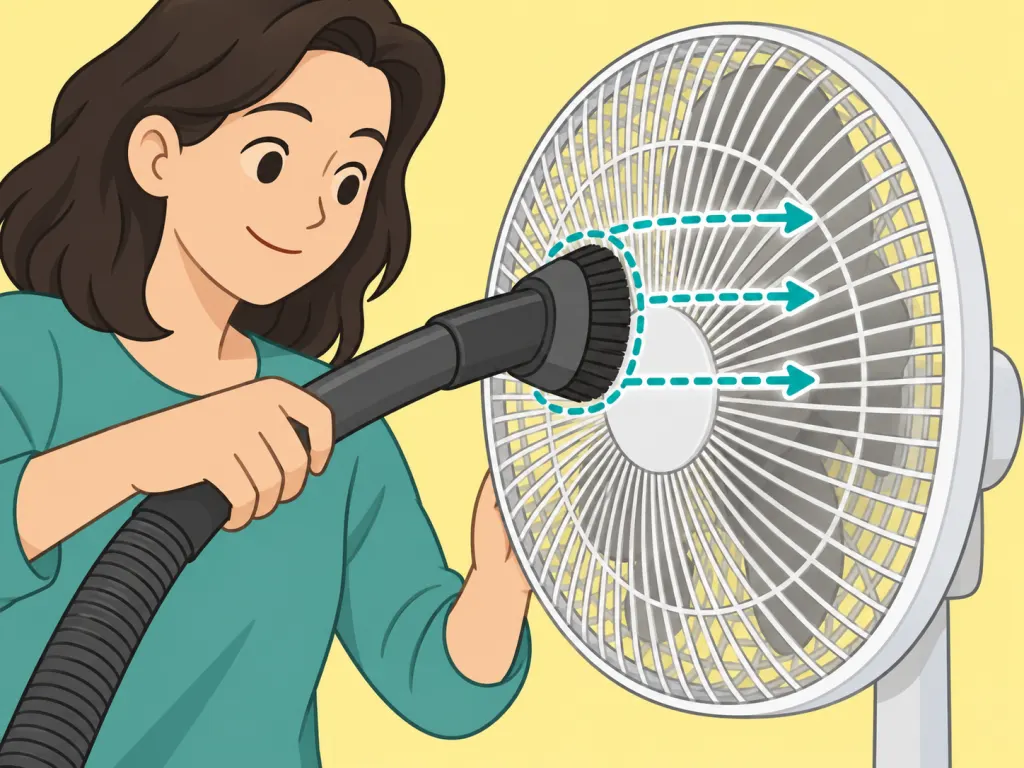
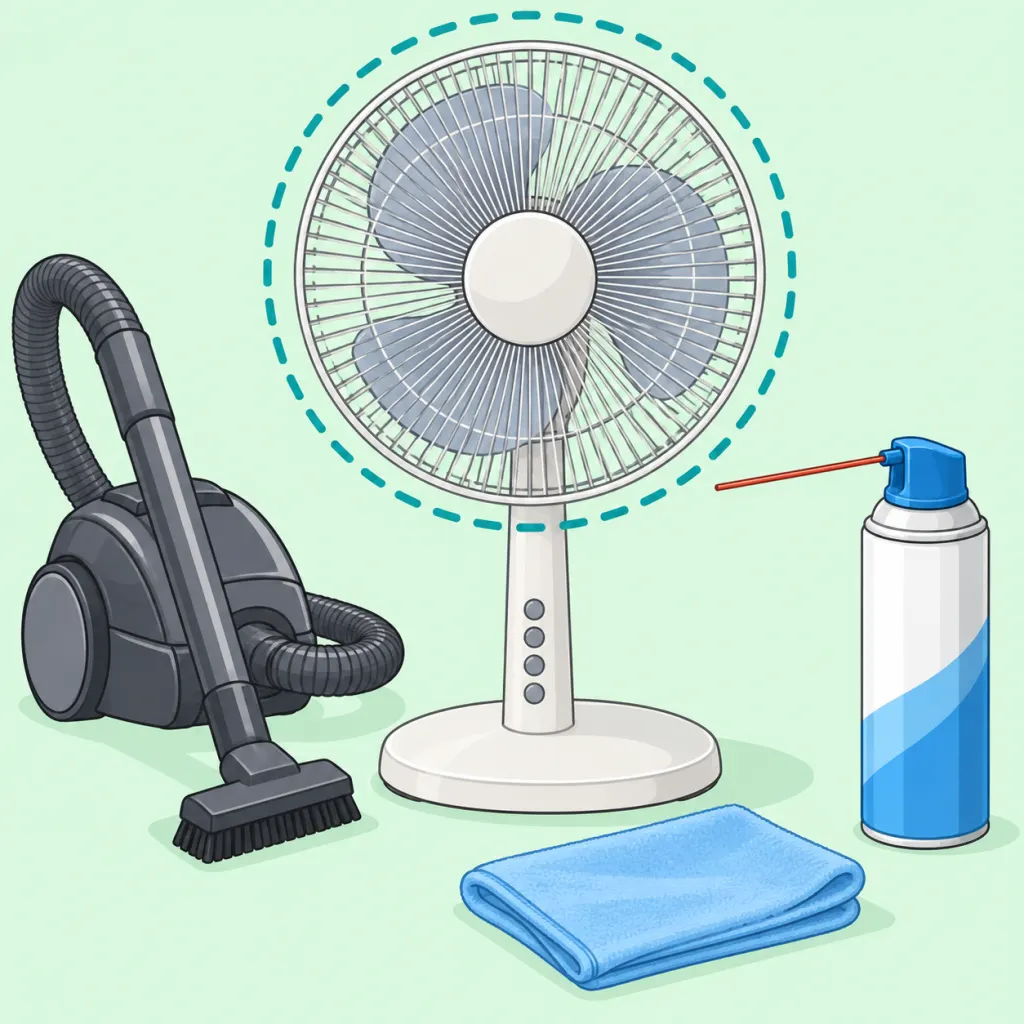
Fit your vacuum cleaner with its soft brush attachment and work in slow, overlapping rows across the front and back grilles. Vacuuming lifts dust directly into the machine rather than scattering it into the air. The CPSC recommends frequent vacuuming as one of the most effective ways to control dust accumulation on household surfaces and appliances.
Step 3: Use compressed air to dislodge dust from deep grille openings
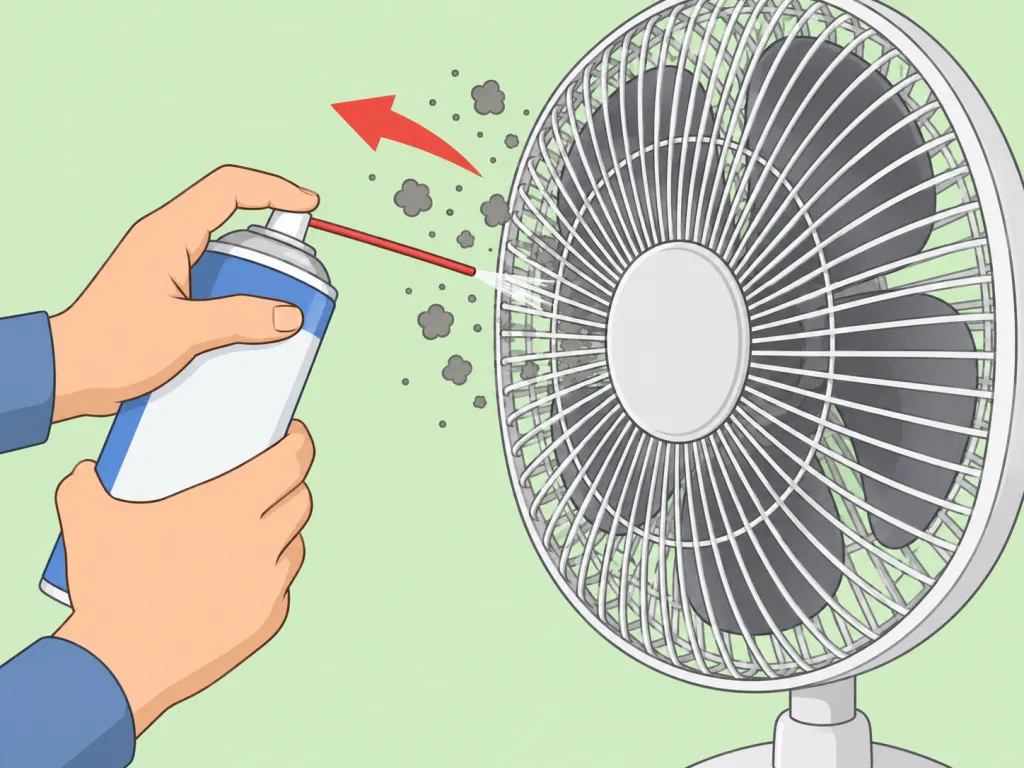
Hold the compressed air can upright and use short one-to-two-second bursts to blast dust out from between the grille bars. Work from the outer edge inward, rotating around the grille. Keep the nozzle a few centimetres back so the airflow reaches the blade surfaces without driving debris deeper toward the motor.
Step 4: Wipe the grille bars with a lightly damp microfiber cloth
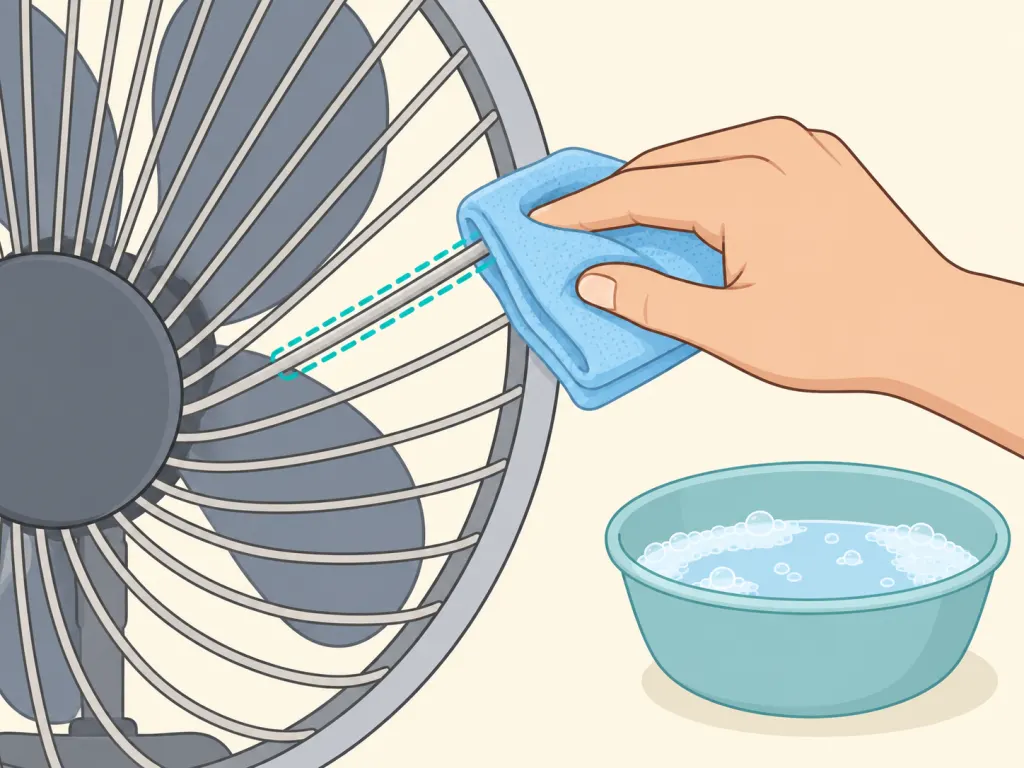
Add a few drops of mild dish soap to a bowl of warm water, dip a microfiber cloth, and wring it firmly until it is barely damp, not dripping. The EPA's indoor air quality guidance emphasizes keeping home surfaces clean and dry; a barely damp cloth fulfils both aims. Wipe each grille bar individually, pressing the cloth into the edges where grime accumulates, then repeat on the back grille.
A flexible dusting wand or thin-bristle cleaning brush fits between most grille bars to contact the blade surfaces directly. Run the duster the full length of each blade you can reach, turning it so it picks up dust rather than redistributing it. This step makes the biggest difference to airflow because blades carry the heaviest layer of compacted dust and are otherwise inaccessible without disassembly.
Step 6: Wipe down the base, stand, and power cord
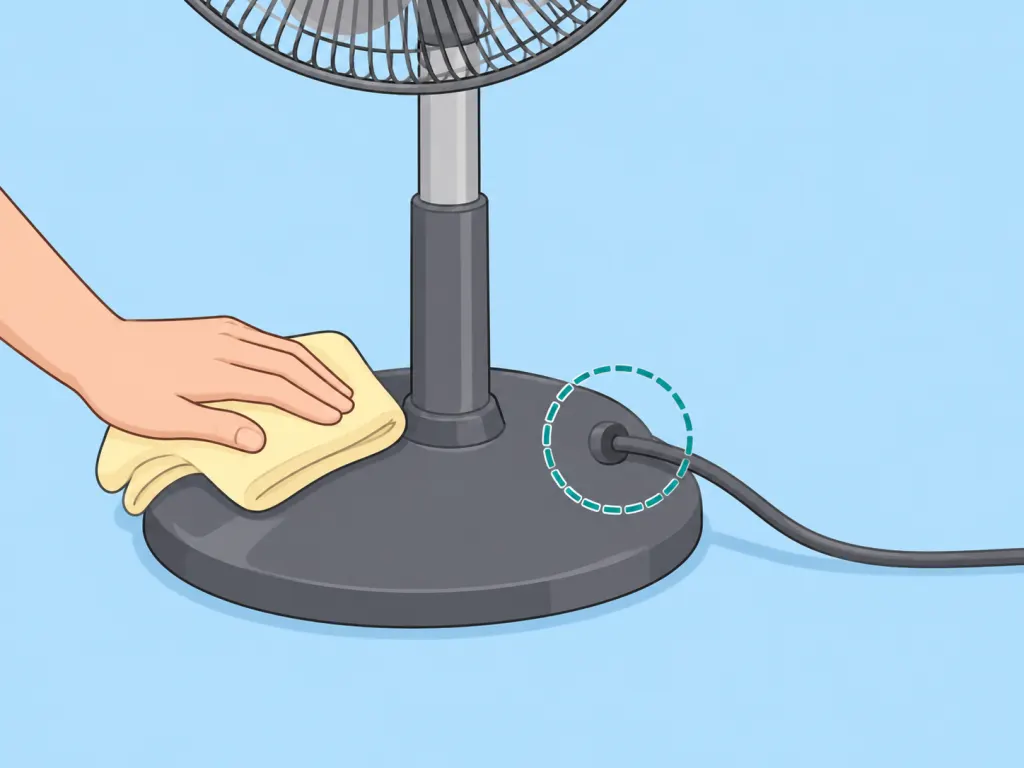
Use a dry or barely damp cloth to wipe the motor housing exterior, the stand, and any controls. The EPA notes that keeping appliances clean and dry helps reduce the airborne particles that recirculate indoors. Pay particular attention to the cord, a quick wipe removes surface grime and lets you check for any cracking or fraying that would need attention before the fan is used again.
Step 7: Let the fan dry fully before reconnecting power
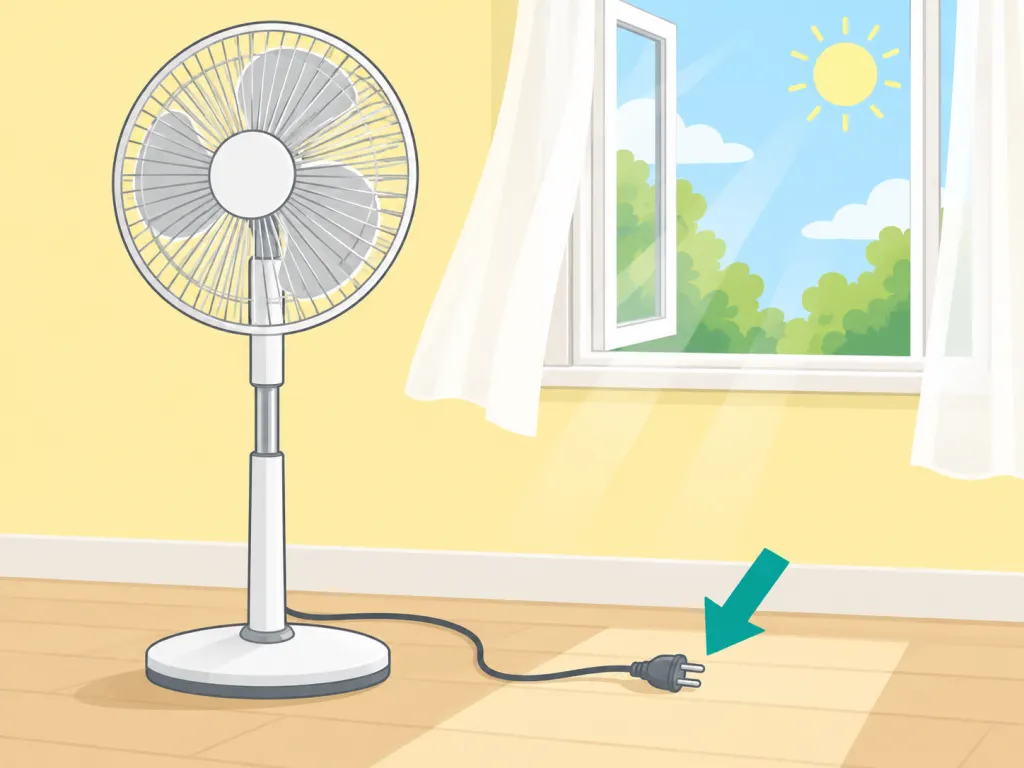
Leave the fan in a warm, well-ventilated area for at least 30 minutes, longer if any moisture reached near the motor. CPSC guidance on appliance care stresses that appliances must be completely dry before reconnecting to a power source. Once dry, plug the fan in, run it on the lowest setting for a minute, and confirm that airflow is strong and the fan runs smoothly.
Wrap-Up
The bottom line: unplug first, work from loose dust to stubborn grime, keep moisture well away from the motor housing, and give the fan time to dry completely before you plug it back in. Done on a regular schedule, this routine keeps airflow strong and the fan running quietly for years.
Frequently Asked Questions
- → How often should I clean my fan?
- During heavy seasonal use, a light vacuum pass every two to four weeks prevents serious buildup. A more thorough wipe-down every one to two months is enough for most households.
- → Can I use a vacuum cleaner instead of compressed air?
- Yes, a vacuum with a soft brush attachment is often more effective than compressed air because it removes dust rather than displacing it. Work slowly along the grille bars to pull dust out rather than pushing it inward.
- → What if I do not have compressed air?
- A dry, stiff-bristle paintbrush works as a substitute. Work the bristles between the grille bars with short strokes to dislodge dust, then vacuum the loosened debris immediately.
- → Can I use a damp cloth on the motor housing?
- No. Wipe only the exterior plastic casing, grille bars, stand, and cord with a barely damp cloth. Keep all moisture away from the motor housing, electrical connections, and air vents to avoid damage.
- → How do I clean a tower fan without taking it apart?
- Tower fans respond well to a vacuum crevice tool run along each vertical slat, followed by short bursts of compressed air. A dry microfiber cloth dragged along each slat picks up what remains. A thin flexible duster can reach past the grille to contact the interior column.
- → My fan is still noisy after cleaning, what should I do?
- Remaining noise often means dust is still on the blades, causing slight imbalance. Try a second pass with compressed air and a thin brush through the grille. If noise persists after cleaning, consult the manufacturer's instructions or have the fan inspected, as the motor or blade mount may need professional attention.
References
This content was developed and refined using reliable sources.
- https://www.cpsc.gov/node/66726
- https://www.cpsc.gov/safety-education/safety-guides/home/biological-pollutants-your-home
- https://www.cpsc.gov/Safety-Education/Safety-Guides/Home/The-Inside-Story-A-Guide-to-Indoor-Air-Quality
- https://www.epa.gov/indoor-air-quality-iaq/inside-story-guide-indoor-air-quality
- https://www.epa.gov/indoor-air-quality-iaq/care-your-air-guide-indoor-air-quality