 Save
Gas hob burners collect grease, crumbs, and cooked-on spills around the caps, heads, and ports. Cleaning them is mostly a matter of working on a cool appliance, using mild cleaners, and drying the parts thoroughly before relighting. This guide walks you through a safe, practical routine for a deeper clean.
Step 1: Turn the hob off and let it cool completely
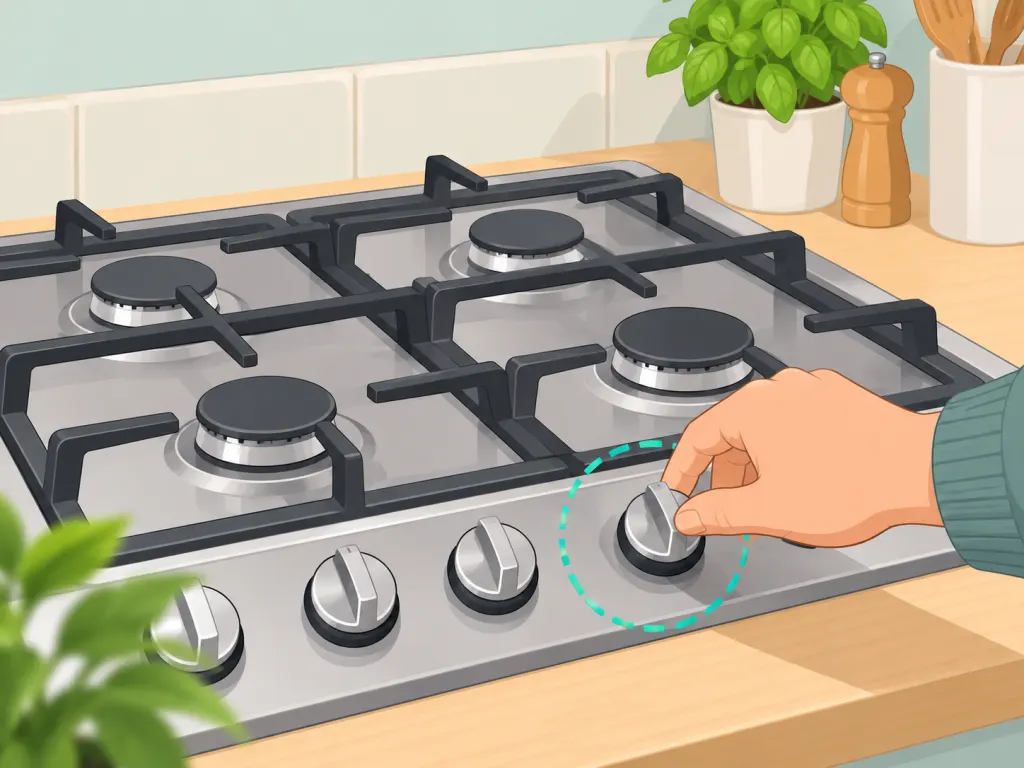
Switch every control to off and wait until the grates, caps, and surrounding surface are cool to the touch. University of Illinois Extension recommends making sure ovens are cool before cleaning and following manufacturer instructions for kitchen appliances, which is a useful rule for hob parts too: start with a cool appliance.
Step 2: Remove the grates, caps, and burner heads
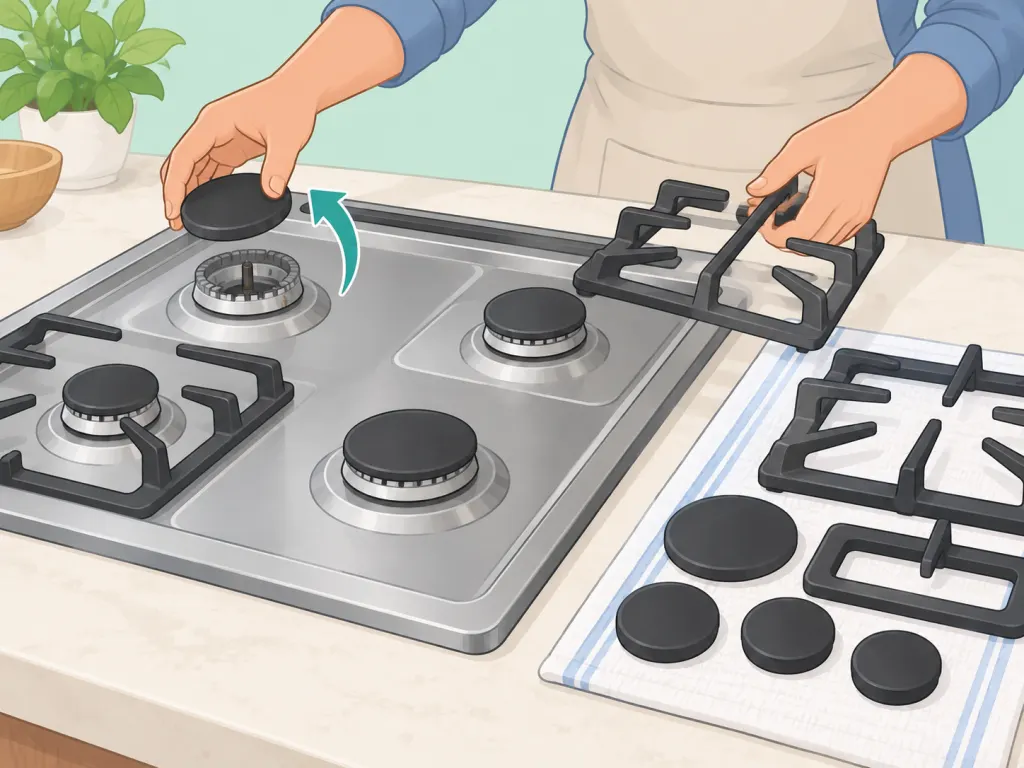
Lift off the grates first, then remove each burner cap and burner head if your model allows it. Keep the parts grouped by burner size so they go back in the same place; many gas hobs use different-sized caps and heads. If any part feels fixed in place, do not force it.
Step 3: Wash away loose grease with warm soapy water
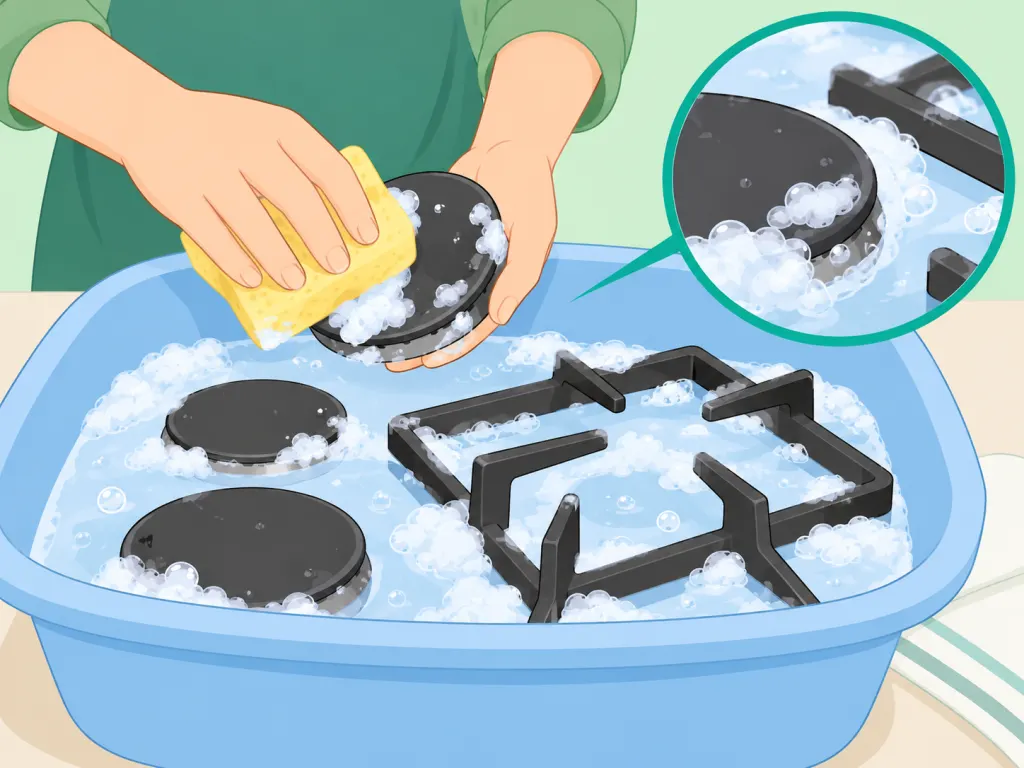
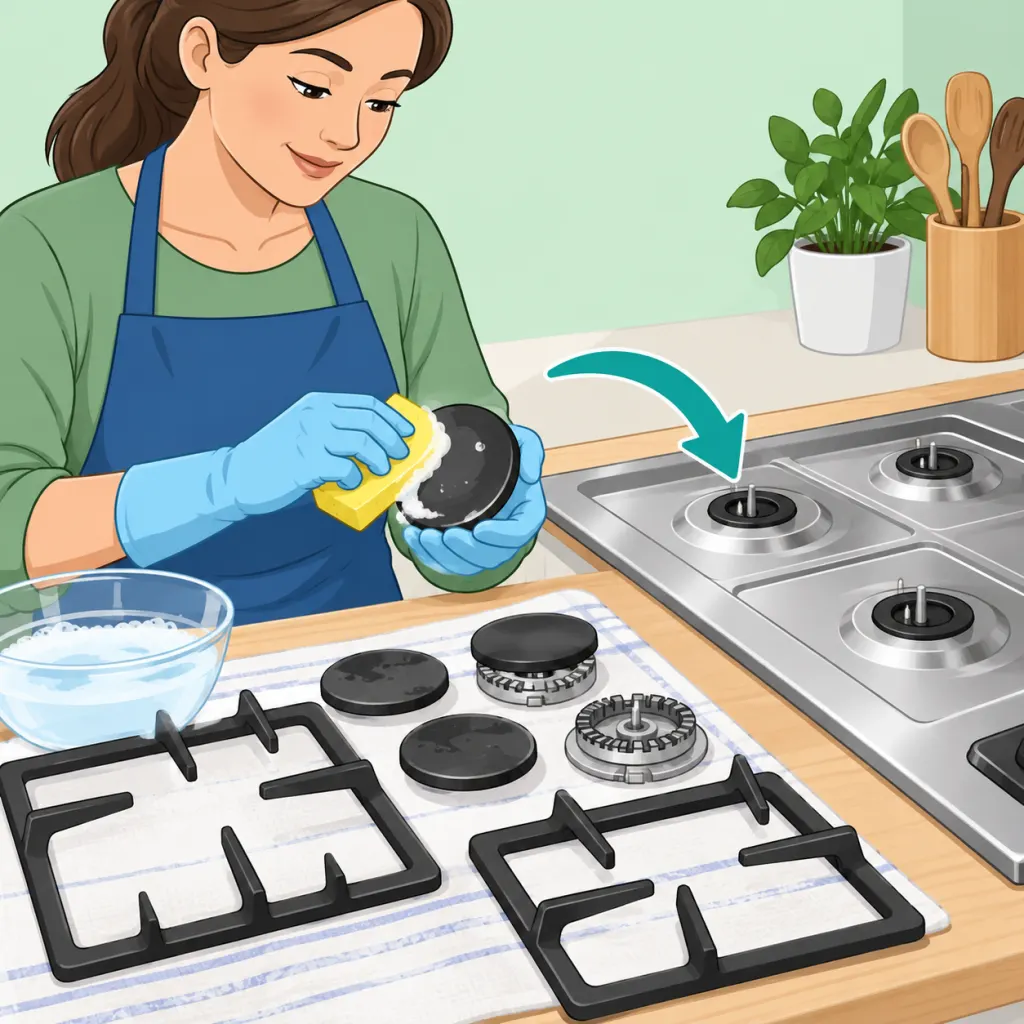
Wipe crumbs from the hob surface, then wash the removable parts in warm water with a small amount of dish soap. Warm soapy water is the first cleaning step for kitchen surfaces and appliances in basic kitchen cleaning guidance, and it removes the loose film before you scrub cooked-on spots.
Step 4: Soak stubborn parts in a mild vinegar solution
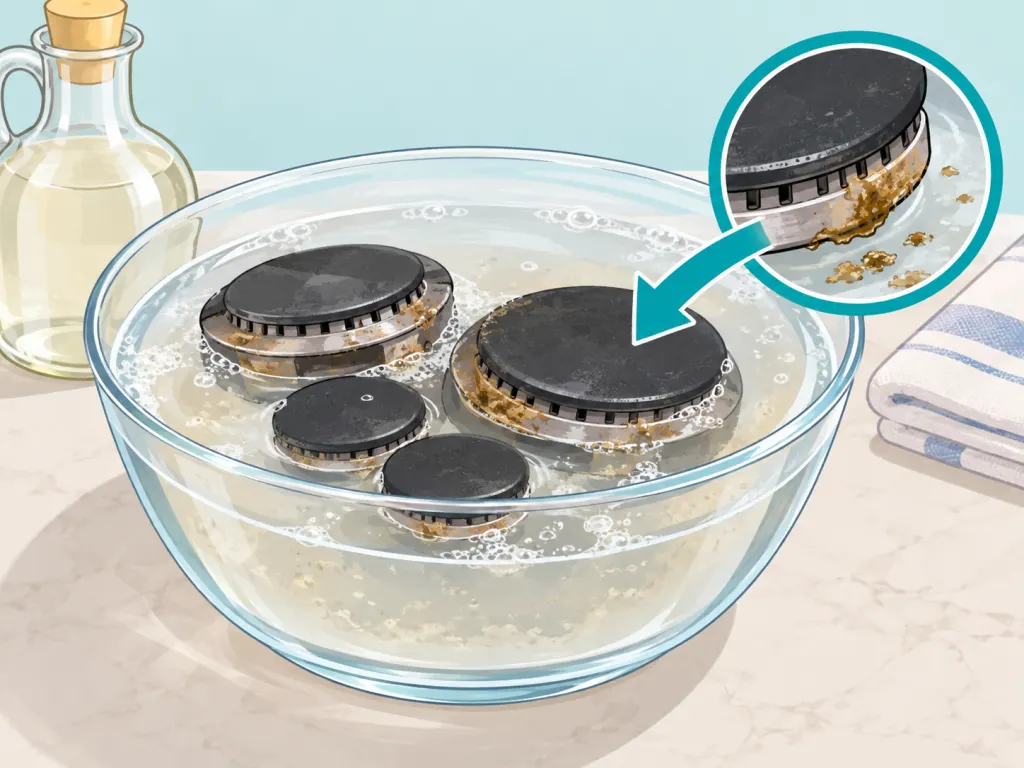
For greasy burner caps or grates, soak the removable parts in a bowl of warm water with a splash of white vinegar for 10 to 20 minutes. Cornell Cooperative Extension notes that vinegar and baking soda are common household cleaning ingredients for grease and grime, so a mild soak can make the next scrub easier: household cleaner guidance.
Make a paste with baking soda and a few drops of water, then rub it onto stained areas with a non-scratch sponge or old toothbrush. New Mexico State University Extension lists baking soda as a gentle cleaner for metal items and oven soil, while UF/IFAS Extension suggests baking soda-based paste for stubborn stovetop spots: green cleaning methods and stovetop cleanup guidance.
Step 6: Clear burner openings gently
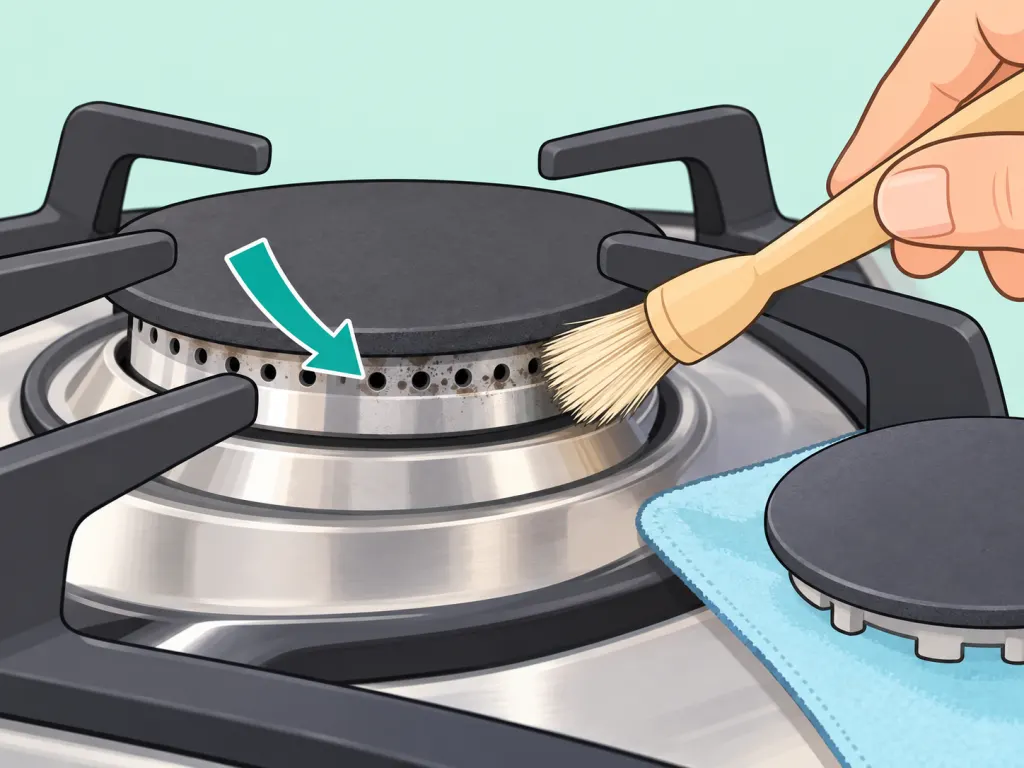
Use a dry toothbrush or soft brush to loosen crumbs around the burner head openings, keeping water and paste out of the gas passages as much as possible. Avoid toothpicks, knives, or anything that could break off or enlarge an opening. If residue will not come away with gentle brushing, stop and check your appliance manual or call a qualified repair person.
Step 7: Rinse, dry, and reassemble every part
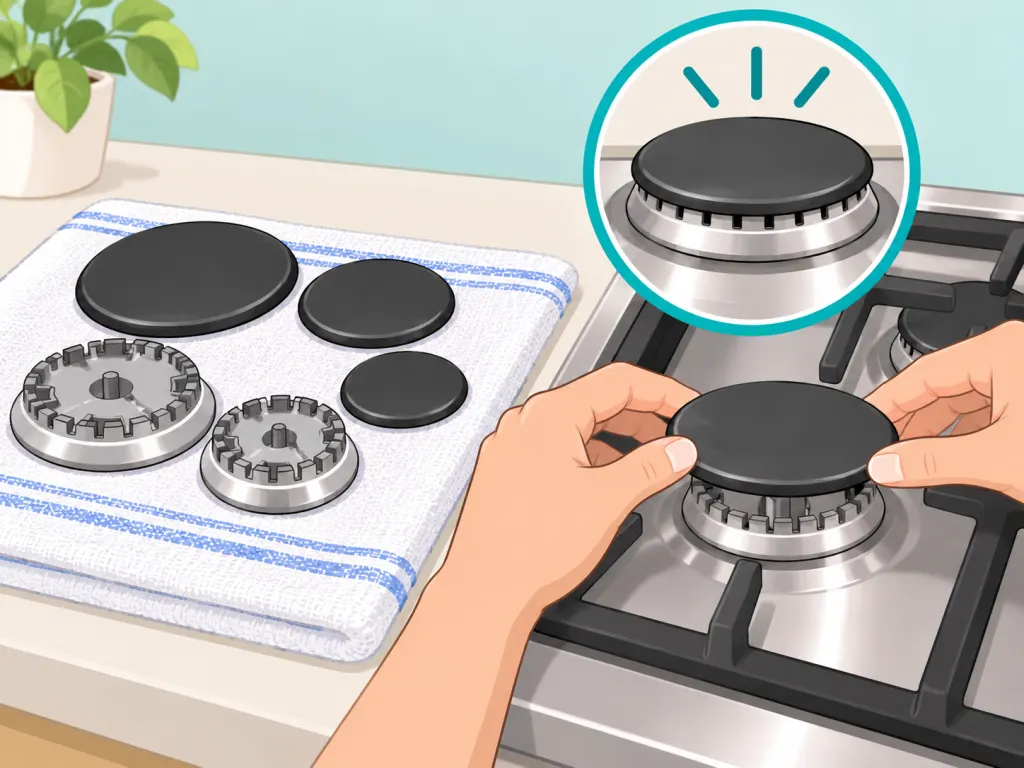
Rinse the cleaned parts with clean water and dry them with a towel, then leave them to air-dry until no moisture remains. NMSU Extension repeatedly advises rinsing after cleaning pastes, and complete drying matters on a gas hob because trapped moisture can interfere with ignition. Set each burner head and cap back flat and centered before replacing the grates.
Step 8: Test the burners one at a time
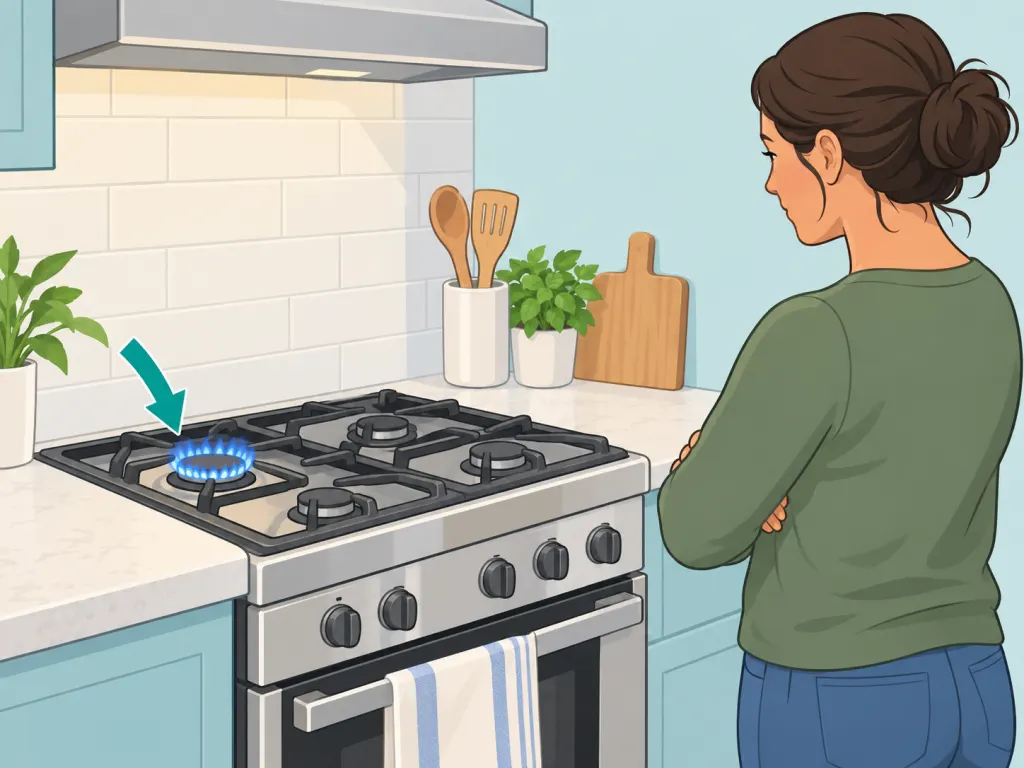
Light one burner at a time and watch that it ignites normally. The CDC notes that gas ranges are among household fuel-burning appliances that can produce carbon monoxide if combustion problems occur, so do not ignore unusual odors, repeated clicking, or a burner that will not settle after cleaning: carbon monoxide safety basics.
Step 9: Seek help if gas, fumes, or symptoms appear
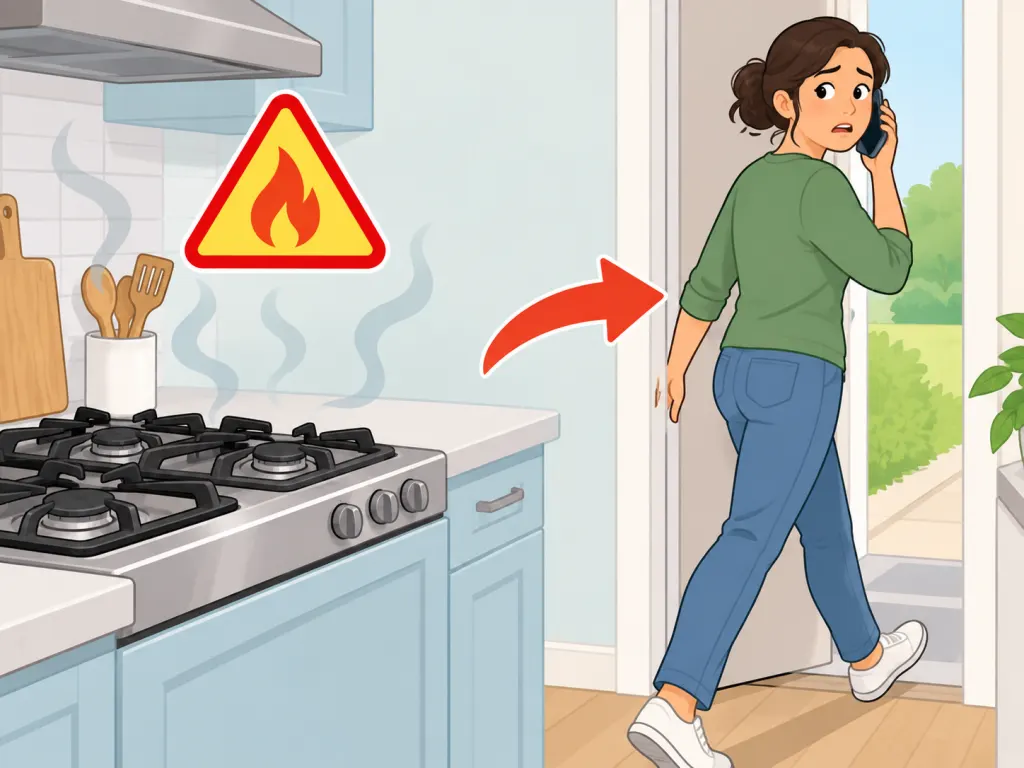
If you smell or hear gas leaking, leave the home immediately and contact local gas authorities from outside, as the U.S. Consumer Product Safety Commission advises: gas leak safety guidance. If someone has headache, dizziness, weakness, nausea, chest pain, confusion, or other concerning symptoms near a gas appliance, move to fresh air and call emergency services or a qualified health professional.
Wrap-Up
The bottom line: cool the hob first, clean removable burner parts with warm soapy water and a mild paste, keep cleaner out of the gas openings, and dry everything fully before testing the flame. If you smell gas or feel unwell around a gas appliance, stop cleaning and get help from outside the home.
Frequently Asked Questions
- → Can I clean hob burners with vinegar and baking soda?
- Yes, but use them carefully. Vinegar can help loosen greasy residue, and baking soda can work as a mild scrub, but rinse and dry burner parts fully before reassembling them.
- → Should I soak the burner caps overnight?
- A short soak is usually enough for routine grease. If parts are heavily soiled, repeat a short soak and scrub instead of leaving metal parts in liquid for longer than your appliance manual allows.
- → Can I put gas burner parts in the dishwasher?
- Only if your appliance manual says the parts are dishwasher-safe. When in doubt, wash removable caps and grates by hand with warm soapy water, rinse, and dry completely.
- → What should I do if a burner will not light after cleaning?
- Turn the burner off, make sure every part is seated correctly, and let the parts dry longer. If it still will not light, stop using that burner and arrange service.
- → Is it safe to use bleach on hob burners?
- Bleach is not needed for routine hob burner cleaning. Never mix bleach with vinegar, ammonia, or other cleaners, and follow the cleaner label if you use any commercial product nearby.
- → How often should I clean gas hob burners?
- Wipe fresh spills once the hob is cool, and deep-clean the removable burner parts whenever grease, crumbs, or uneven lighting make routine wiping ineffective.
References
This content was developed and refined using reliable sources.
- https://hamilton.cce.cornell.edu/resources/cleaning-products-you-can-make-at-home
- https://pubs.nmsu.edu/_g/G315/index.html
- https://blogs.ifas.ufl.edu/escambiaco/2020/08/22/11-super-simple-kitchen-cleanups
- https://extension.illinois.edu/food-safety/cleaning-and-sanitizing
- https://www.cdc.gov/carbon-monoxide/about/index.html
- https://www.cpsc.gov/Newsroom/News-Releases/2026/CPSC-Warns-of-Generator-Carbon-Monoxide-and-Fire-Hazards-Ahead-of-Hurricane-Season