 Save
A washing machine detergent drawer can collect detergent residue, fabric softener film, moisture, and visible mold. For small hard-surface mold spots, the EPA says scrubbing with detergent and water and drying the surface completely is appropriate, so this guide focuses on a simple, low-risk cleaning routine for the removable drawer and its cavity. You will also see when to avoid mixing cleaners and when to get help.
Step 1: Turn off the washer and open the area for airflow
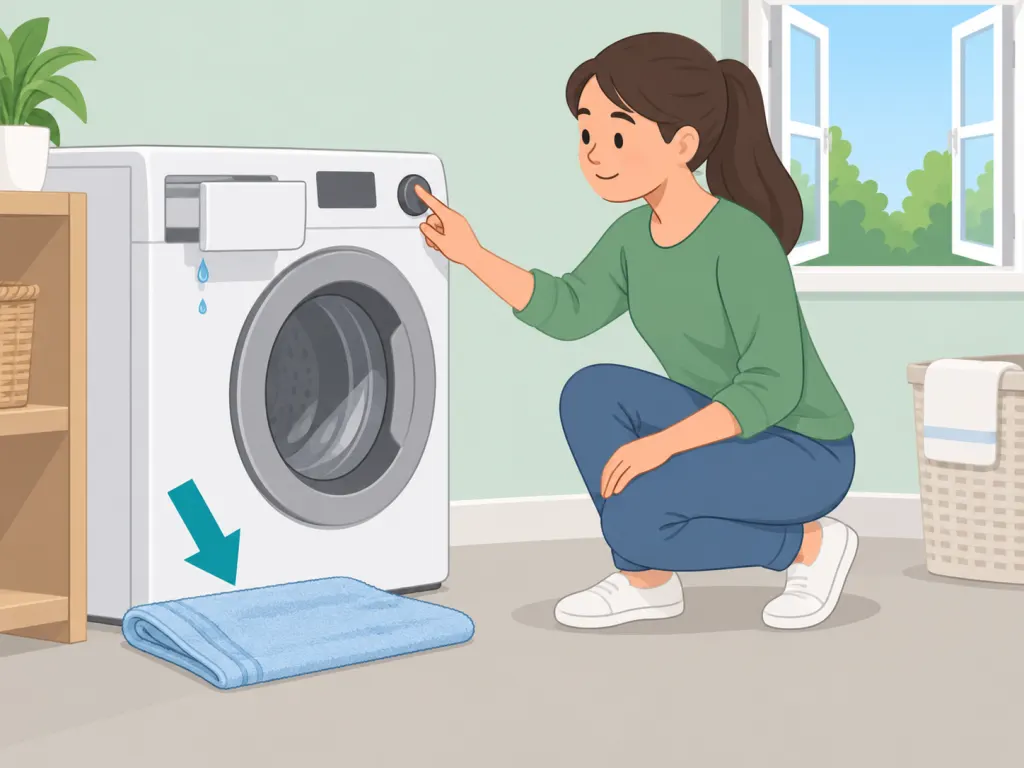
Switch the washer off before you handle the drawer, and place a towel under the front edge to catch drips. Open a nearby window or door if you plan to use any cleaning product, because the EPA advises good ventilation and following household product warnings when products may release fumes. Keep children and pets away while you work.
Step 2: Remove the drawer without forcing it
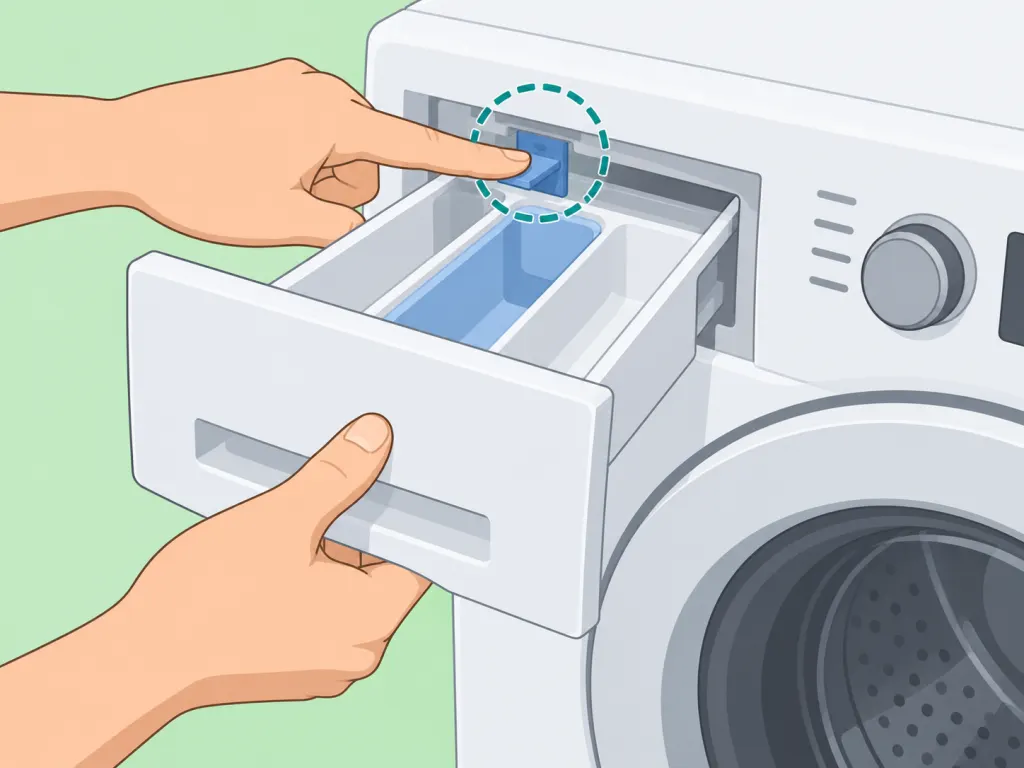
Pull the detergent drawer out as far as it slides, then look for a release tab, button, or lever near the back or center of the drawer. Press the release and slide the drawer out with steady pressure; if it resists, stop and check your washer manual rather than bending the plastic. Set the drawer on a towel so old water and detergent do not drip across the floor.
Step 3: Take out the loose inserts and siphon pieces
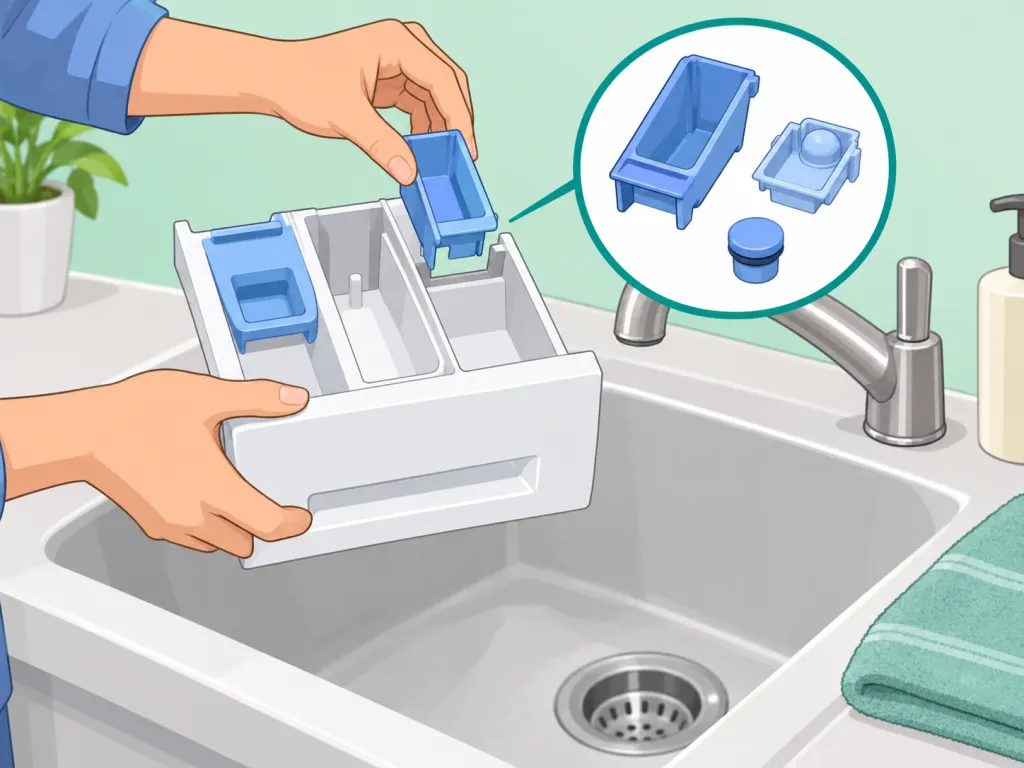
Lift out removable dividers, softener siphon caps, and small trays so you can clean underneath them. These areas often hold sticky residue that a quick wipe cannot reach. Keep the pieces together in the sink so none of the small parts are lost.
Step 4: Soak the parts in warm soapy water
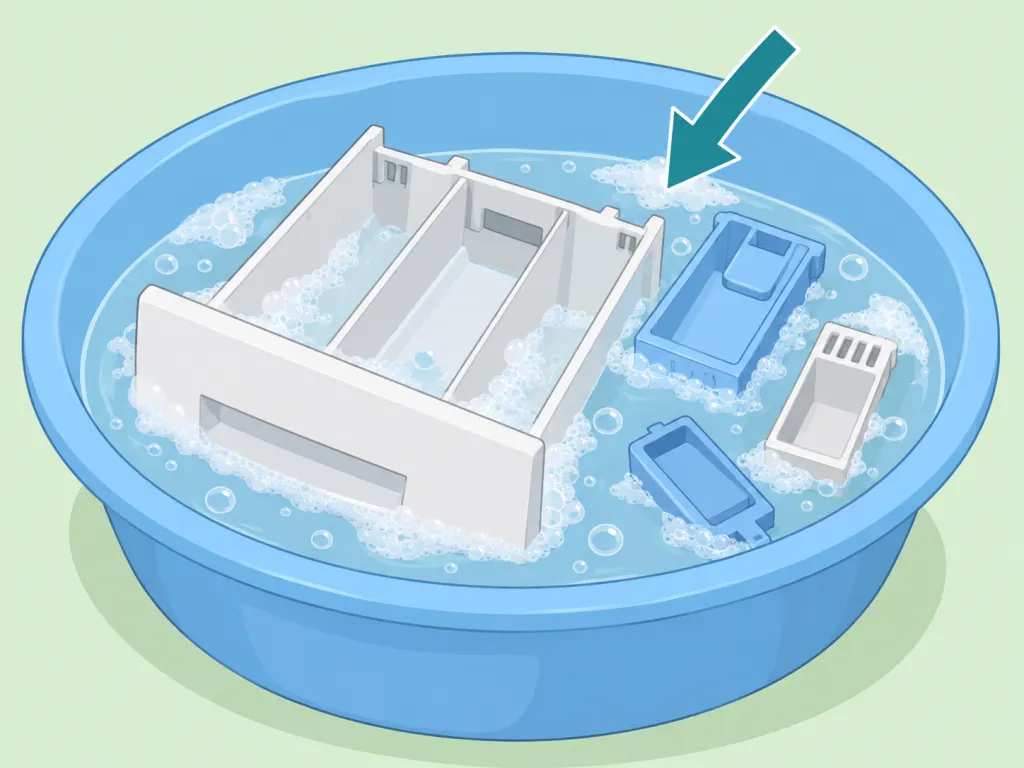
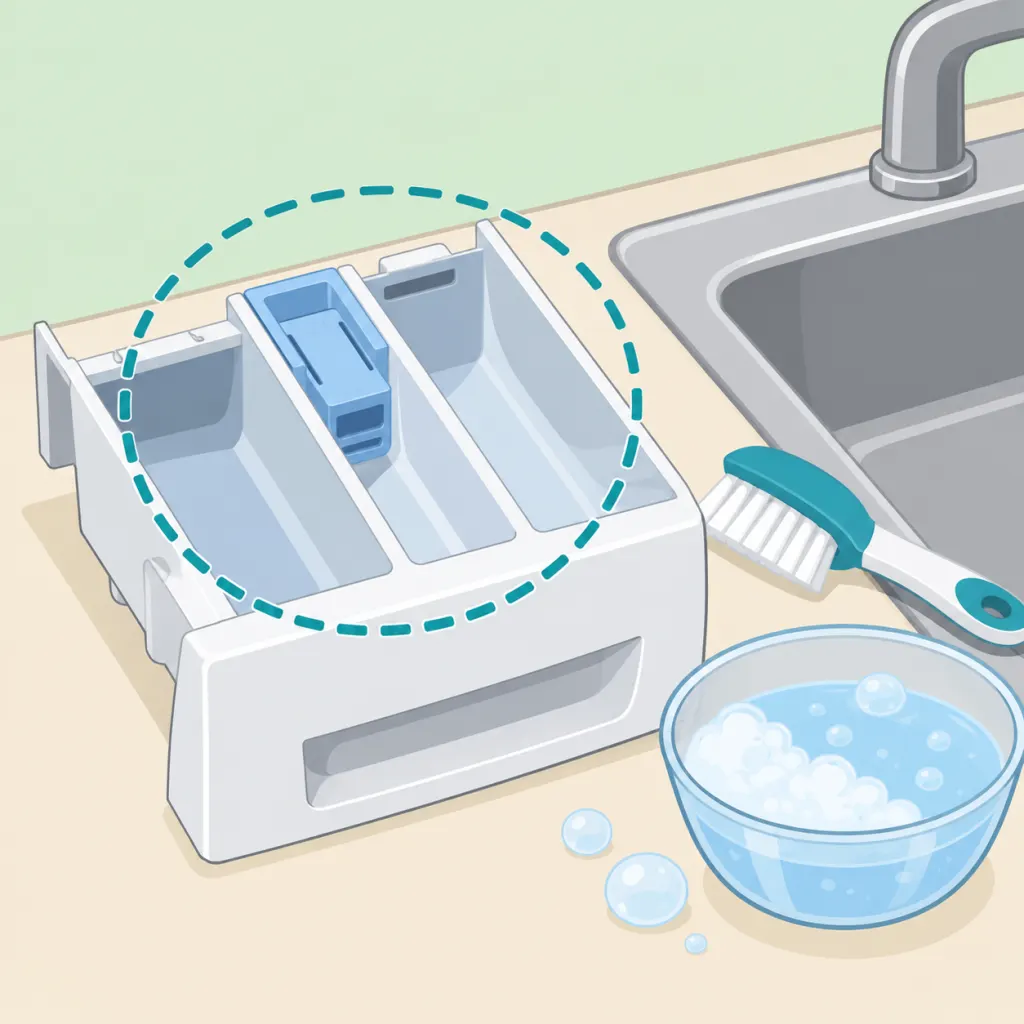
Fill a sink or basin with warm water and a small amount of dish soap or mild detergent, then soak the drawer and inserts for 10 to 20 minutes. Soap and detergent help loosen soil from surfaces, and Utah State University Extension notes that washing with detergent or soap and water is the cleaning step that removes dirt from surfaces. Avoid boiling water, which can warp some plastic parts.
Use a soft brush, old toothbrush, or non-scratch sponge to scrub the compartments, corners, and underside of each insert. For small visible mold spots on hard plastic, the EPA recommends scrubbing with detergent and water and drying completely afterward. Rinse the brush often so you are not spreading loosened residue back into the drawer.
Step 6: Wipe the dispenser cavity gently
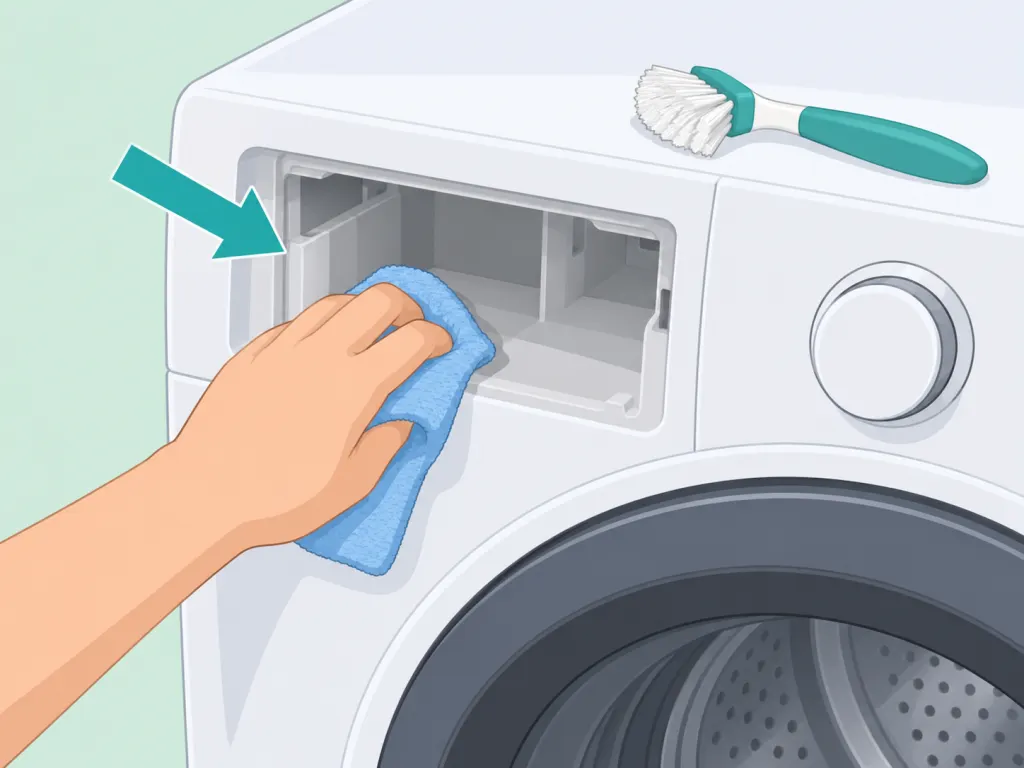
Use a damp cloth or small soft brush to clean the empty cavity where the drawer normally sits. Work slowly around the top and back where detergent can crust over, but do not spray water directly into controls, wiring areas, or openings you cannot dry. If the buildup is heavy, wipe, rinse the cloth, and repeat rather than flooding the cavity.
Step 7: Rinse and dry every part completely
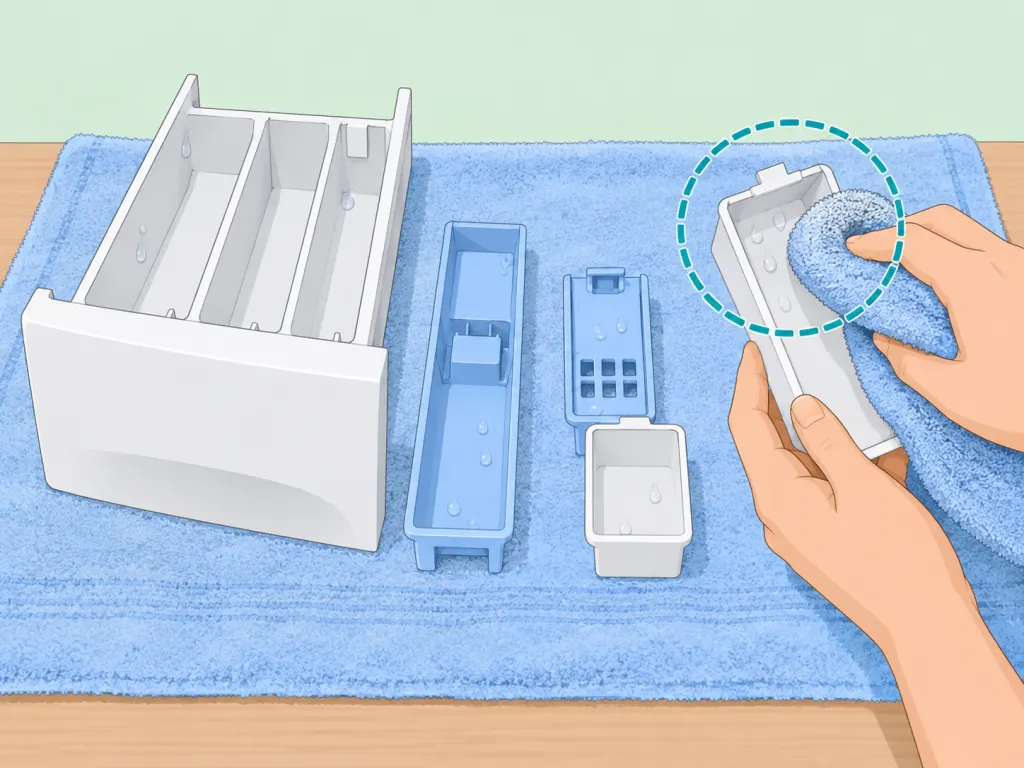
Rinse the drawer and inserts under clean running water until no soap film remains. Dry the pieces with a towel, then let them air-dry fully before reassembly, because both the EPA and CDC emphasize drying cleaned mold-prone surfaces after washing. Check the underside and siphon caps, where water can hide.
Step 8: Reassemble the drawer and run a rinse cycle if needed
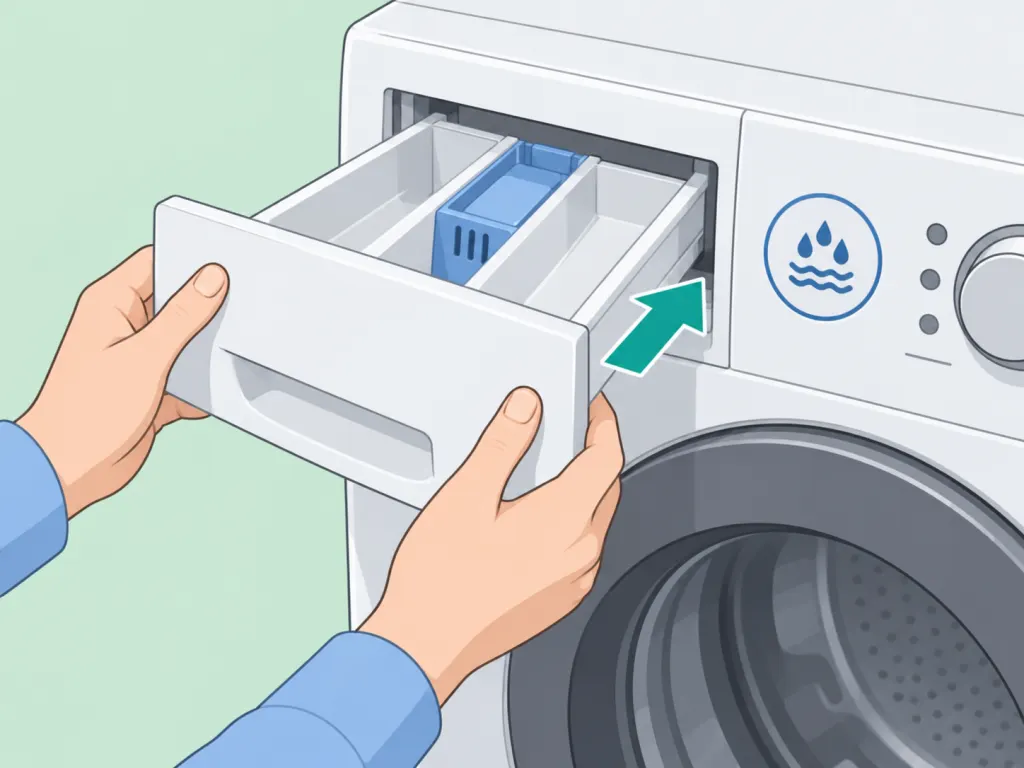
Snap the inserts and siphon caps back into their original positions, then slide the drawer into the washer until it sits evenly. If loosened residue may have fallen into the dispenser channel, run an empty rinse or washer-cleaning cycle according to your machine settings. Use the correct detergent amount for future loads, since overfilling the drawer leaves more residue behind.
Step 9: Leave the drawer slightly open after laundry
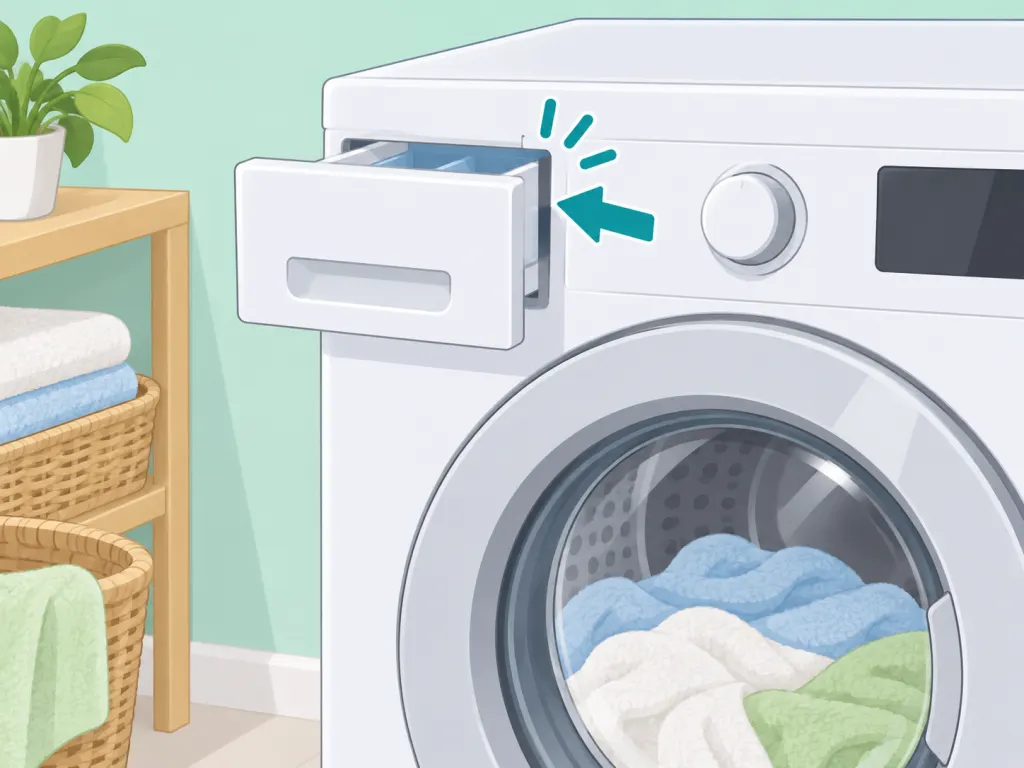
After each wash day, pull the drawer open a little so trapped moisture can evaporate. Wipe spills and visible detergent film before they harden. This small habit helps the drawer stay dry between deeper cleanings.
Step 10: Get help after heavy mold or chemical exposure
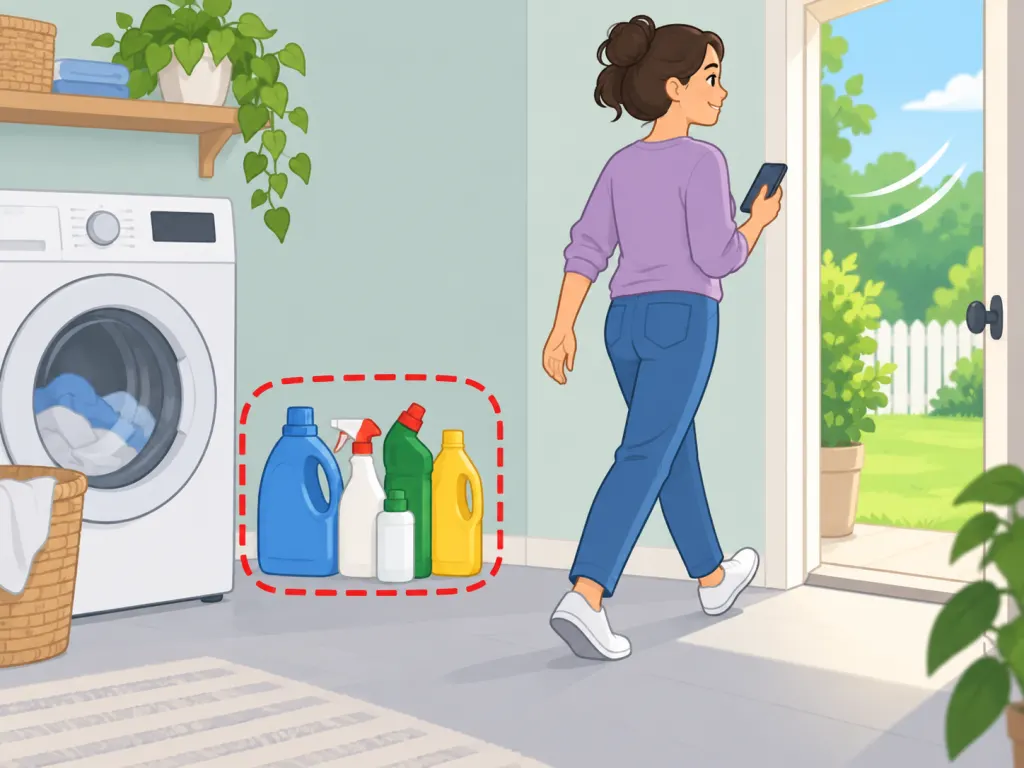
If the drawer cavity has widespread mold, the washer has a persistent strong odor after cleaning, or you cannot safely reach the buildup, consider an appliance technician or qualified cleaner. If you feel unwell after breathing cleaner fumes, move to fresh air and seek help; CDC chemical emergency guidance says to get away from the exposure area, get clean, and get help after chemical exposure. If you have health concerns before cleaning mold, the CDC advises consulting a health professional.
Wrap-Up
The bottom line: remove the drawer only if your washer is designed for it, wash the parts with warm soapy water, scrub seams and siphon pieces carefully, rinse, dry, and leave the drawer open so moisture does not sit inside.
Frequently Asked Questions
- → How often should I clean a washing machine detergent drawer?
Clean it whenever you see residue, slime, or musty buildup. For many households, checking it about once a month is a practical routine, especially if you use liquid detergent or fabric softener often.
- → Can I put the detergent drawer in the dishwasher?
Only do that if your washer manual says the parts are dishwasher-safe. Many drawers have small siphon pieces, labels, or plastic parts that can warp, so hand-washing in warm soapy water is the safer default.
- → Should I use bleach in the detergent drawer?
Usually, warm water, detergent, and scrubbing are enough for routine cleaning. If you choose to use bleach, follow the product label and CDC safety guidance, and never mix bleach with vinegar, ammonia, or other cleaners.
- → Why does the drawer get black or slimy?
Moisture and leftover detergent or softener can sit in the drawer and around the cavity. The EPA recommends cleaning mold from hard surfaces with detergent and water, then drying the surface fully.
- → What if the drawer will not come out?
Do not force it. Look for a release tab or button, and check the washer manual for your model; if it is fixed in place, clean the visible tray and cavity carefully with a damp cloth and small brush.
- → How can I keep the drawer cleaner between deep cleans?
Wipe spills promptly, avoid overfilling detergent or softener compartments, and leave the drawer slightly open after laundry so it can dry. Good airflow helps reduce the damp conditions that allow buildup to return.
References
This content was developed and refined using reliable sources.
- https://www.epa.gov/mold/mold-cleanup-your-home
- https://www.cdc.gov/mold-health/about/clean-up.html
- https://www.cdc.gov/hygiene/about/cleaning-and-disinfecting-with-bleach.html
- https://www.cdc.gov/chemical-emergencies/chemical-fact-sheets/ammonia.html
- https://www.epa.gov/indoor-air-quality-iaq/care-your-air-guide-indoor-air-quality
- https://extension.usu.edu/covid-19/sanitization