 Save
Store cut fruit in covered containers in a refrigerator at 40°F (4°C) or below, and put it away promptly rather than leaving it on the counter. For unrefrigerated serving, the FDA sets a two-hour limit, shortened to one hour above 90°F. This guide walks you through preparation, packing, storage, and serving, including how to make sensible decisions about leftovers.
Step 1: 1. Check that your refrigerator is cold enough
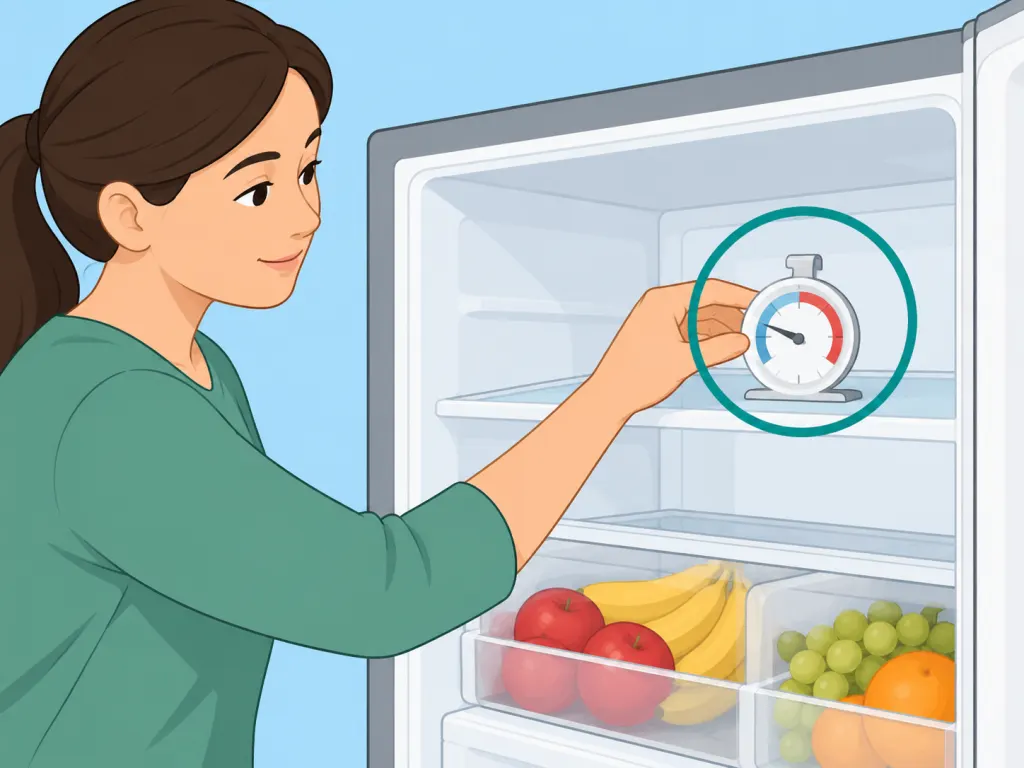
Read an appliance thermometer before preparing a batch of fruit; the CDC recommends a refrigerator temperature of 40°F or below, approximately 4°C. Make the reading part of your preparation routine, especially when you plan to fill several containers for later meals. If the refrigerator needs adjusting, follow its instructions and confirm the temperature before relying on it for storage. Decide where the containers will go now, so you can move the finished fruit straight from the preparation area into its designated space without rearranging the entire refrigerator afterward.
Step 2: 2. Wash your hands and clean the preparation area
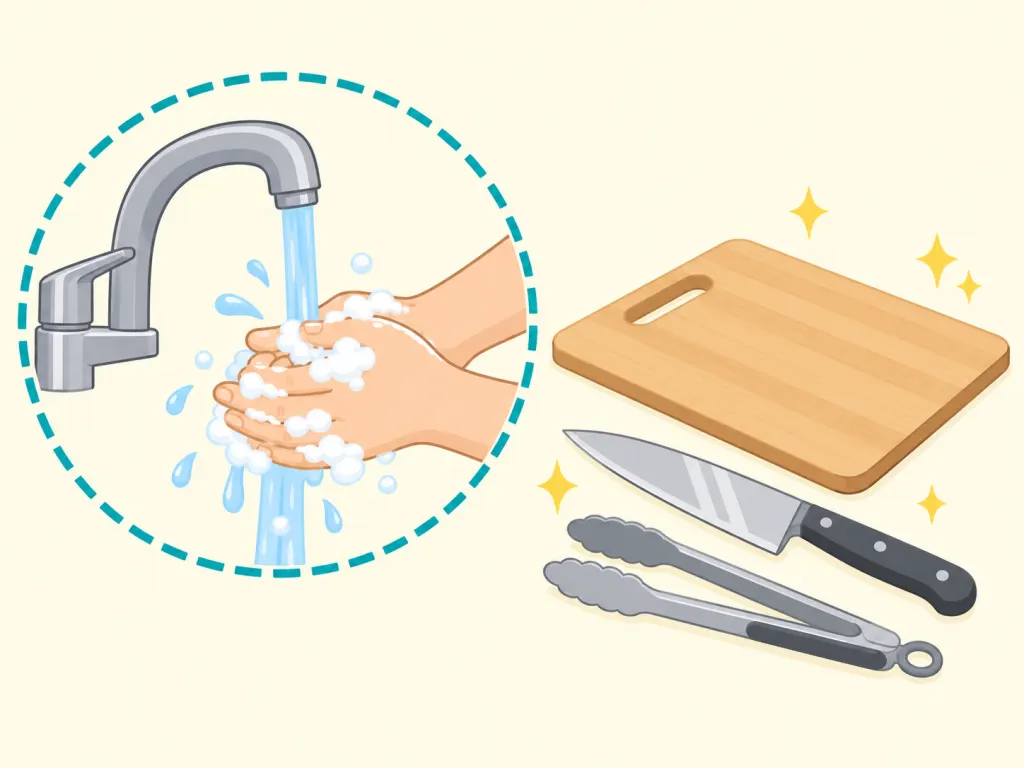
Wash your hands with soap and warm water for at least 20 seconds, and use clean equipment, following Health Canada's produce-handling guidance. Clear away raw meat, poultry, seafood, and their packaging before setting out the fruit, and use a separate cutting board for produce. Arrange your clean knife, containers, and lids within reach; for a busy household, you might make fruit preparation a separate job before beginning dinner preparation. Keep the workspace simple enough that you can distinguish clean utensils from anything already used for another food.
Step 3: 3. Rinse and dry whole fruit before cutting
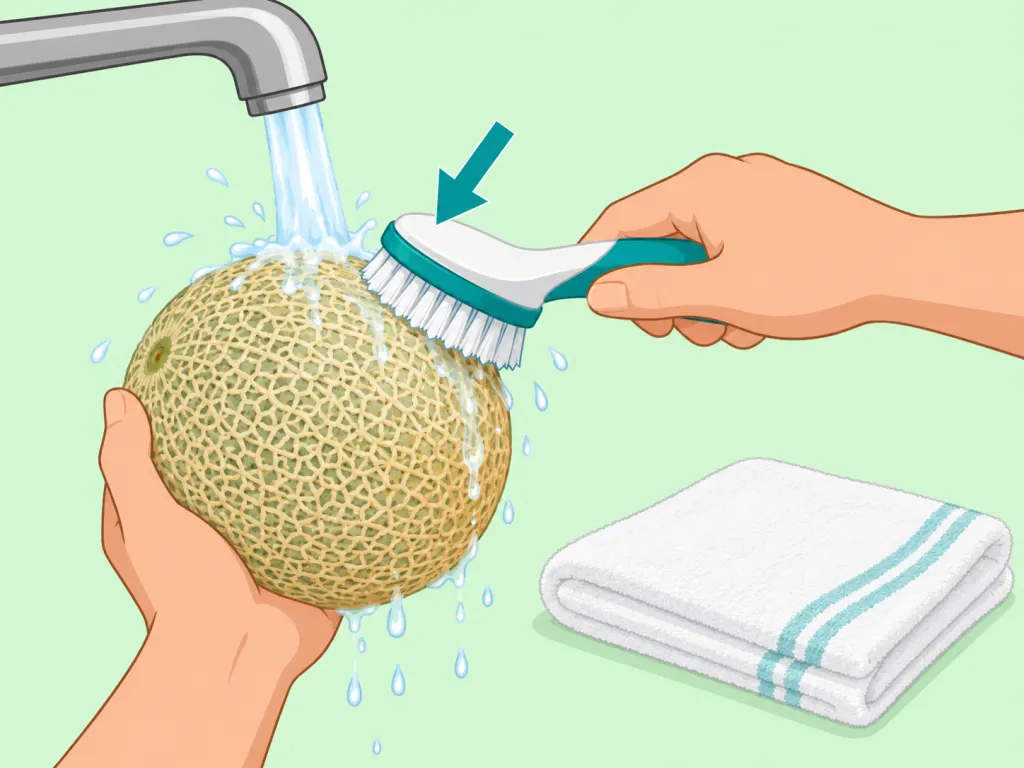
Rinse whole fruit under running water before peeling or slicing, including fruit with an inedible rind, because cutting can transfer contamination from the outside to the flesh. The FDA recommends scrubbing firm produce such as melons with a clean produce brush, then drying it with a clean cloth or paper towel. Use running water without soap, detergent, or a commercial produce wash; washing reduces contamination but cannot eliminate all bacteria. Work through the fruit you actually intend to cut, leaving the rest of your shopping out of this preparation session.
Step 4: 4. Inspect the fruit and cut it on a clean board
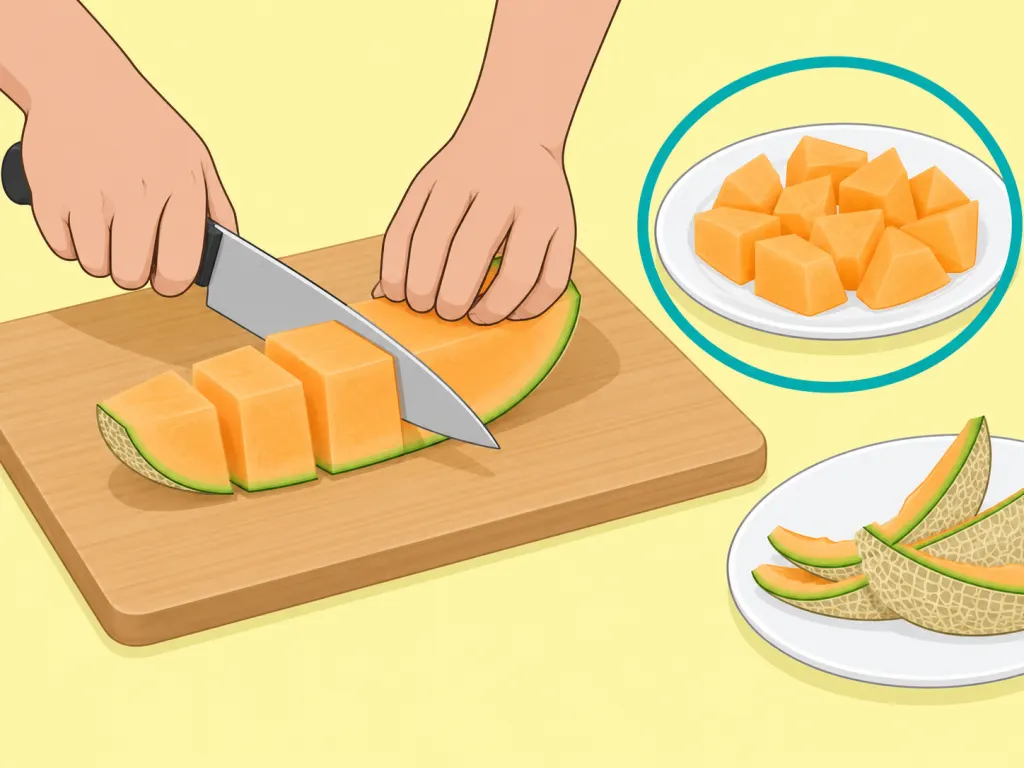
Check the fruit as you prepare it: the FDA advises removing bruised or damaged areas and discarding rotten produce. Peel or slice on your clean produce board, then transfer the pieces to a clean plate or container rather than placing them beside discarded rinds, as described in Health Canada's preparation advice. Choose pieces that suit their intended use, whether that is a breakfast bowl, a packed lunch, or a shared serving dish. Finish one manageable batch before starting another instead of spreading a large preparation project across the counter.
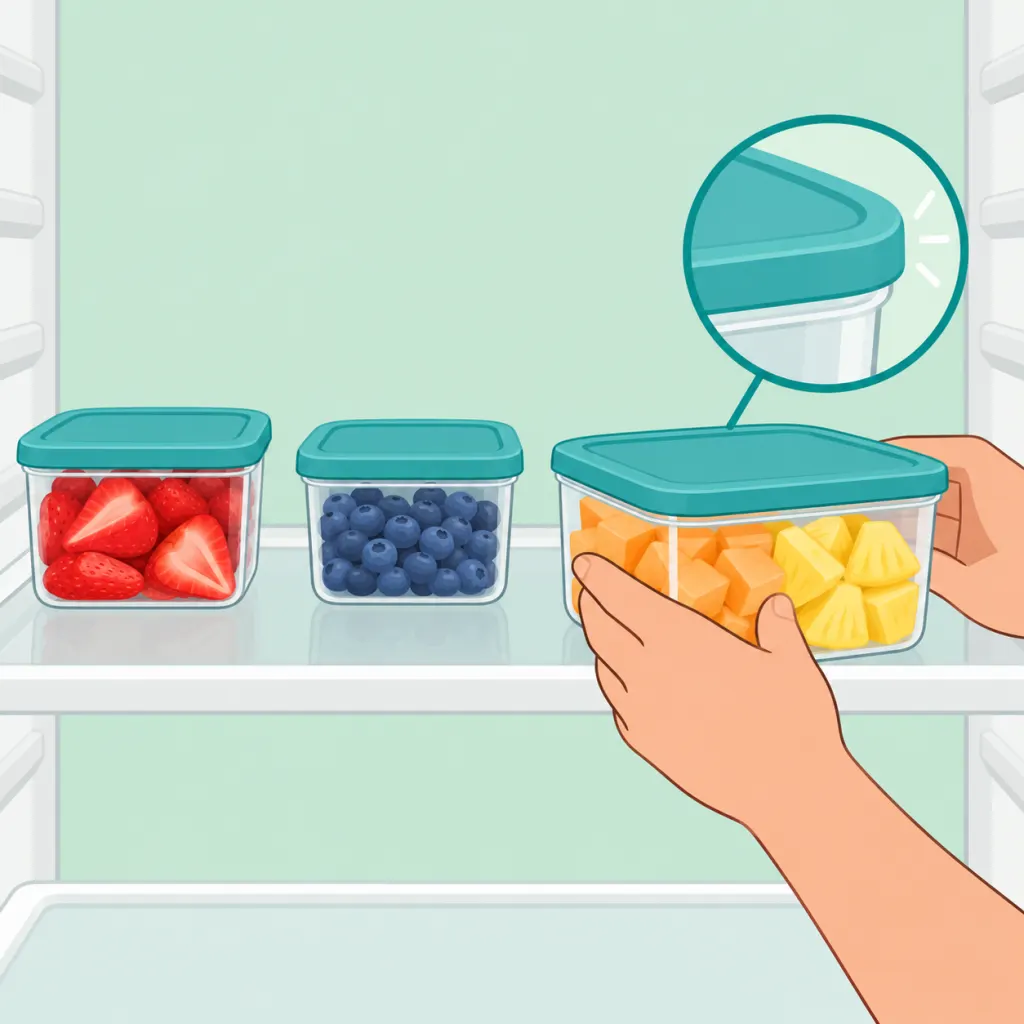
Transfer the prepared fruit into food-storage containers and fit their lids securely; University of Maine Cooperative Extension recommends clean, covered containers for cut produce. As a practical packing choice, use a container for each planned meal or snack rather than committing everything to one oversized bowl. For example, pack tomorrow's breakfast separately from the fruit intended for a family meal, choosing quantities your household expects to eat. Mark the preparation date on removable tape, keep the lid matched to its container, and leave enough room for it to close properly without pieces caught around the rim.
Step 6: 6. Refrigerate promptly and track time out of the cold
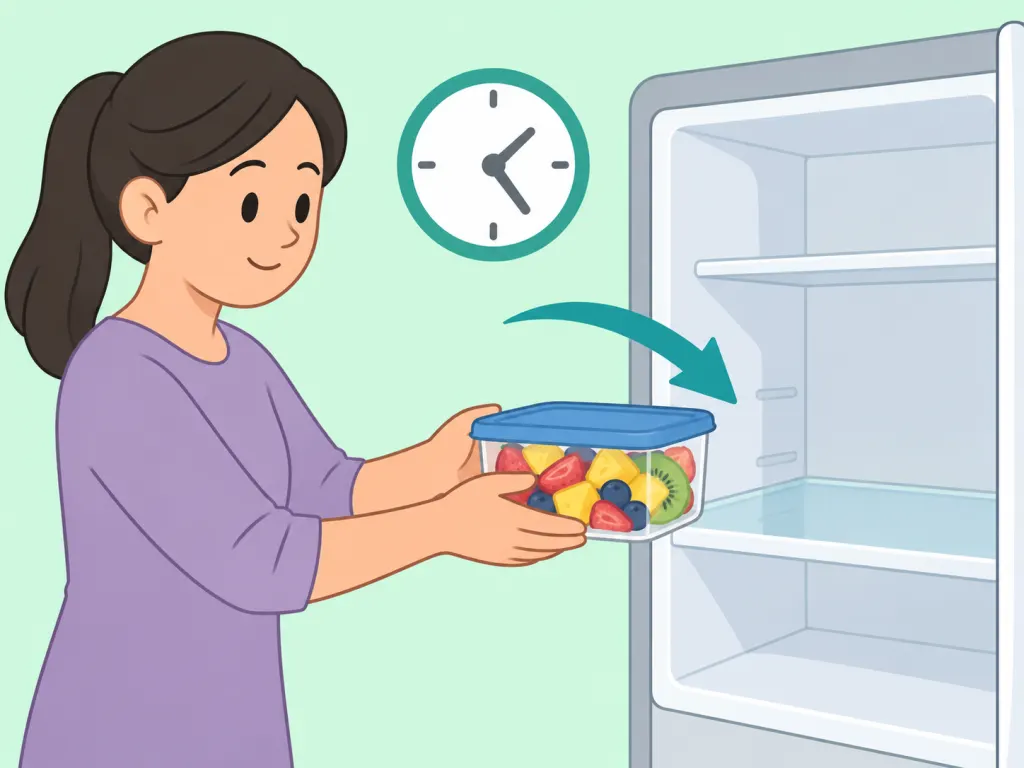
Move each finished container into the refrigerator immediately; the CDC says cut or peeled produce should be refrigerated as soon as possible, within two hours. The FDA shortens that limit to one hour when the air temperature exceeds 90°F, about 32°C. For your own planning, note when preparation begins and set a reminder if interruptions are likely, rather than treating the limit as a target waiting period. If using purchased cut fruit, include the journey home in your planning and put it away before unpacking groceries that do not need refrigeration.
Step 7: 7. Position the containers away from raw foods
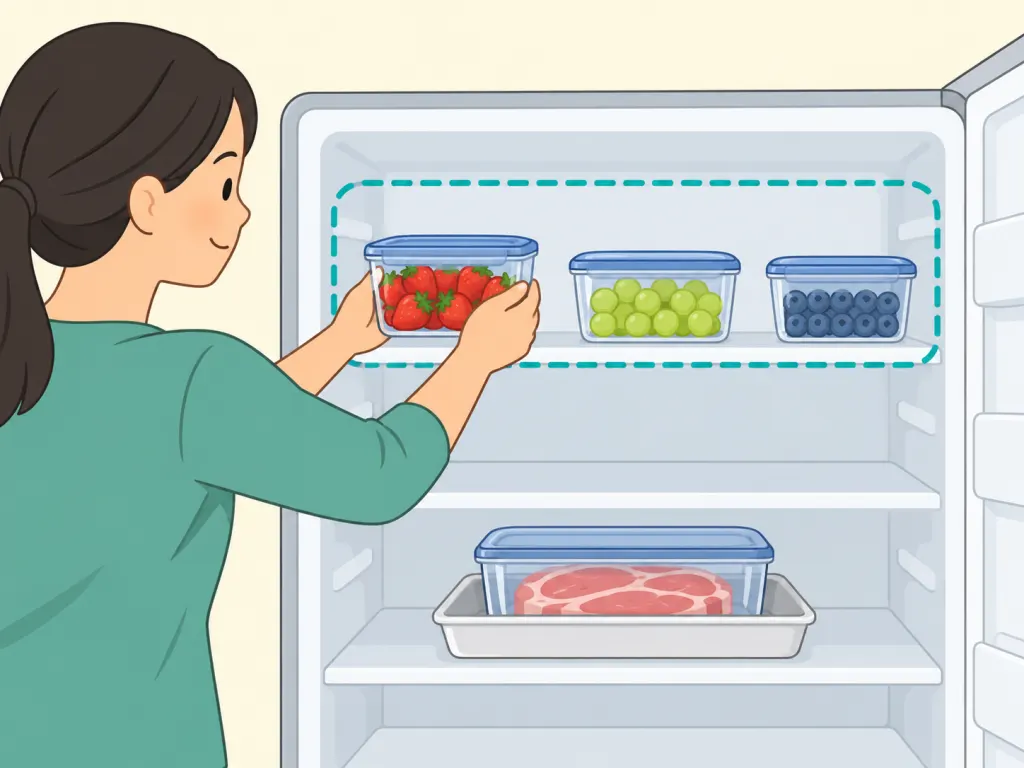
Place fruit away from raw meat, poultry, seafood, and their juices; the CDC specifically advises against storing produce beside or below those foods. Arrange the lidded containers with gaps around them, since the FDA cautions against crowding a refrigerator so tightly that air cannot circulate. Give your prepared fruit an identifiable place rather than squeezing it into whichever opening remains after everything else is packed. If the available space cannot accommodate the batch neatly, reduce the amount you prepare next time instead of planning a week of containers your refrigerator cannot comfortably hold.
Step 8: 8. Serve small batches while keeping the reserve chilled
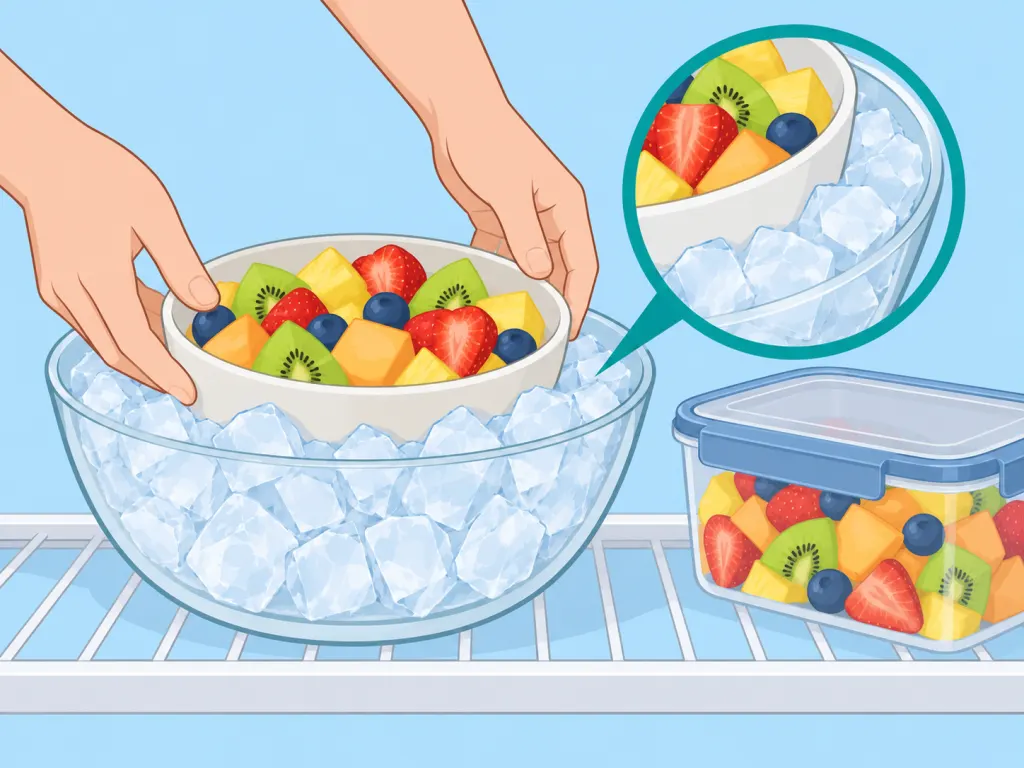
Take out only the fruit you intend to serve now, leaving the remaining covered portions in the refrigerator until needed, following the FDA's advice to use small serving dishes and refrigerated reserves. At a gathering, replace a nearly empty dish with a fresh one rather than adding new fruit to the pieces already sitting out. For longer service, nest the serving container in ice and verify that the fruit stays at 40°F or below; ice nearby is not a substitute for checking temperature. Assign someone to watch the serving time, particularly when guests arrive gradually and the table remains in use across several rounds of food.
Step 9: 9. Review the storage history before keeping leftovers
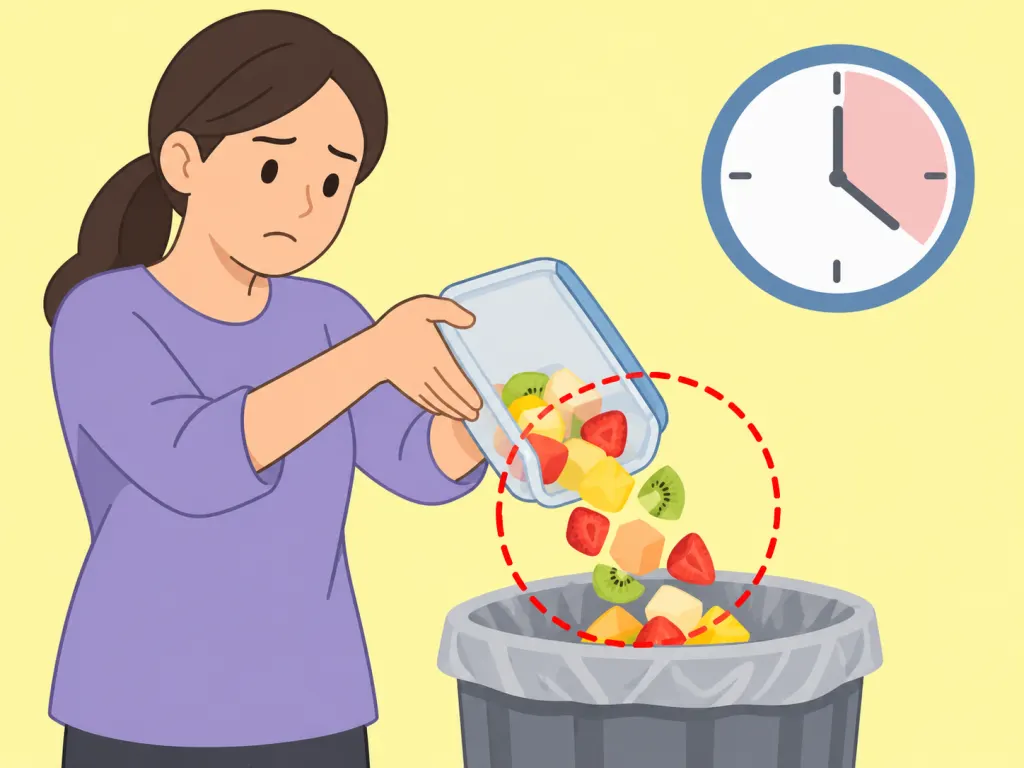
Check the preparation date and plan to use refrigerated cut fruit within three to four days, following University of Maine Cooperative Extension's guidance, while also following package instructions. Discard fruit that has exceeded the unrefrigerated limits, and throw away anything moldy or suspicious; the FDA explains that harmful contamination may be present without an unusual appearance, smell, or taste. If you cannot establish how a container was handled, choose to discard it rather than guessing. Keep the date and serving history together when deciding what to retain, instead of letting an attractive appearance outweigh missing information.
Step 10: 10. Seek medical help if concerning symptoms develop

If you become ill after eating and are concerned about food poisoning, use symptoms to guide seeking help rather than trying to identify the cause from the fruit alone. The CDC advises seeing a doctor for bloody diarrhea, diarrhea lasting more than three days, fever above 102°F, repeated vomiting that prevents keeping liquids down, or signs of dehydration. Those signs include urinating very little, a dry mouth or throat, and dizziness when standing. When speaking with a health professional, describe what you ate, when symptoms began, and any storage details you know, keeping uncertain details clearly separate from things you observed.
Step 11: Put the routine into a simple household plan
As a practical example, imagine preparing fruit on Sunday for Monday breakfast and Tuesday lunch. Set out two clean containers and label each with the preparation date and intended meal. This does not extend its storage life; it simply makes the plan visible to everyone using the refrigerator. Choose amounts your household expects to finish so that each serving can be taken out separately.
If someone takes a container to a gathering, note when it leaves refrigeration and how it will be kept cold. Tell the person handling leftovers what you know about its time on the table. If that history is missing, do not replace the missing information with a smell test. The FDA explains why appearance and smell cannot establish food safety.
For a shared kitchen, a small note beside the containers can identify which fruit was prepared first. Review that note before starting another batch. If plans change, decide whether safely handled fruit will be eaten soon, frozen using appropriate instructions, or discarded. Keep these decisions separate from the label date: a date is a memory aid, while safe temperature and handling remain essential. This planning exercise is optional, but it can make the storage guidance easier to follow during an ordinary busy week.
Wrap-Up
Build a simple routine: prepare fruit with clean equipment, cover it, chill it promptly, and keep track of its storage history. Plan to use refrigerated cut fruit within three to four days, following University of Maine Extension's guidance, and discard it sooner when its condition or handling is questionable.
Frequently Asked Questions
- → How long can I keep cut fruit in the refrigerator?
University of Maine Extension recommends three to four days for cut produce stored in clean, covered containers under refrigeration. Treat that as a planning window, not a guarantee: fruit that was mishandled or shows spoilage should be discarded sooner. Date homemade batches and follow purchased products' storage instructions.
- → Does cut fruit need refrigeration if the whole fruit normally stays on the counter?
Yes. Once fruit is cut, peeled, or otherwise prepared, refrigerate it rather than continuing the storage routine used for the whole fruit. Health Canada advises refrigerating pre-cut produce and promptly refrigerating, freezing, or eating fruit after cutting. Keep the distinction clear when planning a fruit bowl and a container of prepared pieces.
- → Should I wash packaged fruit marked ready-to-eat?
The FDA says produce labeled prewashed or ready-to-eat can be used without further washing. Read the actual package rather than assuming all packaged fruit has been washed. If you choose to rinse a ready-to-eat product, keep it away from unclean surfaces and utensils during the extra handling.
- → Can I leave a fruit platter out for an entire party?
Only if you maintain proper cold holding. The FDA recommends keeping cold foods at 40°F or below; otherwise discard perishables after two hours out, or one hour above 90°F. Smaller platters with refrigerated replacements make serving easier to manage when you do not have a dependable chilled setup.
- → Can I judge whether leftovers are safe by smelling them?
No. The FDA explains that food can contain harmful bacteria without looking, smelling, or tasting spoiled. Use the known handling history when deciding what to keep. An ordinary smell cannot resolve uncertainty about whether a container was left unrefrigerated too long or stored at an unsuitable temperature.
- → Can I freeze extra fruit without adding sugar?
Yes. University of Minnesota Extension includes unsweetened freezing methods, including freezing prepared pieces on a tray and then transferring them to freezer packaging. Label the package with its contents and freezing date. Choose an appropriate method for the particular fruit and leave expansion space when using a container that holds fruit with liquid.
References
This content was developed and refined using reliable sources.
- https://www.fda.gov/food/buy-store-serve-safe-food/selecting-and-serving-produce-safely
- https://www.fda.gov/consumers/consumer-updates/are-you-storing-food-safely
- https://www.canada.ca/en/health-canada/services/general-food-safety-tips/produce-safety.html
- https://extension.umn.edu/food/preparing/cooking-at-home/food-preservation/freezing/freezing-fruit
- https://extension.umaine.edu/food-health/2025/05/29/storing-and-washing-fresh-fruits-and-vegetables
- https://www.cdc.gov/food-safety/media/pdfs/fruit-veggie-safety-H.pdf
- https://www.fda.gov/food/buy-store-serve-safe-food/serving-safe-buffets
- https://www.cdc.gov/food-safety/signs-symptoms/index.html