 Save
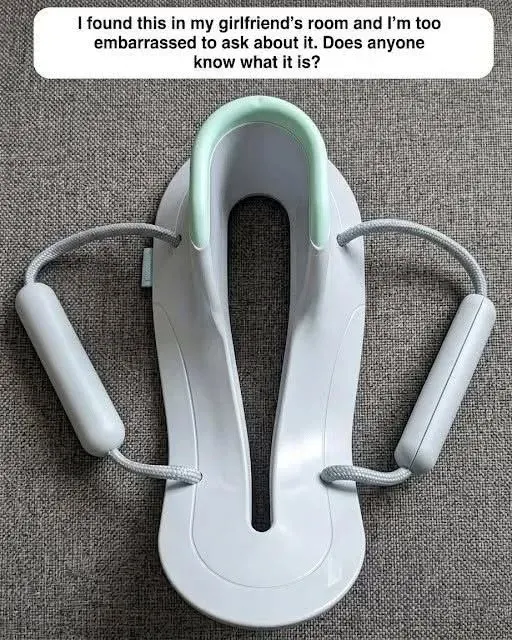
The secret of an unknown tool is usually not a hidden trick. It is the tool's intended job. Before you squeeze a handle, plug in a cord, sharpen an edge, or assume it is harmless, slow down and identify what the tool was made to grip, cut, measure, bend, fasten, lift, heat, or align. That simple shift turns a mystery object into a set of clues: shape, scale, markings, wear, missing parts, and safety features.
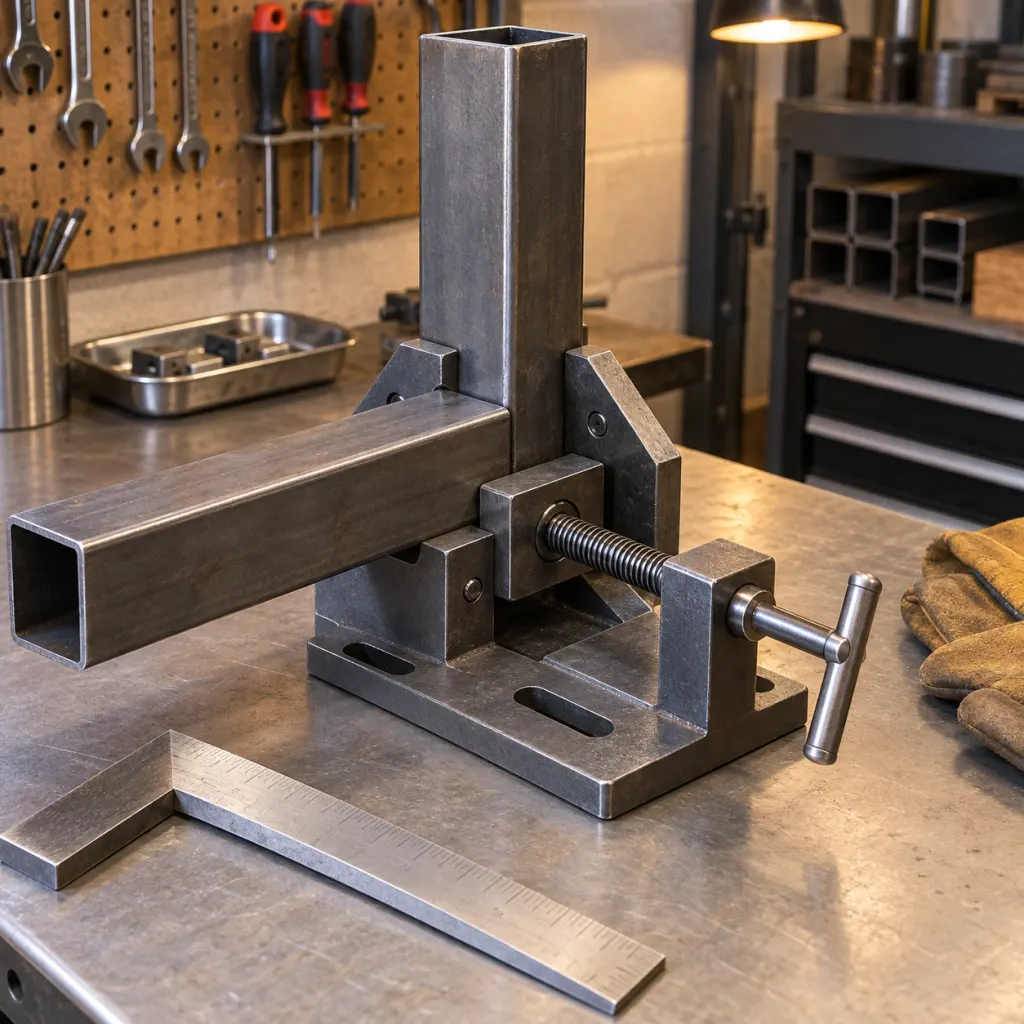
Unfamiliar tools show up in garages, inherited boxes, flea-market lots, old kitchens, barns, basements, and workplace storage rooms. Some are specialty versions of ordinary tools. Others are obsolete shop aids, agricultural tools, automotive service tools, gauges, clamps, cutters, or accessories that only make sense when paired with another machine. A few are incomplete or damaged, which means the safest answer may be, "identify it, document it, and do not use it." The U.S. Consumer Product Safety Commission notes that table saw standards address features such as blade guards and riving knives, a reminder that missing protective parts can change what a tool means in practice https://www.cpsc.gov/Regulations-Laws--Standards/Voluntary-Standards/Table-Saws.
The Real Secret Is Function
Most tools are designed around a repeatable action. Pliers multiply hand force. A clamp holds work still. A gauge compares one dimension with another. A scraper removes material. A puller transfers force evenly so a part can come free. A wrench fits a fastener, but a specialty wrench may fit only one shape in one trade. When you find an unknown tool, do not begin with its name. Begin with the motion it invites and the motion it resists.
Ask whether the tool has a hinge, pivot, screw, ratchet, wedge, roller, hook, guide fence, depth stop, anvil, notch, or replaceable insert. Those details are rarely decorative. A stop suggests repeated placement. A fine thread suggests controlled pressure. A hardened jaw suggests gripping metal. A polished channel suggests sliding contact. A thick insulated handle suggests a risk the maker expected the user to manage. The function is the clue that keeps the search grounded.
Start With a No-Use Inspection
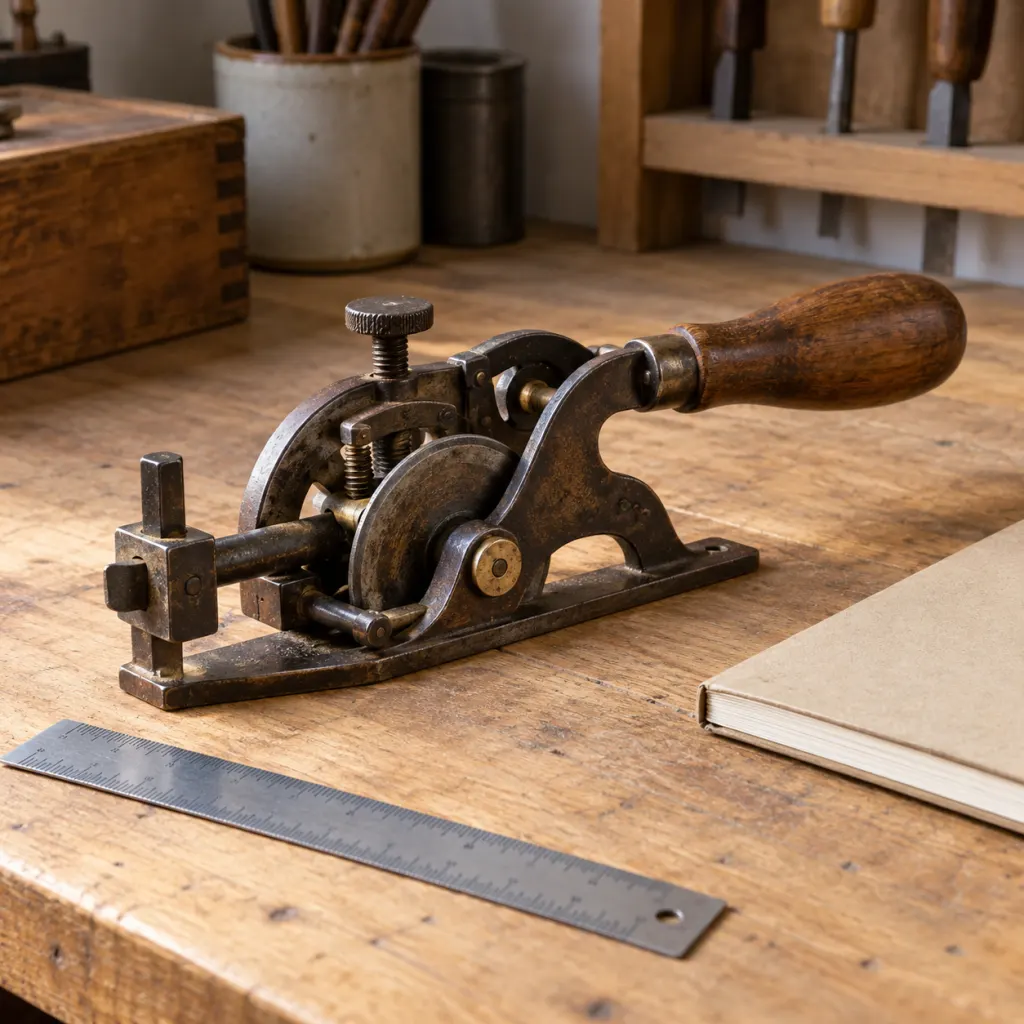
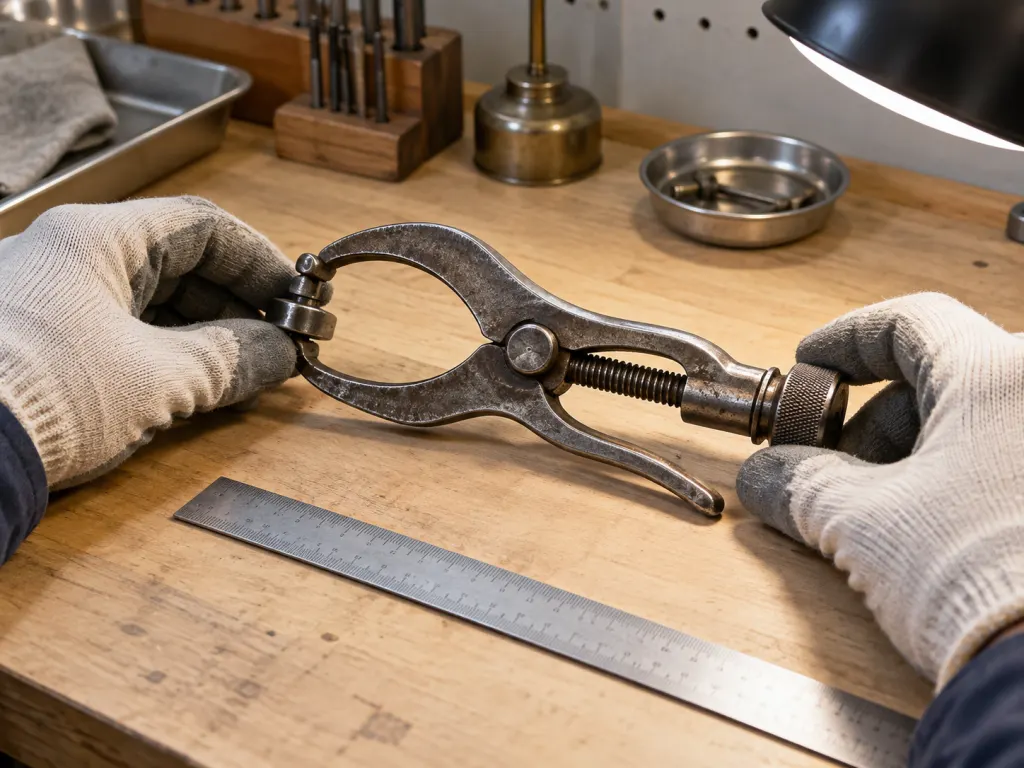
The first inspection should be passive. Put the tool on a stable surface in good light and look before touching any moving part. If it is dirty, avoid aggressive cleaning until you have documented markings, because stamped numbers and shallow maker marks can disappear under sanding or heavy brushing. Use a ruler or tape to record overall length, jaw opening, blade width, hole diameter, thread size if obvious, and any scale units. NIST describes its metric ruler as an educational tool for length measurement in the International System of Units, which is a useful reminder that accurate measuring is part of identification, not a separate step https://www.nist.gov/pml/owm/metric-si/metric-ruler-sp-376.
- Record markings: copy maker names, patent numbers, model numbers, country marks, arrows, scale units, and stamped abbreviations exactly.
- Map the working surfaces: note where the tool contacts the work, such as jaws, blades, rollers, anvils, hooks, pins, or guide faces.
- Check for missing pieces: empty screw holes, broken pivots, exposed belts, missing guards, and loose handles may mean the tool is incomplete.
- Look for material clues: hardened steel, brass, wood, rubber, insulation, plastic knobs, and cast markings can suggest age and intended environment.
- Separate storage accessories: a tool found beside a part may not belong to that part, especially in inherited boxes or mixed workshop drawers.
Read the Marks Before the Shape Tricks You
Shape can mislead. Many trades use similar-looking pliers, pullers, gauges, and clamps for very different jobs. Markings are often more reliable because they can point to a maker, patent, model, size, or safety rating. The USPTO Patent Public Search tool allows public searches of U.S. patents and published applications, including basic searches by common fields such as inventor or publication number https://www.uspto.gov/patents/search/patent-public-search. A stamped number is not always a patent number, but it is worth searching exactly as written and also with leading zeros if the database instructions call for that format.
Older tools may also carry trade abbreviations. "No." may mean a model size rather than a count. Fractions may refer to pipe size, wire gauge, fastener diameter, or opening width. Metric and inch scales can appear on the same object. If a number is cast into the body, it may identify a part, not the whole tool. Photographing the mark at a low angle can reveal shallow stamping, and placing a neutral ruler beside the tool helps other people evaluate scale without guessing.
What Wear Patterns Can Tell You
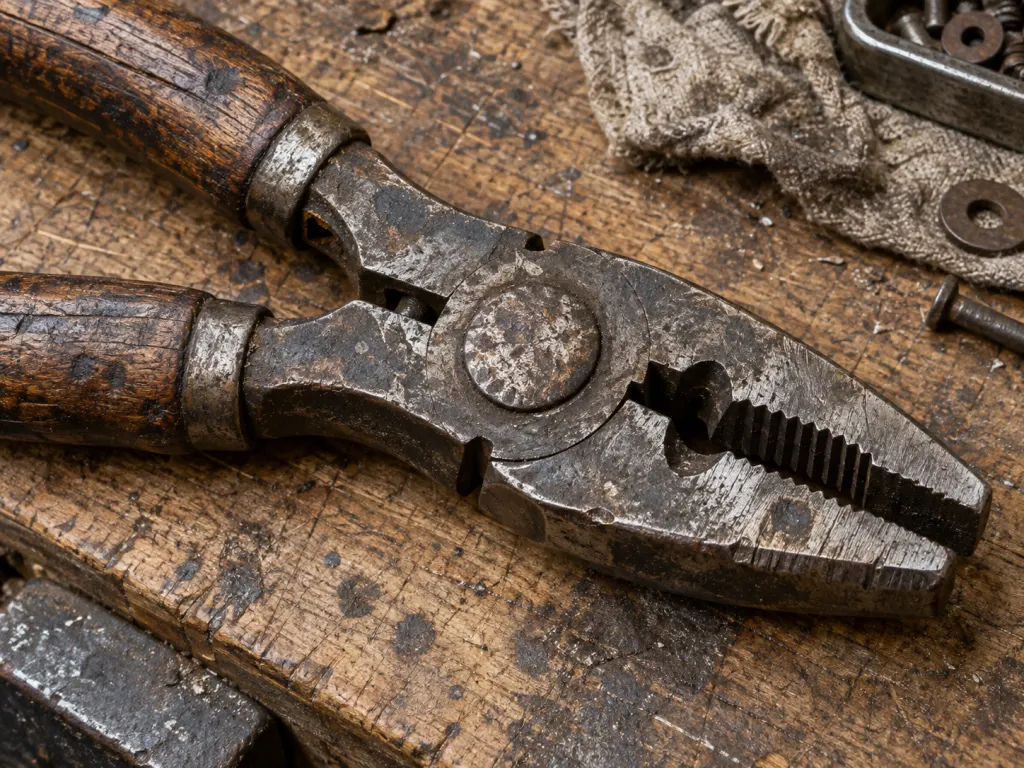
Wear is a kind of handwriting. A shiny arc near a pivot may show repeated travel. Polished jaws may show where pressure was applied. Flattened teeth can mean the tool was used on harder material than intended. Rounded screwdriver tips, mushroomed striking ends, bent handles, and cracked wooden grips are not just cosmetic concerns; they can also show that the tool has been misused or has reached the end of dependable service. NIOSH guidance on selecting non-powered hand tools explains that hand-tool choice should consider the task and how the tool will be used, including force and body position https://www.cdc.gov/niosh/docs/2004-164/default.html.
Do not mistake heavy wear for proof of value. A tool that survived decades may still be unsafe for modern use if a guard, handle, spring, or fastener has failed. Conversely, a strange shape may be perfectly ordinary in its own trade. Leatherworking, upholstery, sheet metal, watch repair, canning, auto body work, plumbing, dentistry, gardening, and shoemaking all use specialized hand tools that look odd outside their context.
Separate Hand Tools From Powered Attachments
Some mystery objects are not complete tools at all. They are attachments, dies, jigs, guides, arbors, adapters, collets, blades, or fixtures that only function with another machine. This is where caution matters most. A rotating cutter without its matching guard or speed rating is not merely unidentified; it is uncontrolled. A clamp-like object may be a safe hand vise, or it may be a fixture meant to be bolted down. A cup-shaped piece may be a puller adapter, not a socket. Before assuming that a loose part is safe to hold by hand, ask what would happen if force, heat, vibration, or rotation were applied.
Safety Features Are Clues, Not Extras
Modern safety agencies often discuss guards, personal protective equipment, training, and hazard recognition in the context of workplaces, but the same ideas help at home. The CDC's NIOSH construction toolbox talks are designed to focus discussions on hazards, practical solutions, and key safety points https://www.cdc.gov/niosh/construction/toolbox-talks/index.html. For an unknown tool, the presence or absence of safety features tells you what kind of energy may be involved. A blade guard implies cutting exposure. A dead-man switch implies the tool should stop when pressure is released. Insulated grips imply electrical awareness. A riving knife on a saw relates to controlling the wood near the blade. A dust port suggests debris that should be collected rather than breathed or scattered.
Noise is another clue. NIOSH notes that hearing protection can be effective when chosen correctly, fit well, and used consistently, and that engineering and administrative controls should come before relying only on personal protective equipment https://www.cdc.gov/niosh/noise/prevent/ppe.html. If identifying a tool reveals that it is a grinder, cutter, impact tool, or high-speed machine, the question is not simply what it is called. The question is what controls, guards, fit, setup, and environment it requires.
Research in Layers, Not Leaps
A good identification process moves from the object to broader evidence. Start with exact visible data: maker, model, patent number, measurements, materials, and moving parts. Then search authoritative records and manufacturer documentation. If you find only forum guesses or marketplace listings, treat them as leads, not proof. A seller's label may be wrong, especially for antiques and shop lots. Public patent records can explain an intended mechanism, but they do not prove your specific tool is complete, safe, or genuine.
When the tool has a power cord, battery pack, heating element, or electrical terminal, stop before disassembly unless you are qualified to evaluate it. NIOSH electrical safety guidance says that people who are not qualified should not work on energized parts and should keep away from energized parts https://www.cdc.gov/niosh/electrical-safety/about/index.html. For household readers, that principle translates into a simple rule: do not energize an unknown device just to learn its purpose.
How Ergonomics Helps Identify Purpose
Ergonomics is not only about comfort. It can reveal the intended use. NIOSH describes ergonomics as fitting work tasks and job demands to the capabilities of workers, with tools, lighting, and equipment among the elements of the work environment https://www.cdc.gov/niosh/ergonomics/about/index.html. A tool with long handles may be designed to reduce hand force. A palm-sized tool with a short throw may be for delicate repeated work. Offset handles can keep knuckles clear. A spring return can reduce repeated opening effort. A broad handle can spread pressure across the hand.
These ergonomic clues can also prevent wrong assumptions. If a tool forces your wrist into an awkward angle for the task you imagine, you may have the wrong task. If the working end faces away from your hand in a way that seems inconvenient, the tool may be used against a bench, inside a confined space, or with a second fixture. Instead of forcing the tool to match a familiar motion, let its grip, balance, and contact surfaces suggest the working posture.
When an Unknown Tool Belongs in the Kitchen, Garden, or Home
Not every unfamiliar tool belongs in a workshop. Some mystery tools are cherry pitters, jar lifters, pastry crimpers, meat saw accessories, seeders, grafting knives, tile nippers, carpet stretchers, drain keys, or appliance service tools. The home setting can supply useful context, but it should not decide the answer alone. A tool found in a kitchen drawer may have been stored there for convenience. A garage tool may have been used for gardening. A basement object may have belonged to a previous trade or hobby.
The same evidence-minded approach works across the house. When evaluating a cleaning or maintenance item, keep the reasoning as practical as you would for hydrogen peroxide in a shower drain: identify the material, the setting, and the limits before acting. For food-adjacent objects, use the same caution you would bring to rice flour and tooth whitening: a familiar material or familiar room does not prove a use is appropriate.
Deciding What to Do With It
Once you have a likely identification, decide whether the tool should be used, cleaned, repaired, displayed, donated, recycled, or kept only as a reference object. Use requires the highest confidence. Display requires enough cleaning to make it stable but not so much that you erase evidence. Donation requires a tool that is complete enough for someone else to understand safely. Recycling may be the best path for damaged powered tools, cracked cutting wheels, broken handles, missing guards, or objects that cannot be identified after careful research.
If the object may have historical value, avoid repainting, polishing, grinding, or replacing parts before asking a knowledgeable collector, museum, trade instructor, or appraiser. Patina is not magic, but it can preserve marks and manufacturing details. If the object may be hazardous, isolate it from children, pets, food surfaces, and casual handling while you seek advice.
A Simple Identification Mindset
The best tool detectives are patient. They resist the first guess, keep notes, and separate what they can see from what they assume. A handle does not prove hand use. A sharp edge does not prove cutting wood. A patent number does not prove the tool is complete. A family story may be helpful, but it is still a clue, not a manual. Your goal is not to make the object interesting; it is already interesting. Your goal is to make the next decision sensible.
When in doubt, describe the tool in plain language: "cast iron clamp with two smooth jaws and a fine screw," "small pliers with half-round jaws and a spring return," "steel gauge with inch and metric marks," or "motorized cutter with missing lower guard." That description is often more useful than a guessed name. The secret of the unknown tool is rarely hidden from everyone. It is hidden until you gather the right clues in the right order.
Wrap-Up
An unknown tool becomes much less mysterious when you treat it like evidence. Identify its action, read its markings, measure its working surfaces, inspect its condition, and research it with reliable sources before trying to use it. If it has a blade, motor, cord, battery, spring, pressure chamber, missing guard, cracked handle, chemical residue, or unknown attachment point, do not improvise. The best discovery is not a dramatic reveal; it is knowing what the tool does, what it should never do, and whether it belongs in active use, careful display, repair, recycling, or expert review.
Frequently Asked Questions
- → What should I do first when I find a tool I cannot identify?
Start by doing nothing active with it. Photograph both sides, note any words or numbers, measure the working end, and look for missing guards, cracks, sharp edges, springs, batteries, cords, residue, or pressure fittings. That record helps you research it without testing it.
- → Are patent numbers useful for identifying old tools?
Yes. A patent number, inventor name, or stamped design reference can be a strong lead. The USPTO Patent Public Search page provides public access to U.S. patents and published applications, including basic searches by common fields such as publication number or inventor name.
- → Can I use an old tool if it looks sturdy?
Appearance is not enough. A tool may be missing a guard, have a fatigued spring, carry an incorrect attachment, or require training. Identify the tool and find reliable instructions before use. If the tool is powered, sharp, pressurized, or incomplete, leave it unused until a qualified person evaluates it.
- → How can I tell whether a tool is for measuring or cutting?
Measurement tools usually have scales, stops, reference faces, pointers, or fixed openings. Cutting tools usually have sharpened edges, replaceable blades, anvils, chip clearance, or wear marks along the cutting path. Some tools do both, so the safest approach is to compare all clues rather than relying on one feature.
- → When should I ask an expert instead of researching on my own?
Ask for expert help when the tool has electrical parts, compressed gas, unknown chemicals, a cutting wheel, a blade guard problem, a cracked handle, or no clear match after careful research. A museum, trade school, manufacturer, repair shop, or experienced craftsperson may be able to identify the tool without risky trial use.
References
This content was developed and refined using reliable sources.
- https://www.uspto.gov/patents/search/patent-public-search
- https://www.nist.gov/pml/owm/metric-si/metric-ruler-sp-376
- https://www.cdc.gov/niosh/docs/2004-164/default.html
- https://www.cdc.gov/niosh/noise/prevent/ppe.html
- https://www.cdc.gov/niosh/electrical-safety/about/index.html
- https://www.cdc.gov/niosh/ergonomics/about/index.html
- https://www.cpsc.gov/Regulations-Laws--Standards/Voluntary-Standards/Table-Saws
- https://www.cdc.gov/niosh/construction/toolbox-talks/index.html